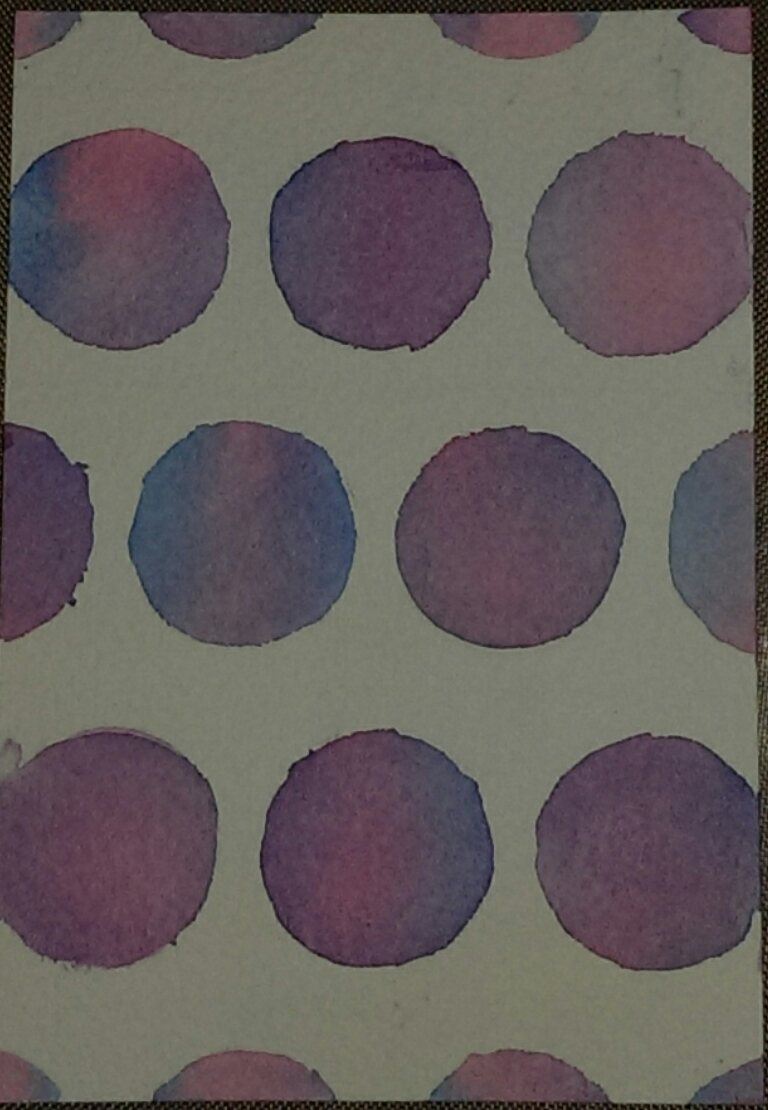
My first attempt at this was too dark. I am hoping somewhere in the near future I can rewdo it with a lighter was and also make sure my layers are dry between colours. I was a little impatient ;)
I used Arches Cold Pressed 300gsm paper with Windsor & Newton Cotman pans. The stamp is from Docrafts Creative Essentials and is called butterflies embossed with white Hampton Arts embossing powder.
Purple
Showing posts with label butterflies. Show all posts
Monday, 1 February 2016
Watercolor For Cardmakers Intermediate Day One - Wet On Wet
Hi, I struggled with not so good papers for this technique... I did make some butterflies but the papers I was testing on didn't work well for this technique so I redid when I managed to get my hands on some Arches Cold Pressed. As my arches is only a small pad and a precious commodity I did a half card front sized panel.
And some practice butterfly runs...
I actually salvaged some of the butterflies to make a card or two ;)
Purple
And some practice butterfly runs...
I actually salvaged some of the butterflies to make a card or two ;)
Purple
Tuesday, 30 September 2014
Dried Marigold, Texture Paste and Spellbinders
Hi everybody, sorry I've been away for so long, but I've had a busy month! Been on holidays, my daughter graduated high school among other things lol. So we have a new challenge starting at Eclectic Ellapu and for the Purple team the the theme is to use Texture Paste. I was a bit challenged by this card, nothing seemed to balance out but I got there in the end.
To start this card I used a Heidi Swapp mini stencil, with Liquitex texture paste. Over this I used dried marigold distress ink. I also used distress ink around my card base. I then used my ebosser to cut Spellbinders dies, the top butterfly layer is vellum. I used more dried marigold on these as well as to stamp the Fiskars sentiment. I added some ribbon and bead string as well as bling from Kaisercraft to finish.
Happy Scrappin'
Purple
To start this card I used a Heidi Swapp mini stencil, with Liquitex texture paste. Over this I used dried marigold distress ink. I also used distress ink around my card base. I then used my ebosser to cut Spellbinders dies, the top butterfly layer is vellum. I used more dried marigold on these as well as to stamp the Fiskars sentiment. I added some ribbon and bead string as well as bling from Kaisercraft to finish.
Happy Scrappin'
Purple
Tuesday, 28 February 2012
12 Tags of 2012... Game on!
Hi everyone :)
Well I wasn't sure if I would participate this month as I have a bit going on at the moment. Study travel etc etc lol. I was also having a creative block when it came to this months techniques as I neither have honeycomb paper or a matching stamp and embossing folder.
So after thinking for over a week I decided I was going to use one of the butterfly movers and shapers for my card. Then last night I decided that dried marigold would be my colour of choice. But I didn't know how I was going to do the embossing technique....
First I tried various markers in embossing folders to see how that worked. I tried marvy markers, pitt big brush, pitt artist and zig. None worked as with large areas the colour starts to pull away from the recessed sides. So the best result I had gotten was with the Faber Castell Pitt Artist Markers so I decided to try again today... No go it just wouldn't work with the larger intricate design.
I have some more examples to show you what I ended up doing :). First I covered my white cardstock in distress stain. For my card I used Dried Marigold. Then I used my cuttlebug border folder on the edge. *Tip; if you are going to do this while cs is still damp from the stain use a full size folder! After I did this I took my Pitt Artist Marker in Orange Glaze #113 and carefully coloured over the raised flourish.
On this example I used tumbled glass as the background, the embossing folder is the cracked texture fade and the marker is Pthalo Blue #110. I have left the middle bare for now as I am not sure what kind of card I will make with this as yet :)
The next one is made with wild honey and am not sure of the name of the cuttlebug folder. It's a leafy flourish at any rate lol. I used Pitt Artist pen in Leaf Green #112. Again leaving the middle blank for embellishing.
The next two examples were done with differently. The first was done with dried marigold stain, embossed with the same folder as above and then I used my distress ink tool to add ripe persimmon ink to it. I them misted with shimmer mist.
This last one was done with aged mahogany stain, then I shimmer misted and blotted to activate the ink and tone down the colour a little. I then shimmer misted again and ran through my cuttlebug with the Cuttlebug Clockworks folder. I used my ink blending tool and the aged mahogany ink pad to swipe over the top of the embossing. Absolutely Love this one :)
Back to the card lol. The flourish on the edge is an embossing folder from cuttlebug from the Organic Flourish set. So pretty! The background butterflies are from recollections and are stamped with a Big Brush Marker the same colour I coloured the flourish.
My butterfies are cut from the movers and shapers butterflies. I layered 7-8 pieces of paper and ran them through. I also cut each butterfly from grungeboard. I adhered a butterfly to each grungeboard piece with matte accents. I then folded each butterfly wing along the body so they were creased well. I used a small amount of matte accents along the body of each butterfly and layered them up. I waited til they were dry aand then fluffed them up lol.
Lastly I created my sentiment with Lifestyle Crafts Label dies. The back piece is coloured with the orange glaze big brush marker. The top coloured with dried marigold stain. I then used a Tim Holtz Stampers Anonymous sentiment stamp from Mini Classics and my big brush marker in orange. I layered the pieces together with foam tape and thats it Card done!! :) Just in time too. Sorry for the few pics, was scrap day at a friends and it was raining so my camera stayed at home! lol
Happy Scrappin'
Purple
Friday, 27 January 2012
Girls Birthday Card with KaiserCraft Candy Lane
I hope you like pink lol. My daughters fave colour is pink. We are going to her friends birthday tomorrow and my 8 year old dd wanted to make her a card just from her :). So I was thinking the Authentique Uncommon pad. My dd saw the Kaiser Candy Lane and we were off and running lol.
We used the largest Lifestyle Crafts Blossom die to cut the card base. As you can see in the pic we folded the card base and hung a petal over the edge of the fold to create and opening card. Around this dd blended Worn Lipstick Distress Ink.
She then chose the orange with pink foil paper for the next layer cut with the next size down Blossom die. On top of this we layered another pp with cupcakes and cherries on it. Out of the teapot pp we used a punch to cut some butterflies and stuck them around the outside of the circle with matte accents.
With a green flowered pp we cut a small circle and she Chose the Happy Birthday sticker to go on top. The sticker in the middle of the middle butterfly was originally on the circle but it fell off and got lost for a bit so dd decided on some pink hearts instead :) (I found it and stuck it in the middle of the pink butterfly)
We put the circle on the card to see how it looked and didn't like it. We cut a plain circle and the butterfly circle from Spellbinders. Of course after we embossed the butterflies with the tan mat dd had to have the butterfly circle as her mat. She inked the edges with more worn lipstick and then stuck the pp circle on top. She then used some foam tape to lift it off the page a little and front of card was done :)
A coordinating stack, a few stickers and dies make for a quick and easy card :). Not bad for an 8 yr old at all...
Thanks for stopping by.
Happy Scrappin'
Purple
PS here are a few pics dd took :)
Subscribe to:
Posts (Atom)