blinkie

CraftyCrafter

Showing posts with label rub ons. Show all posts

Sunday, 18 May 2014

A Little Sketchy With Magnolia Way

Ok so last week I told you about my computer woes. Well they didn't end with getting a new adapter because that one went bang and tripped my fuses to boot lol. So I have ordered a new one and it should be here next week. Meanwhile I am working around the fact I have no lappy and using a combination of my phone and tablet with photobucket to be able to blog lol!

This week at Eclectic Ellapu the challenge is a sketch. I have to say it really kicked my butt, but I got there in the end . . . Here is the sketch from  Andria.
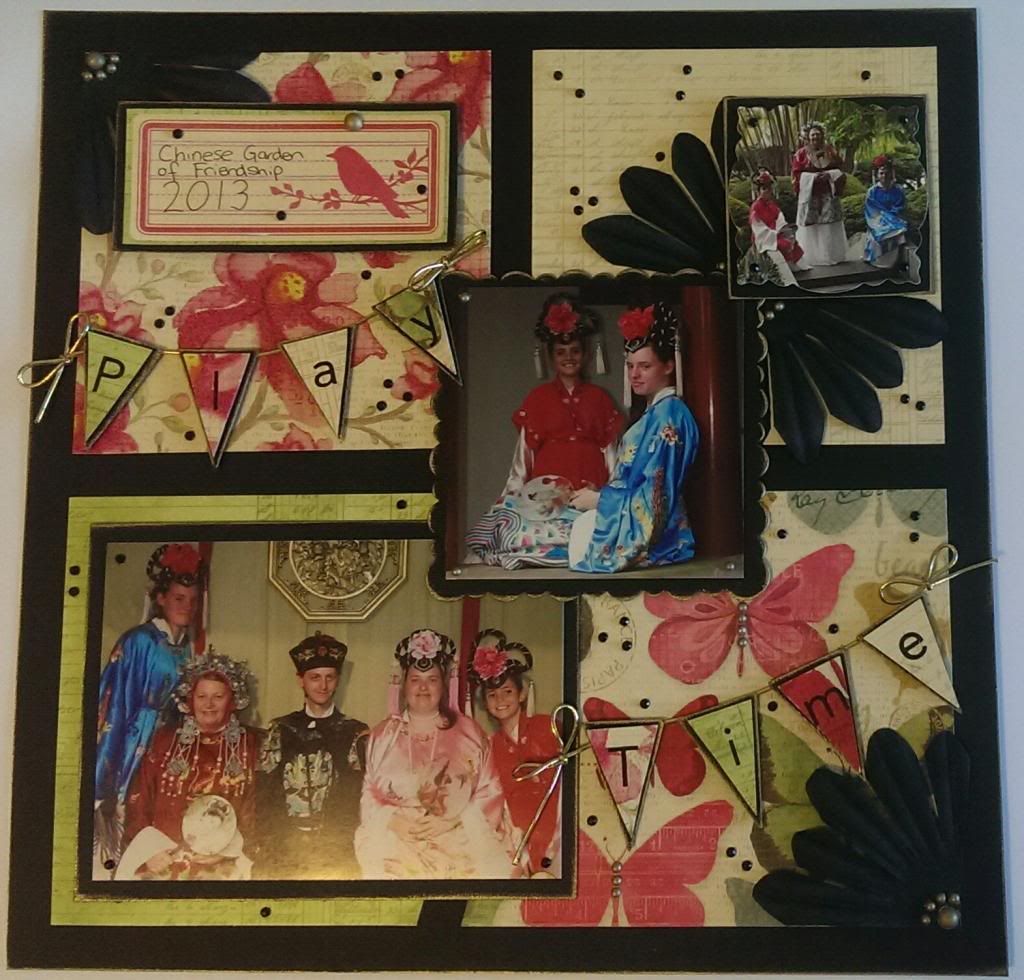
As you can see from above I decided to do a layout. Not something I have done for a while sadly. I need to get back in the swing of this and decided to pull elements of this sketch into my layout :)
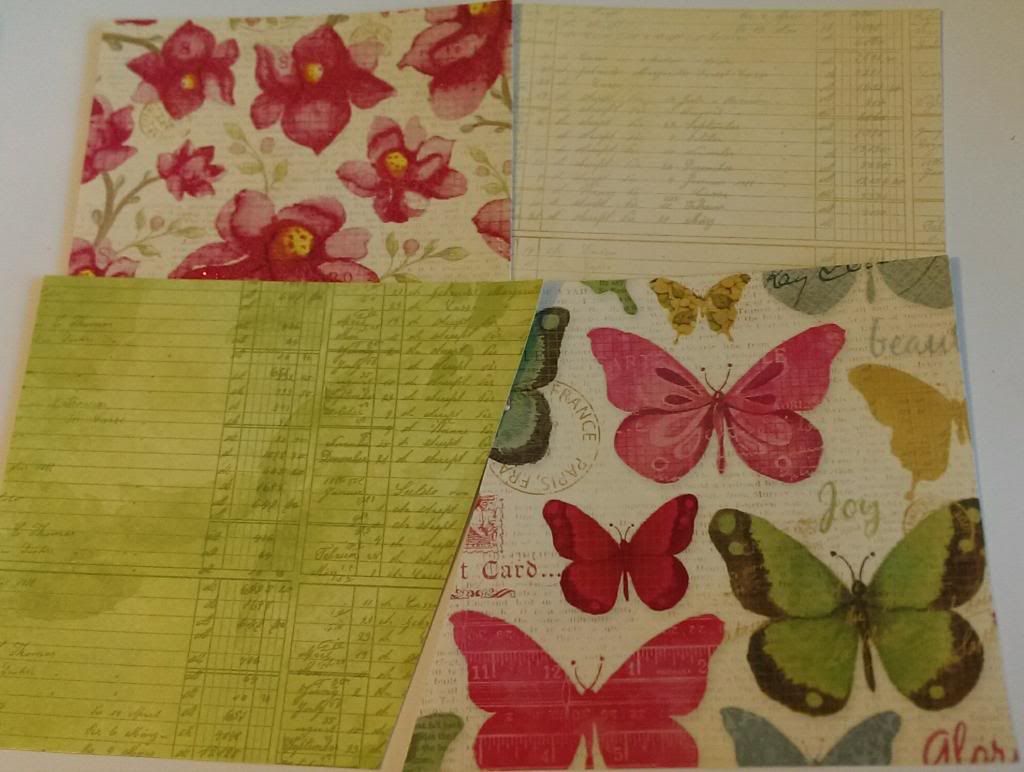
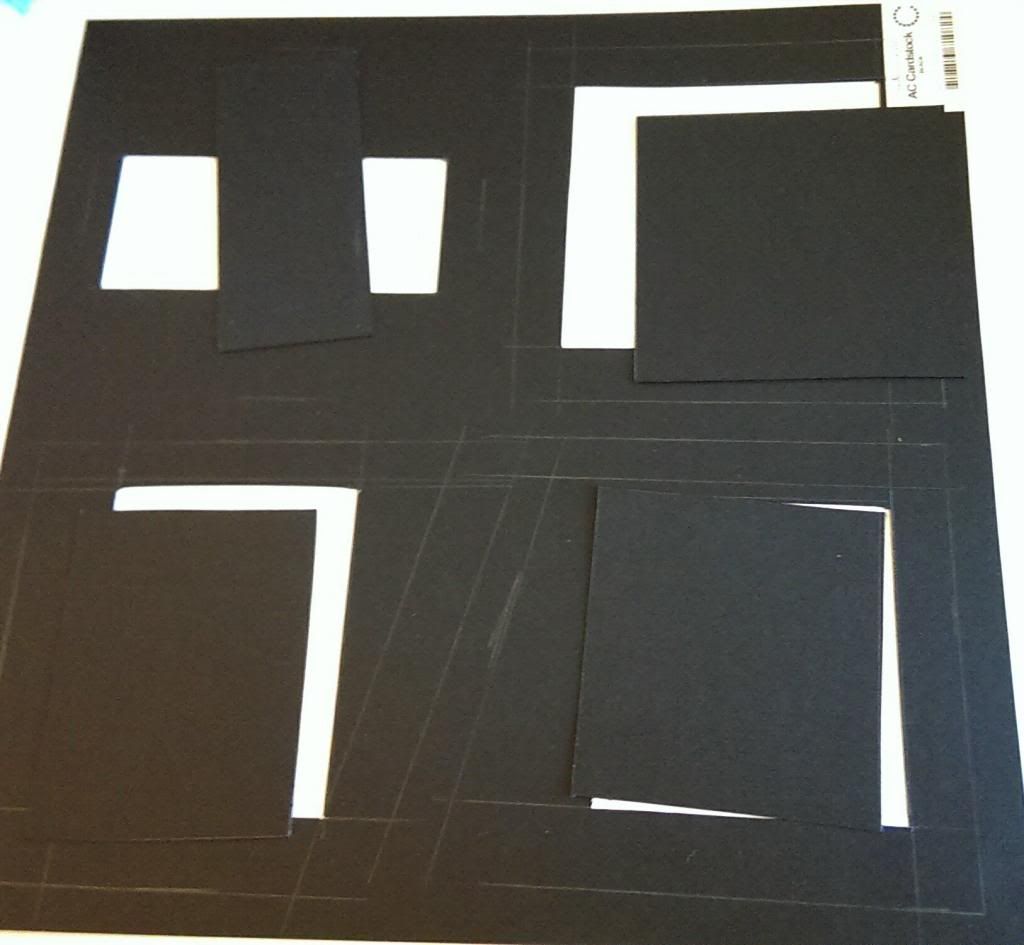
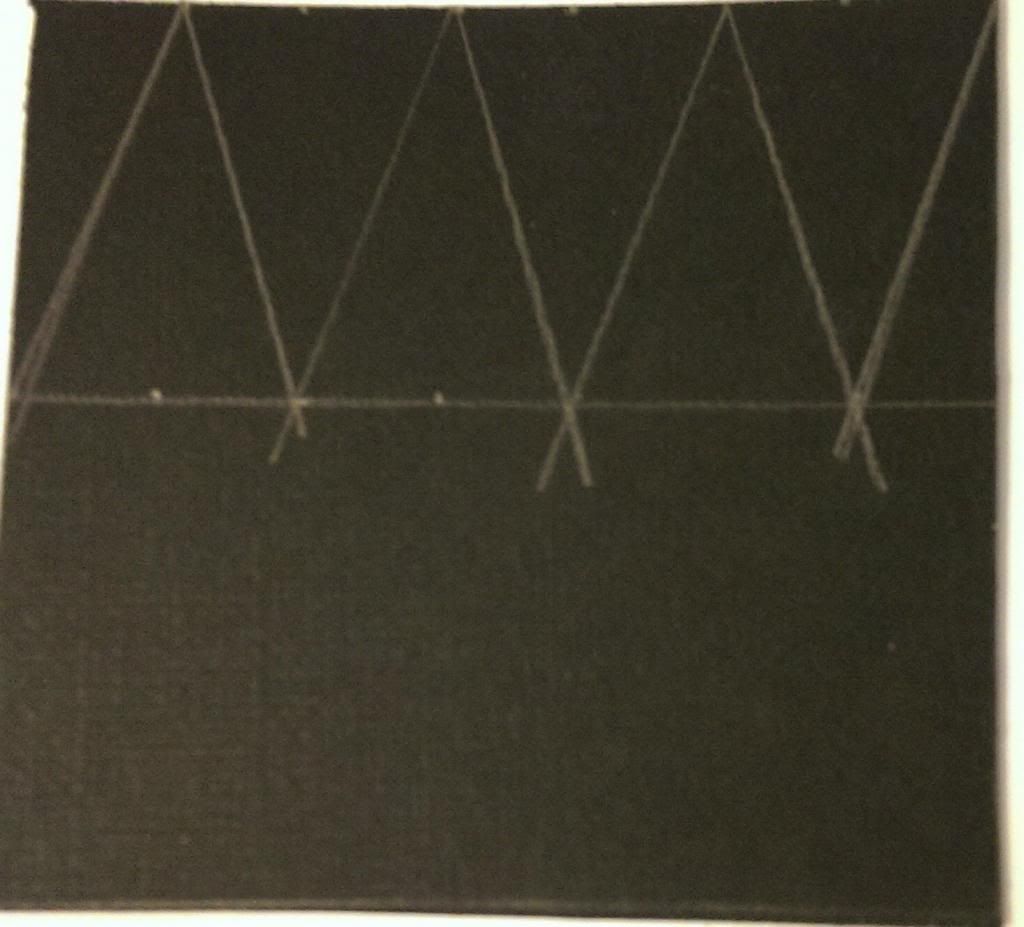
I started by grabbing some gorgeous coordinating papers from DCWV's Magnolia Way stack and trimming them to the shapes required for the sketch. Then with my black base I lightly sketched where my pieces would be placed on the back and leaving a generous border to adhere my pp panels cut out the centre areas.
Luckily I had a scrap piece of the same cardstock to cut a mat for my largest pictures, but for the smaller picture and the banners I used the panels I had cut out. I did a couple of test triangles on scrap paper to try and get some measurements I was happy with then made some from the black card stock.
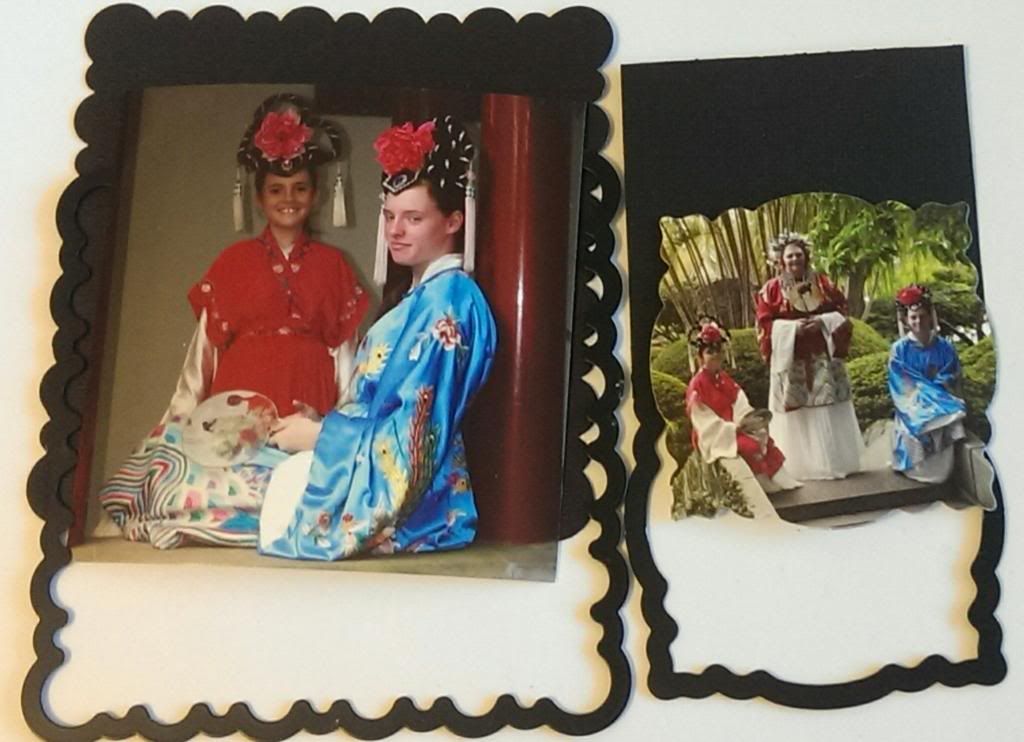
I originally was going with one pic but I just couldn't make it work :( So I grabbed a couple more and cut the black base for the first one with  an Mpress die and the photo in the second one with Xcuts Ornate Frame die.
I then edged all my black cardstock pieces with Stazon Metallic Gold. I cut some more slightly smaller triangles from leftover pp and then used a Making Memories Simply Stated Trademark rub on alphabet for the letters adding foam tape under both layers of triangles. I used double sided tape at the top of the bottom triangle to adhere it to my stretchy gold cord (dunno what the correct term is but that'll do lol).
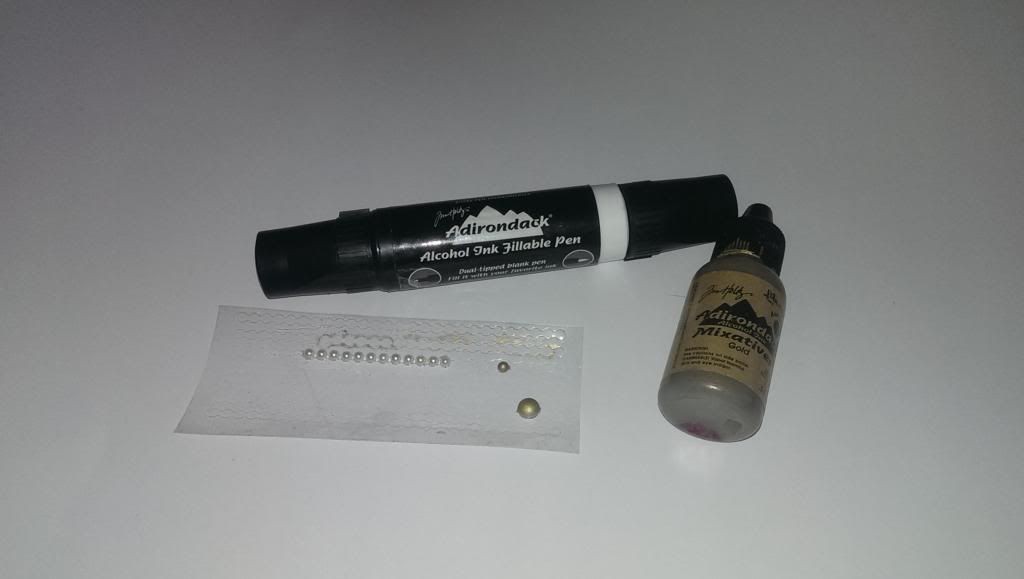
For my final touches I chopped a Black Bella Jumbo Flower in quarters and added it to two corners as well as under the smaller pics. The flower centres were too plain so I used alcohol ink to colour some pearls to add an accent. To do this I added a couple of drops of gold alcohol ink to my nonstick craft sheet and used alcohol ink fillable pen filled with blending solution to pick it up once dry and colour the pearls.
I then scattered black bling and my hand coloured pearls around the photos and layout and called it done. Sounds simple huh, took me 3 or 4 days of walking away and coming back but it's done now. Thanks for stopping by.
Happy Scrappin'
Purple

Monday, 24 February 2014

Metallic Rub-Ons and Anna Griffins Rosa, A Match Made In Heaven!

 So I have an extra post tonight :) I was inspired by the sketch at Freshly Made this week. This is the sketch. I apologise in advance for the pics. I have tried everything I can think of to take some good ones. I tried my regular camera as well as my phone too :(
 
I already had the piece I cut up for the panels and that was as far as I had gotten. When I saw this sketch it was an a-ha moment. It was perfect for the images I had coloured last week! Last week I tried out a technique I saw at a craft show. First I took black cardstock and the Anna Griffin Rosa Cuttlebug folder and ran them through my Ebosser. Next I took Metallic Rub-Ons by Craft-T Productions and for my first attempt I did as the guy at the show did and used finger daubers over the raised images. Whilst it looked OK I wasn't happy with just ok!
The above was done with Cameo Pink, Apple Green and Emerald. I got out the cotton tips/cotton buds/ q tips and set to work again. The advantages o this method are a much better control of the application of rub-on and much less product is used. A significant reduction, I used almost half my cameo pink on the above and hardly any Ruby Red for the one I chose for this card. I cut my Panel to 3 3/4" and then into 1 1/4" strips and then cut a plain black strip as well.
I think this is actually the best pic I have of the colouring! Next up I chose some stardream paper in as close a colour to the red flowers as I could get. I trimmed it to fit inside my square card base nicely (roughly 4 1/4 square) and also cut a strip to layer on top of my black strip.
Next I chose my sentiment from Inkadinkados Sending Wishes stamp set. I trimmed "love in bloom," it seemed appropriate, from the bottom of the wedding cake and stamped it with Distress Embossing ink and used Hampton Arts Black embossing powder from the Primary Collection. I then used double sided tape to adhere all my layers.
I can say and honestly mean it today, the photos just don't do this justice it looks so much better in real life but I did the best I could with the equipment I have . . . I love this technique, so much so I want to invest in some Inca Gold so I can shine the flowers up and see how they look :) But for the moment I will continue to play with the sets I have. I have all four sets of the Craf-T rub-ons. I did a purple panel as well, I am thinking maybe I will utilise this sketch again as they are shown off perfectly with it. Anyway enough of my waffling!
Happy Scrappin'
Purple

Monday, 23 January 2012

Project Organisation

Hiya everyone :)

I am currently doing the Project Organisation Challenge Course at The Scrap Rack. Wow it has some great ideas on organisation. I have already "purged" 250 - 300 12x12 papers. Most of my papers are sorted into colours already :) so that helps. I have a christmas draw. I also have in a separate place baby and birthday themes.

I have started with my stamps though as these are the things that usually end up spread from one end of my table to the other. I think I currently have 30 or 40 sets on my kitchen table. EEEK

I have not started cataloging them yet. I have just started sorting them into themes. I had them in an overflowing box lol. This is what's in my box after doing at least that many sets if not more yesterday. I originally had them sorted by brand. Now they are sorted into themes ready and waiting :)


To find what I wanted I had to go through ever single stamp set. Very hard when they were jammed in and there were a bazillion on top lol. This invariably led me to pulling out loads of stamps for a project just so I didn't have to go back again!

So far I have these themes:
*Wedding/Love
*Birthday
*Baby/Children
*Alphabets/Numbers/Month sets
*Christmas (that's a big one lol)
*Halloween

I have these waiting to be sorted to be rehomed. The theme specific sentiments are with their respective stamps.

*Flowers
*Flowers and Sentiments
*Mixed Sentiments
*Flourishes and Sentiments
*Flourishes
*Journal Blocks
*Borders
*Butterflies/Bugs/Animals
*Tim Holtz/Steampunk/Vintage

Then I have a bunch of  of stamps I don't know how to categorise lol. They include some that have a mix of everything, sentiments, flowers, swirls, crowns, guitars, bugs, you name it they have a bit of a few of them lol... I can do a flower/sentiment/bug/animal section I guess but what about the rest? Argh lol

One step at a time.. I am sure it will come to me. I just don't want to take my stamps out of their respective sets and store them specifically by theme lol. I like to keep them with original packaging so that makes it harder.

I am storing my stamps using sheet protectors and three ring binders. Three to four ring work best as there is less pull on the protective sheets. Now I only had two binders like that and one is being used for Lifestyle Crafts and Quickutz Dies, so as a temporary measure I have used book rings :) Five rings for each separate set.

Four sets of inkadinkado in a sheet protector works brilliantly! Others I work with til I get a fit I like.  The smaller recollections and stampendous sets I store sideways four in a sheet protector. I do them back to back so there is a front side and backside. I use a small amount of repositionable tape inside the top of the sheet protector to keep the stamps in in case I knock my folder over.

At some point I will stick the stamps to backing paper so they don't move about but I am trying not to bite off more than I can chew right now lol..

I can tell you that I can already see that having my stamps sorted by theme as much as possible is going to help me greatly! I can just grab a folder for the specific items I am looking for rather than searching through my brands to find what I need! Less searching time and more importantly Less Mess!!!

I will add some photos of the storage soon :)
Happy Scrappin'
Purple