blinkie

CraftyCrafter

Showing posts with label bella. Show all posts

Sunday, 18 May 2014

A Little Sketchy With Magnolia Way

Ok so last week I told you about my computer woes. Well they didn't end with getting a new adapter because that one went bang and tripped my fuses to boot lol. So I have ordered a new one and it should be here next week. Meanwhile I am working around the fact I have no lappy and using a combination of my phone and tablet with photobucket to be able to blog lol!

This week at Eclectic Ellapu the challenge is a sketch. I have to say it really kicked my butt, but I got there in the end . . . Here is the sketch from  Andria.
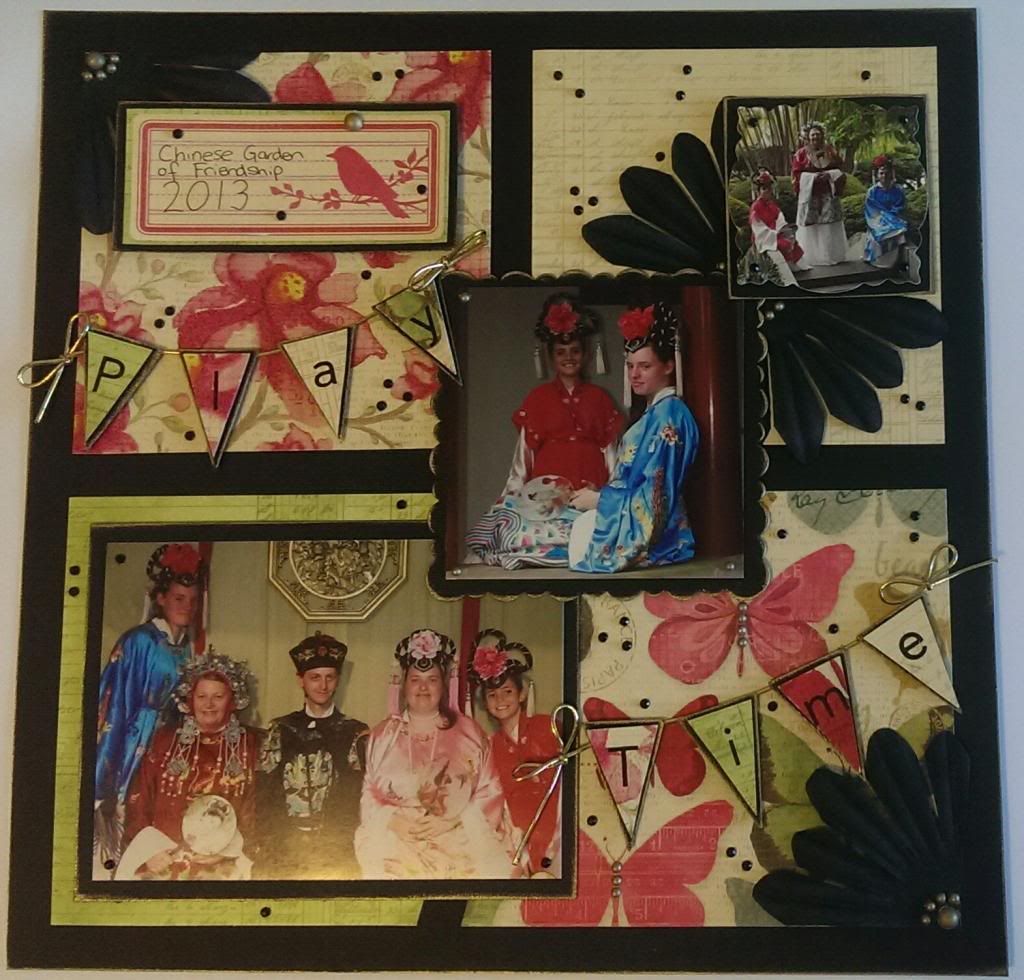
As you can see from above I decided to do a layout. Not something I have done for a while sadly. I need to get back in the swing of this and decided to pull elements of this sketch into my layout :)
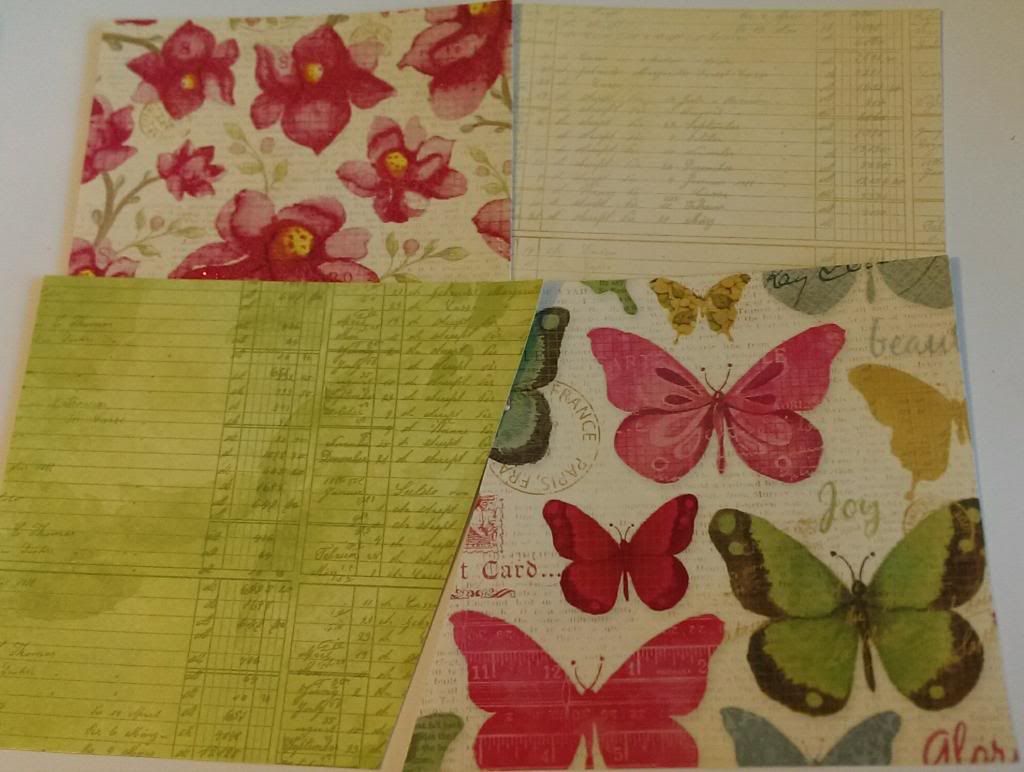
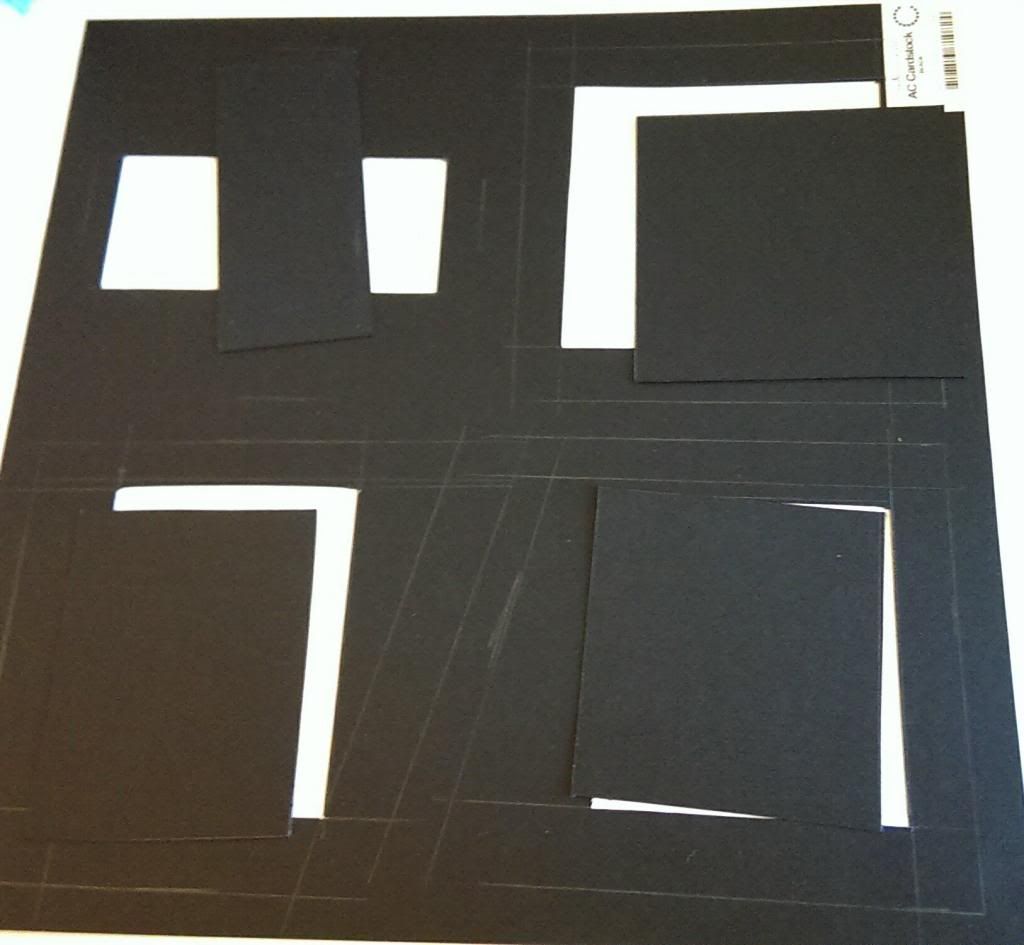
I started by grabbing some gorgeous coordinating papers from DCWV's Magnolia Way stack and trimming them to the shapes required for the sketch. Then with my black base I lightly sketched where my pieces would be placed on the back and leaving a generous border to adhere my pp panels cut out the centre areas.
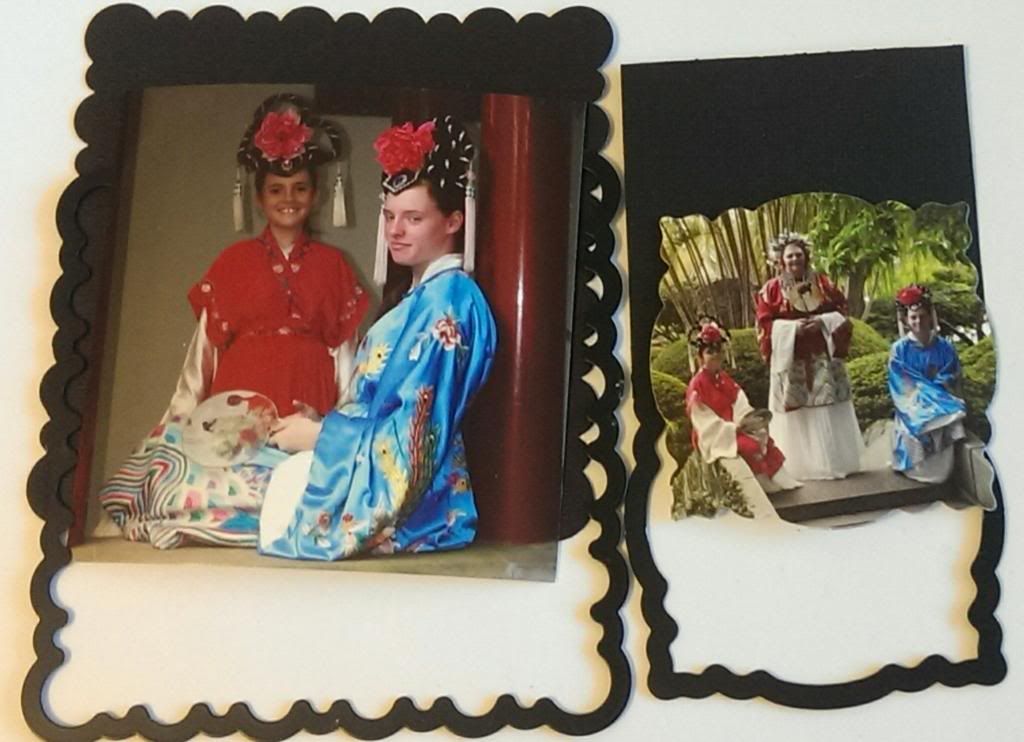
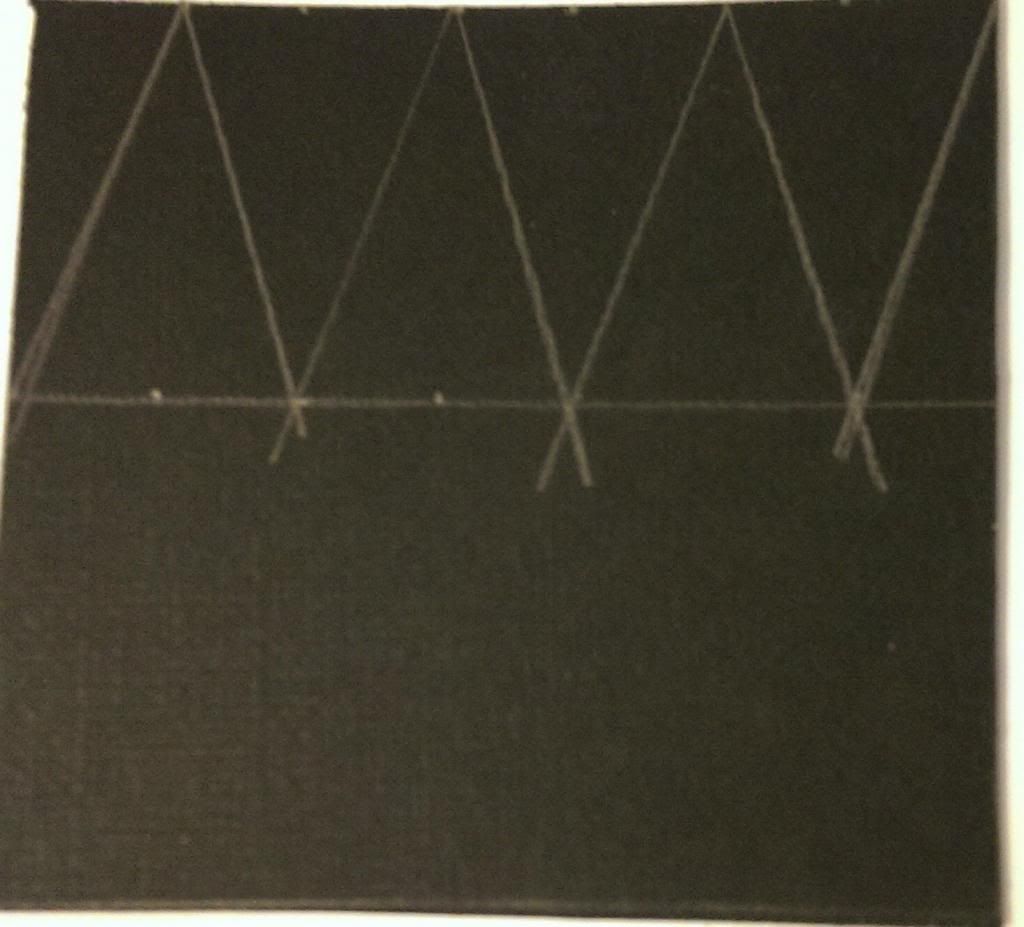
Luckily I had a scrap piece of the same cardstock to cut a mat for my largest pictures, but for the smaller picture and the banners I used the panels I had cut out. I did a couple of test triangles on scrap paper to try and get some measurements I was happy with then made some from the black card stock.
I originally was going with one pic but I just couldn't make it work :( So I grabbed a couple more and cut the black base for the first one with  an Mpress die and the photo in the second one with Xcuts Ornate Frame die.
I then edged all my black cardstock pieces with Stazon Metallic Gold. I cut some more slightly smaller triangles from leftover pp and then used a Making Memories Simply Stated Trademark rub on alphabet for the letters adding foam tape under both layers of triangles. I used double sided tape at the top of the bottom triangle to adhere it to my stretchy gold cord (dunno what the correct term is but that'll do lol).
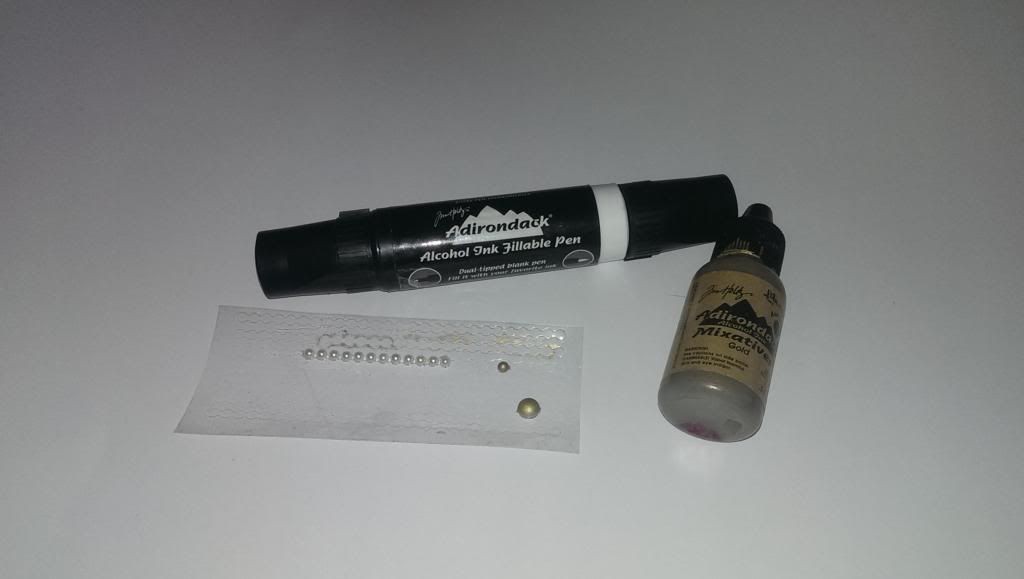
For my final touches I chopped a Black Bella Jumbo Flower in quarters and added it to two corners as well as under the smaller pics. The flower centres were too plain so I used alcohol ink to colour some pearls to add an accent. To do this I added a couple of drops of gold alcohol ink to my nonstick craft sheet and used alcohol ink fillable pen filled with blending solution to pick it up once dry and colour the pearls.
I then scattered black bling and my hand coloured pearls around the photos and layout and called it done. Sounds simple huh, took me 3 or 4 days of walking away and coming back but it's done now. Thanks for stopping by.
Happy Scrappin'
Purple
Saturday, 10 May 2014

My First Finished Mini Album Part 4

Soooo I have been computerless for a few weeks thanks to my cat knocking my laptop down . . . Why do they love to sleep on keyboards, even when you are not using it? Lol. So that's why it's been oh so quiet here. But I'm back and all fixed :)

Ok so I still have quite a bit more to post of the mini so here we go :)
 Lifestyle  Crafts Corners and alphabet dies are used for accents on this page.
 I have used Thickers, Bella stickers, more pearls, a pearl brad and an Idea'ology crown from Time Holtz for this little books cover. To close I used some Hemptique white hemp cord coloured with Distress Ink in Worn Lipstick.
 Just a Little Marylyn :)
 This is a smaller trifold flip out panel decorated with Prima flowers, brads lifestyle crafts dies and ribbon.
 My youngest loved the wobble board. I forgot to take a pic of the other side though. OOPS!
So we are three more pages through :) about halfway I should think.
Happy Scrappin'
Purple

Thursday, 26 January 2012

Purple Rain


Another day another journal page :) I started this one with a ceramcoat gesso background as the page before has sharpie on it that of course bled through.

I wanted to see what I could do with distress inks on gesso and still retain the colour. The colours came out muted but that's a lot to do with the technique. I covered the whole page with milled lavender first. I then used a makeup sponge to add seedless preserves around the edges. Using the same sponge I moved the colour around and pulled it towards the centre. I  repeated with dusty concord. I then repeated again with seedless preserves and dusty concord. Make sure it dries well before you do anything else as the colour wipes right off when wet.


Now if I was smart I would have used a fixative spray at this point lol. Anyhoo next time! I used a purple pitt Big Brush Marker to add some raindrops all over the page.

 I had a piece of cs that I had stamped off on with a fiskars cherry blossom background stamp. I had used some Windsor & Newton watercolour paints and shimmer spray to see how the cs would look and it looked pretty lol and because the cherry blossoms and been stamped with distress they ran a little.

So I took the cs and stamped my Blockheads Stamps faerie on it. I spritzed this with even more shimmer mist to make it run and bleed a little to fit in with the raining theme. I grabbed a tag from my KaiserCraft Magic Happens tags and stamped the Tim Holtz Stampers Anonymous sentiment near the flourish. I trimmed a little off the other end as it was too long. Again I spritzed with shimmer and let the words run a little.

I used a large Bella fabric flower and a smaller Prima daisy in the centre of this. both folded over. In hindsight I probably should have just cut them so they layered flatter. I used foam tape to tape my fairy down and pop her off the page a little, securing the tag behind her.

Then came the hard part. Well not hard just the bit that took the most time... I got my bling on and blinged over 150 1.5mm rhinestones all over the page with Multi-Medium Matte... Best glue ever! To make even more glistening raindrops.


If you have any questions about the techniques I will do my best to answer :)
Happy Scrappin'
Purple

P.S Wouldn't this make an adorable card? I am going to make one for a girl's birthday this weekend :)

Purple Rain