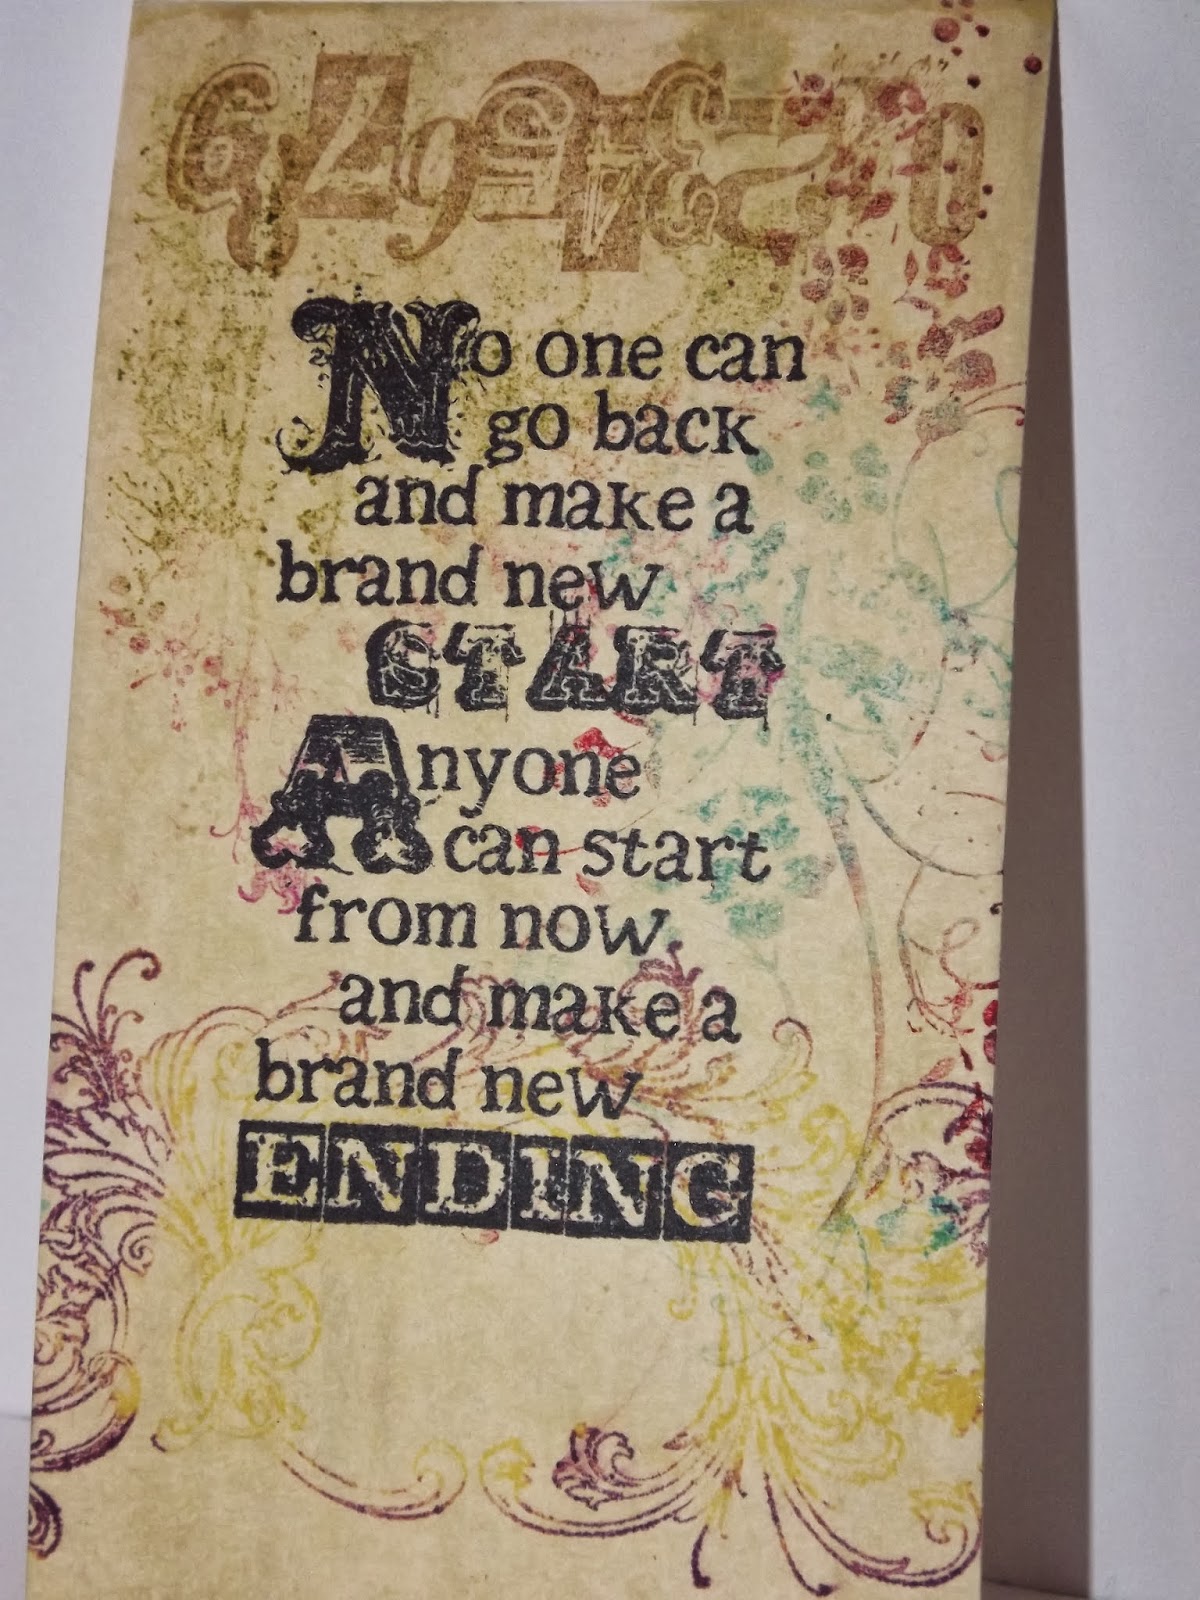
Woohoo Managed to cram three day one elements into one project! Also manage to sneak in some more patina (ok so I like this technique), I know it's not in patina colours but Tim did say you could try any lol... I like to try!
Pretty in Pink! lol. I had another to post but it's not girlified enough! hahahaha I shall be back!
Happy Scrappin'
Purple
Showing posts with label rock candy. Show all posts
Saturday, 12 October 2013
Creative Chemistry 102 Day 5 Girly Grunge Style
So here we are at day 5 with a few more fun techniques. I have only done four so far as I don't have everything so off we go :)
Next I probably went a bit lighter than I should have for this, oh and I shouldn't have simmer misted the background! A bit too sparkly for pics! Unfortunately my glitter isn't showing up well. Maybe II should have taken the photo's later so the light hit the tag lol.
Lets get our shabby on next :)
Last but not least I love this effect!
So thats my 5 days of Creative Chemistry 102! I learnt a lot of cool new tricks! :) Now I just need to get them all finished off girly grunge style! :)
Happy Scrappin'
Purple
| Rusted Tag |
| Rusted Elements |
Next I probably went a bit lighter than I should have for this, oh and I shouldn't have simmer misted the background! A bit too sparkly for pics! Unfortunately my glitter isn't showing up well. Maybe II should have taken the photo's later so the light hit the tag lol.
| Sticky Glitter |
| Sticky Glitter Close Up |
Lets get our shabby on next :)
| Shabby Chic |
| Tarnished Silver |
Happy Scrappin'
Purple
Creative Chemistry 102 Day 3 Girly Grunge Style
Hi, back again! Not sure I need to split this post as I struggled today and I also couldn't get any glue n seal but I can tell you it s very high on the want list now! So here we go again :) I have two for the first one as I killed my first attempt and you know... I like to share ;)
Jury is out on this one! I did this quite a few times lol. I like the last one I did. The first couple . . . Not so sure! Kind of like my leaves though :)
Ok last one for today is glitter! Who doesn't love glitter! Ok well some people don't but it's soooo sparkly! Yep I love it!!!
Ok well I have another post to write up for my DT then maybe if I am not too tired I can give the day 4 techniques a go! I have mot of the supplies assembled lol.
Happy Scrappin'
Purple
| Smudge Stamping Take 1 |
| Smudge Stamping Take 2 |
Jury is out on this one! I did this quite a few times lol. I like the last one I did. The first couple . . . Not so sure! Kind of like my leaves though :)
| Brayered Stains Take 1 |
| Brayered Stains Take 2 |
Ok last one for today is glitter! Who doesn't love glitter! Ok well some people don't but it's soooo sparkly! Yep I love it!!!
| Glitter |
Happy Scrappin'
Purple
Thursday, 10 October 2013
Creative Chemistry 102 Day 1 Part One Girly Grunge Style!
Because we are packing so many techniques into one class I have decided to break my posts up into 2 sections. I won't go into detail on the techniques though as they are all in Creative Chemistry 102. You need to complete 101 before 102 but it's well worth it. Especially if you are just starting out with Tim Holtz' Distress Products! As a matter of fact I redid all of 101 again to get in the groove for 102! I have decided to try and girl it up for CC02 as it is something I struggle with sometimes. I can make man cards easy peasy with distress but sometimes find it hard to make feminine ones...
Here we go with the first technique.
Wow am I ever falling in love with distress paints! Onto the next technique! I overworked his one a bit, but I do like how it turned out with some hints of colour peeking out.
I had to think outside the square for this one as I don't have what tim used so I took my tattered florals die and some black Shrinkies :)
Well that's the mid point for today Hope you like my efforts so far! My fave out of all I have done so far is the first one! It's so pretty! :)
Happy Scrappin'
Purple
Here we go with the first technique.
| Distress Paint Marbling |
| Coloured Crackle |
| Altered Surface |
Happy Scrappin'
Purple
Thursday, 14 February 2013
Willow Holding Baby Card
I was given a paper stack for christmas with quite a few papers I am going to find challenging to use. Some are quite bright lol. It's by Kaisercraft and is called Antique Rose. I had taken a particularly bright orange piece and attacked it with some Picket Fence Distress Stain and quite liked the results so decided to use it to make a card.
I was looking around for some ideas and my eyes set upon a stamp I got when I was at a craft show in 2012. The stamp is from Whiff of Joy called Willow Holding Baby. I had never heard of the stamp company before but I fell in love with the stamp :). Good thing it was 50% off haha.
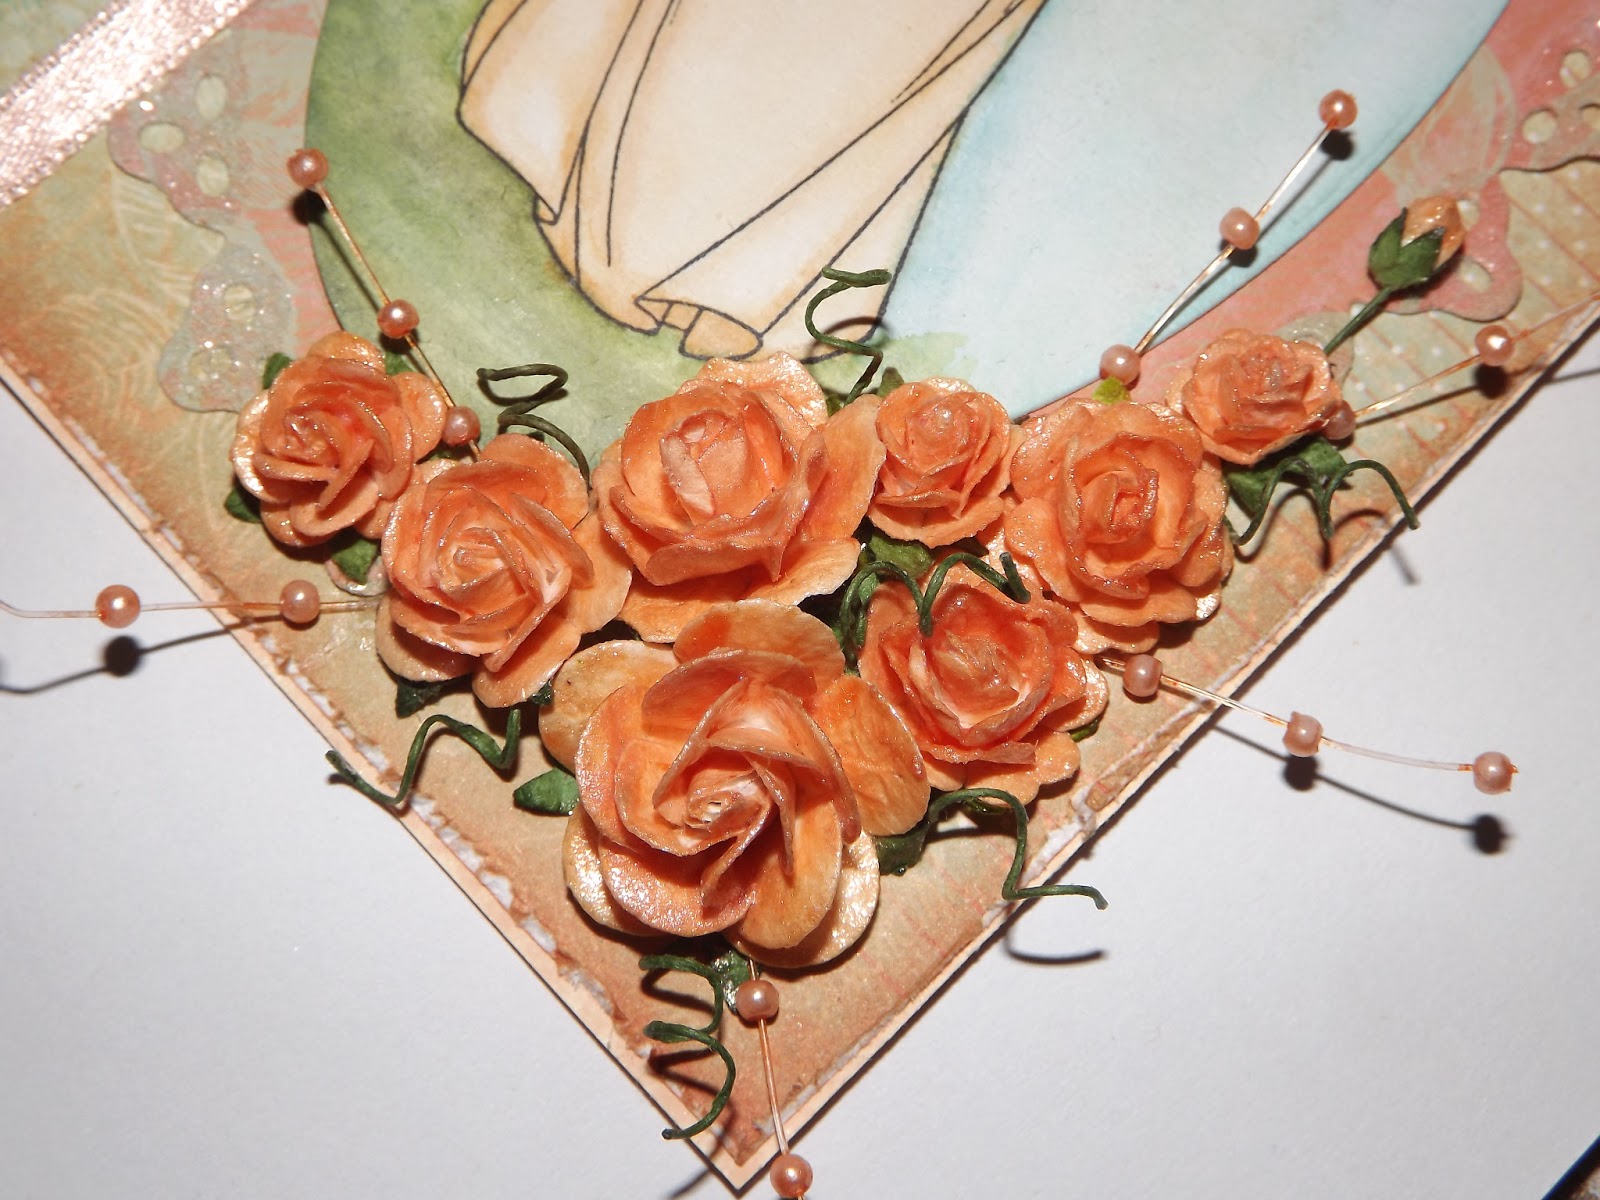
I stamped her onto watercolour paper and outlined her with distress markers, main colours used are Dried Marigold and Spiced Marmalade for her dress, Broken China for the baby blanket and a mix of Frayed Burlap and Tattered Rose for the skin with a hint of watered down Barn Door for the cheeks. Using my Tim Holtz waterbrush I wet the outlines and moved the colours about. I dried the image and reapplied colours as needed. I scribbled a random mix of greens around her feet and mixed them with the waterbrush for grass. I then outlined around the rest of the image with tumbled glass and pulled the colour outwards. I cut the image with a Lifestyle Crafts Nesting Oval and then used my ink blending tool with Bundled Sage and Tumbled Glass around the edges.
To mount this on I cut the largest Nesting Oval Doily from Lifestyle Crafts out of the paper I had previously used Picket Fence Distress Stain on. I then used a Franchville Glue Pen around the holes of the oval doily and sprinkled Rock Candy Distress Stickles Dry Glitter over this.
I adhered the coloured image to this and then selected another sheet of paper from the Antique Rose stack to mount this on. I cut the sheet the same side as my card and then used the Tonic edge distresser to distress the edges. I found some matching ribbon for one side of the card and used double sided tape to adhere it. Then the fun began haha.
I got a bunch of I am Roses from my stash and coloured them with some home made glimmer glaze (recipe for this one was Reeves Iridescent Medium, Multi Medium Glossy, a spritz of water and Dried Marigold Reinker til desired colour is reached). I had fun working out how to do this cluster as I haven't had much practice so whenever I try it it takes me hours or in this case days lol. I coloured some pearl spray with an equal mix of Salmon and Peach Bellini in a snap lock bag and made some twizzles with the stems of the flowers. I glued them all on with Glossy Accents.
And there you have it. I had most of it done quick and easy. It was just the flowers that almost beat me but I won in the end lol. One thing I did learn was to colour a small section at a time to add water too as it's harder to blend once it dries. So in love with this stamp. I could colour her over and over! lol
Happy Scrappin'
Purple
Moving Along With The Times - Only Girls Aloud
Make It Monday - Anything Goes
Eclectic Ellapu - Girly
The Joyful Stamper - Inspire Me Fridays
Labels:
alcohol ink,
antique rose,
distress markers,
distress stain,
doily,
franchville,
glossy accents,
kaisercraft,
lifestyle crafts,
oval,
ranger,
rock candy,
tim holtz,
tonic,
waterbrush,
whiff of joy
Monday, 2 April 2012
Creative Chemistry 101 Day Ten Finished Projects
Lucky last. Not sure how I feel about this one. Think I need to watch some tattered florals flower making tuts lol. I turned this one into a mothers day card seeing as that is coming up in May for us in Australia.
The flower is made with all four layers of the tattered florals die from grungepaper. Coloured with a combo of ranger pigment inks and and stazon. Then they have been rock candied and shimmer painted.
A close up of the flower and the swarovski danglies and rose at the end. The flower centre is a Making Memories bling brad.
The background stamp is from stampin' up.
Well that's all folks. All for now at any rate. Got loads of study and cleaning in the next week. Having a visitor from the UK over and modules due on Thursday lol. Busy Busy. I have a few blogs ready to post though and I am sure I will be about :)
Happy Scrappin'
Purple
Entering this at Just Keep On Creating - anything goes
Sunday, 1 April 2012
Creative Chemistry 101 Day Eight
Almost there! :) What an adventure this has been. I can say I have loads of extra's I haven't made into anything yet. But I do have 11 complete cards so far to show you later :)
Day 8 was paint. I still have one work in progress. I used milled lavender for my crackle and am ho hum about it lol... But it still needs some distressing so we shall see how it turns out :)
So my first two are okish but is a bit hard to see the resist in normal light. This is because it is unprimed canvas (I don't have any sticky back). Next time I will prime first! I like the colours though :)
Butterflys! swoon lol I misted this one with water so that the white would pop more...
Ok even more butterflys. This is the technique on plain old cs. As the canvas wasn't working thought I would try this lol. Love how it turned out!
Ok ones just a lil dark lol. Was too busy haaving a chat ;) and forgot to dab the flowers lol.
Ok so rather than post without the last pic I decided to suck it up and post lol... Had a bit of problem with my sticky stamp lifting the crackle pain but I think it adds to the distressed look :) lol
So we are close to the end :( Hopefully there will be another class at some point!
Happy Scrappin'
Purple
Monday, 12 December 2011
12 Cards of Christmas T!m Holtz Style Card 4
Well i have completed cards four, five and six. Six is a headache because I do not like it so I am sure I will change it lol. This is my inspiration for card four from T!m.
Card 4
Well this one took me a while to make. Lots of layers and small steps lol. So bear with me and we will get this show on the road.
Ok so first I took some clear packaging (from lifestyle craft dies) and used it with my Sizzix On The Edge Scrollwork die.
Then I used some Snow Cap paint dabber to define the edges a little bit and added a thin strip of double sided tape for later.
Using my Ecraft I used a christmas tree svg I already had and added the number 25 to it in SCAL 3, I cut it out of grungepaper. I forgot to take the blade cap off so forgive the ragedy edges lol.
I covered the tree in Peeled Paint Distress Stain then went around the edges with Pine Needles. I added some Brushed Corduroy to the stump but decided it was too light and went over it with Walnut Stain. To add a teeny bit of sparkle I brushed on some interference red Pearl-Ex.
I grabbed my jar oof Rock Candy crackle paint and generously covered the tree with it and set aside to dry for a good long while.
I then started on my background. Using Pine Needles, fired Brick and Picket Fence Distress Stains I laid a generous amount down on my craft sheet. I sprayed my cardstock with water and then dragged it through the colours.
I used a flourish stamp from See Dee's Monarch set and Picket Fence Distress Stain to stamp some flourish's on my background.
I then used various Fiskars stamps from the Vintage Christmas set with Pine Needles and Fired Brick Distress Stains. Some of the stamps are missing as my daughter has been using them for her christmas cards lol.
I distressed the edges of my background first with Pine Needles, then with Fired brick.
Once the tree had crackled I removed the excess from around the edges and from inside the number. I grabbed a small piece of Kaisercraft paper and glued it behind the numbers. I then filled the numbers in with glossy accents. I cannot tell you how many times I had to fix it because it got bumped or I stuck my fingers in it accidentally. Ended up moving it to a nice safe spot lol.
I set that aside to dry overnight and started card five lol. Once thhe tree was dry I found a metal star in my stash, I think it's from Making Memories. I used Metallic Gold mixative to colour the star.
I then grabbed a metal stocking and present from the same Making Memories set and dropped some Alcohol Ink onto them. I used Watermelon on the stocking and Bottle on the present. I added some red seed beads to the christmas tree and foam squares to the back. I added all the elements to the card and bent the plastic border to give it dimension.
Another complete card. Yay! Hope you like this one. It took a lot of effort and I had a few misshaps allong the way lol.
Merry Christmas and Happy Scrappin'
Purple
Subscribe to:
Posts (Atom)