Showing posts with label doily. Show all posts
Wednesday, 20 February 2013
Simon Says White On White
I decided to try my hand at this challenge on the Simon Says Blog. It's not as easy as it sounds and my card so did not come out as I had envisioned it lol . . . I wanted it to have pretty 3d butterflies and things for example lol.
I grabbed some different cardstocks to use and set to work. I used plain white as my base (9" x 4.5"), I then cut a 4.5" frame using my ecraft out of pearl cs and put the frame aside for another time and used the middle bit lol. Next I used a Lifestyle Crafts Doily Die to cut a doily out of white glitter cs from an American Crafts Christmas Glitter stack. I then used the pearl again to cut a Nesting Circle Doily, followed by an acetate Nesting Circle. I also cut four butterfly corners for the Corners It Kit.
I adhered the first pearl cs to my square base with tape and then glued the butterfly corners down with Matte Multi Medium. I then glued the doily on. Onto my acetate circle I stamped a Fiskars Wishes All Around Best Wishes stamp (had to do it a few times as I kept lining in up wrong ;) lol). I then hid some foam squares I had cut in half under the stamped scallops and adhered it to my small nesting lace doily. I used more foam tape and adhered it to my card and it was done.
That didn't stop me from trying to add some butterflies though lol . . . They just wouldn't work for me :(. I have some leftover pieces from this card so maybe I will try again but add a different shape for the greeting. I do love the shadow the greeting gives onto the white though :)
Happy Scrappin'
Purple
I am entering this at:
Simon Says Stamp - White on White
Make It Monday - Anything Goes
Inspire Me Fridays - Anything Goes
Love To Create - All That Glitters
Challenges 4 Everybody - Anything Goes
Thursday, 14 February 2013
Willow Holding Baby Card
I was given a paper stack for christmas with quite a few papers I am going to find challenging to use. Some are quite bright lol. It's by Kaisercraft and is called Antique Rose. I had taken a particularly bright orange piece and attacked it with some Picket Fence Distress Stain and quite liked the results so decided to use it to make a card.
I was looking around for some ideas and my eyes set upon a stamp I got when I was at a craft show in 2012. The stamp is from Whiff of Joy called Willow Holding Baby. I had never heard of the stamp company before but I fell in love with the stamp :). Good thing it was 50% off haha.
I stamped her onto watercolour paper and outlined her with distress markers, main colours used are Dried Marigold and Spiced Marmalade for her dress, Broken China for the baby blanket and a mix of Frayed Burlap and Tattered Rose for the skin with a hint of watered down Barn Door for the cheeks. Using my Tim Holtz waterbrush I wet the outlines and moved the colours about. I dried the image and reapplied colours as needed. I scribbled a random mix of greens around her feet and mixed them with the waterbrush for grass. I then outlined around the rest of the image with tumbled glass and pulled the colour outwards. I cut the image with a Lifestyle Crafts Nesting Oval and then used my ink blending tool with Bundled Sage and Tumbled Glass around the edges.
To mount this on I cut the largest Nesting Oval Doily from Lifestyle Crafts out of the paper I had previously used Picket Fence Distress Stain on. I then used a Franchville Glue Pen around the holes of the oval doily and sprinkled Rock Candy Distress Stickles Dry Glitter over this.
I adhered the coloured image to this and then selected another sheet of paper from the Antique Rose stack to mount this on. I cut the sheet the same side as my card and then used the Tonic edge distresser to distress the edges. I found some matching ribbon for one side of the card and used double sided tape to adhere it. Then the fun began haha.
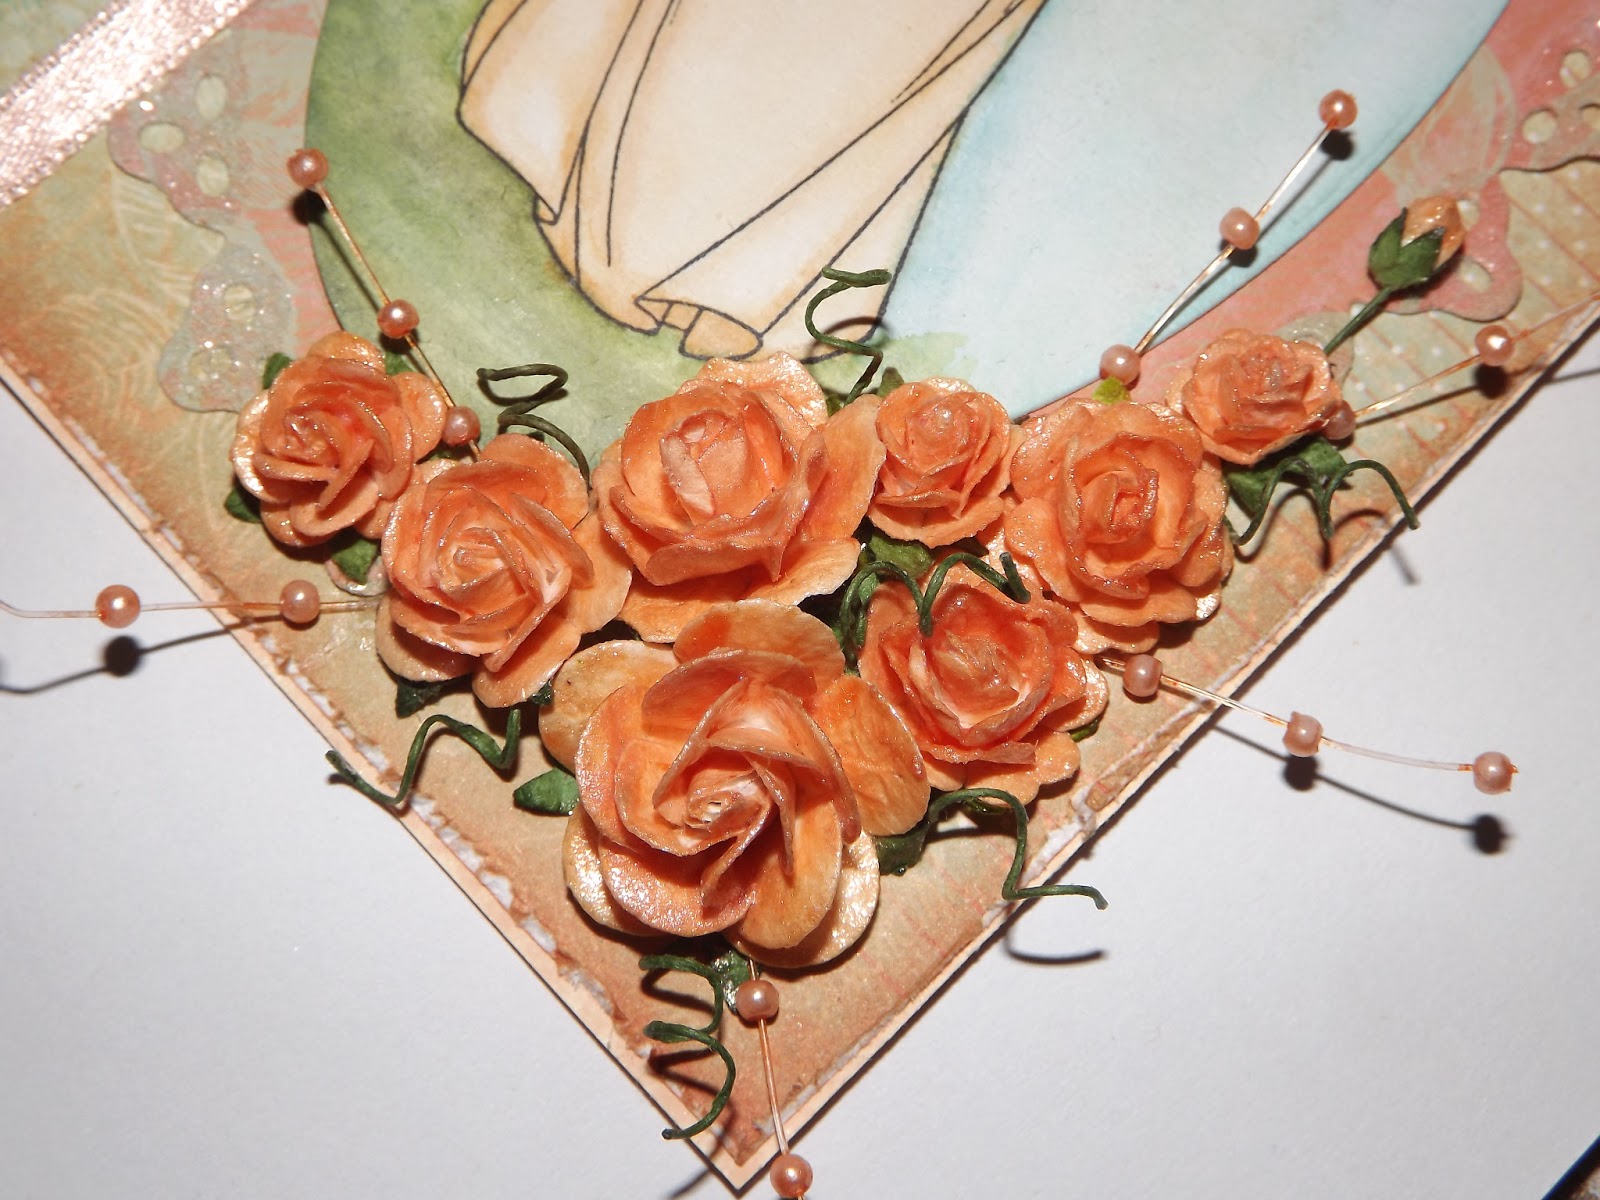
I got a bunch of I am Roses from my stash and coloured them with some home made glimmer glaze (recipe for this one was Reeves Iridescent Medium, Multi Medium Glossy, a spritz of water and Dried Marigold Reinker til desired colour is reached). I had fun working out how to do this cluster as I haven't had much practice so whenever I try it it takes me hours or in this case days lol. I coloured some pearl spray with an equal mix of Salmon and Peach Bellini in a snap lock bag and made some twizzles with the stems of the flowers. I glued them all on with Glossy Accents.
And there you have it. I had most of it done quick and easy. It was just the flowers that almost beat me but I won in the end lol. One thing I did learn was to colour a small section at a time to add water too as it's harder to blend once it dries. So in love with this stamp. I could colour her over and over! lol
Happy Scrappin'
Purple
Moving Along With The Times - Only Girls Aloud
Make It Monday - Anything Goes
Eclectic Ellapu - Girly
The Joyful Stamper - Inspire Me Fridays
Labels:
alcohol ink,
antique rose,
distress markers,
distress stain,
doily,
franchville,
glossy accents,
kaisercraft,
lifestyle crafts,
oval,
ranger,
rock candy,
tim holtz,
tonic,
waterbrush,
whiff of joy
Subscribe to:
Posts (Atom)