blinkie

CraftyCrafter

Showing posts with label dcwv. Show all posts

Sunday, 18 May 2014

A Little Sketchy With Magnolia Way

Ok so last week I told you about my computer woes. Well they didn't end with getting a new adapter because that one went bang and tripped my fuses to boot lol. So I have ordered a new one and it should be here next week. Meanwhile I am working around the fact I have no lappy and using a combination of my phone and tablet with photobucket to be able to blog lol!

This week at Eclectic Ellapu the challenge is a sketch. I have to say it really kicked my butt, but I got there in the end . . . Here is the sketch from  Andria.
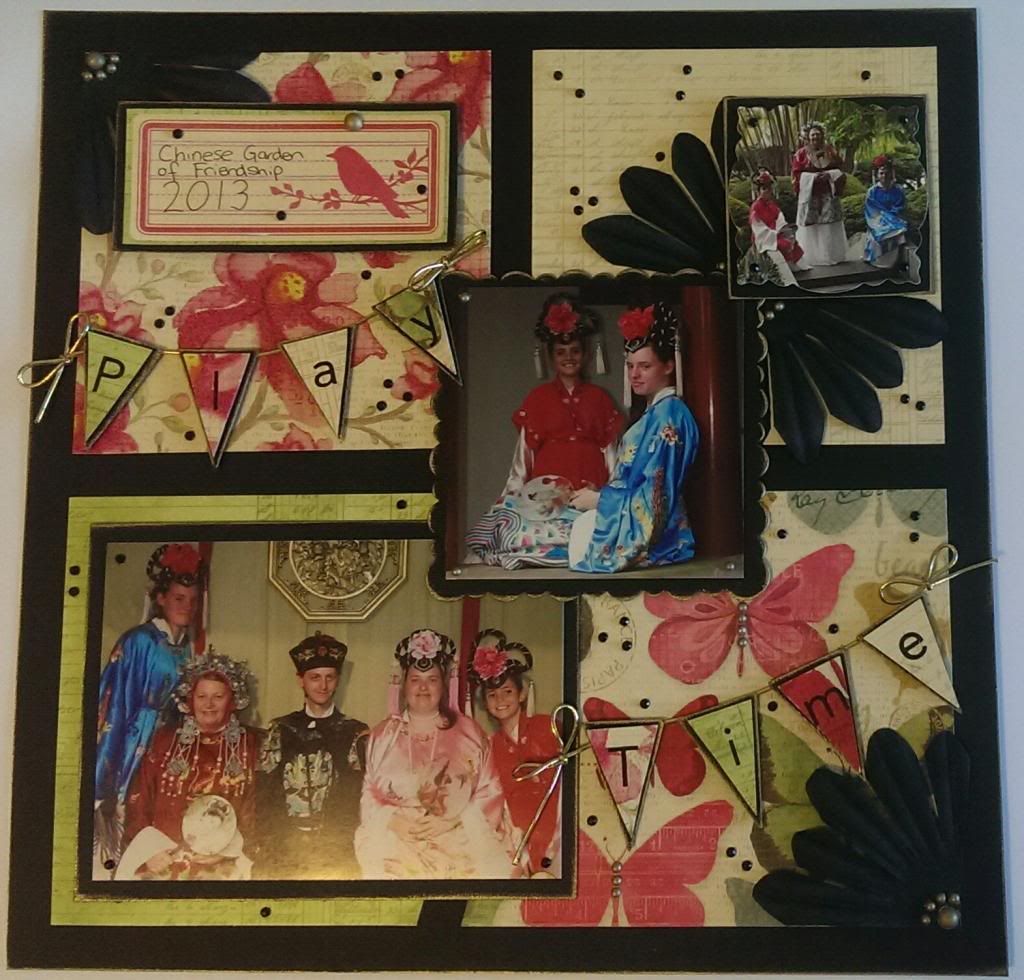
As you can see from above I decided to do a layout. Not something I have done for a while sadly. I need to get back in the swing of this and decided to pull elements of this sketch into my layout :)
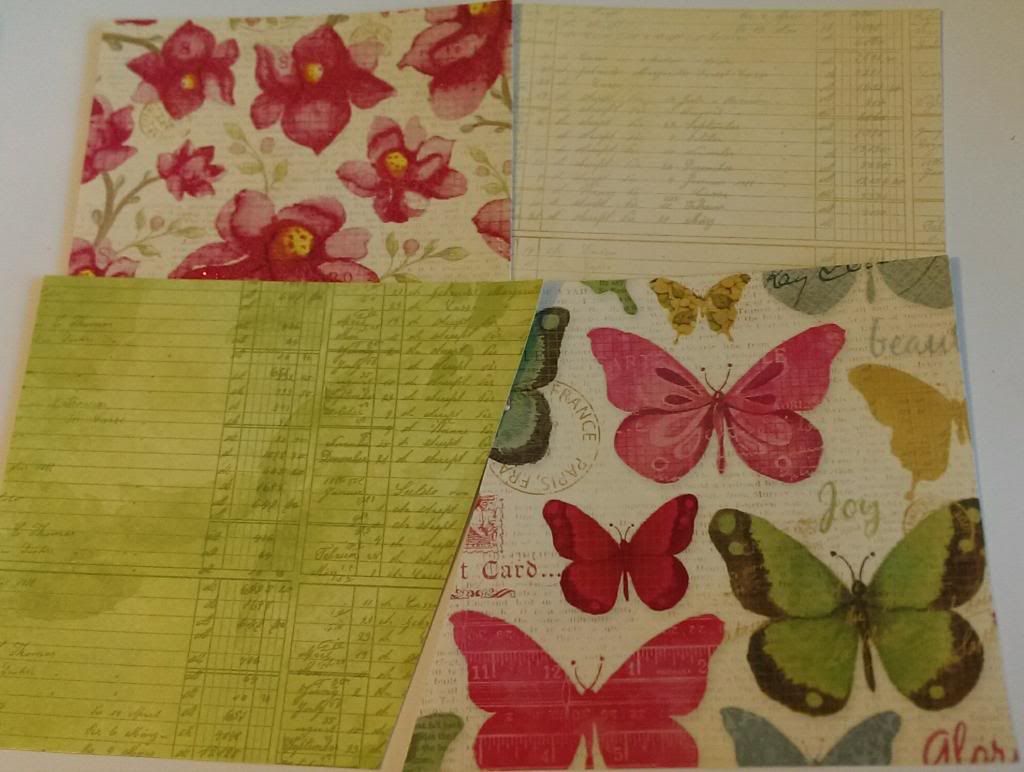
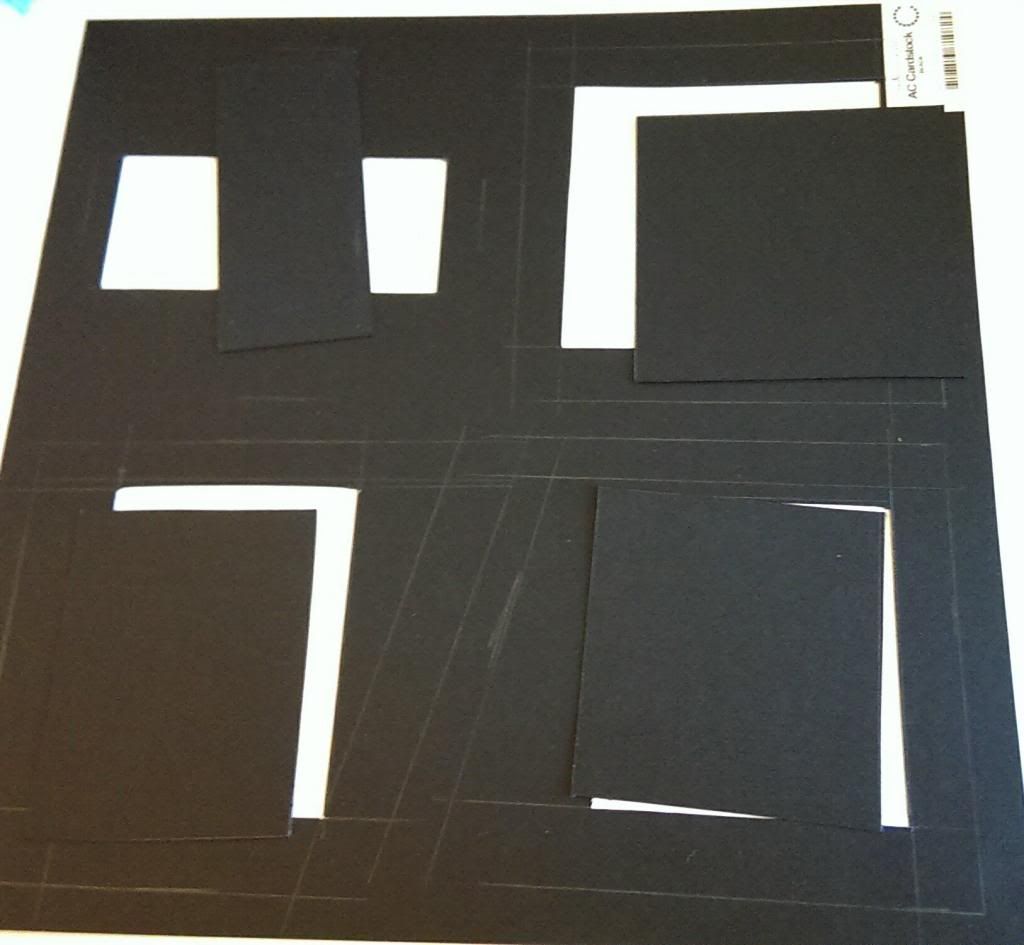
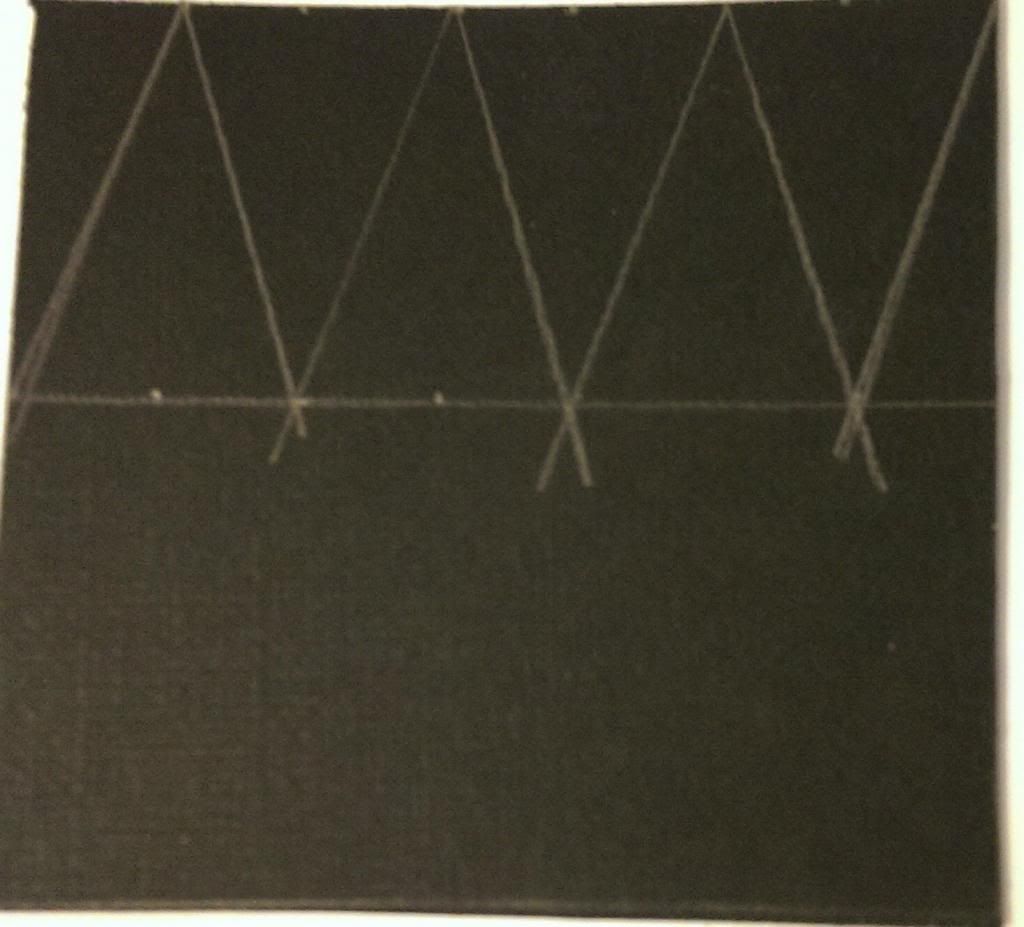
I started by grabbing some gorgeous coordinating papers from DCWV's Magnolia Way stack and trimming them to the shapes required for the sketch. Then with my black base I lightly sketched where my pieces would be placed on the back and leaving a generous border to adhere my pp panels cut out the centre areas.
Luckily I had a scrap piece of the same cardstock to cut a mat for my largest pictures, but for the smaller picture and the banners I used the panels I had cut out. I did a couple of test triangles on scrap paper to try and get some measurements I was happy with then made some from the black card stock.
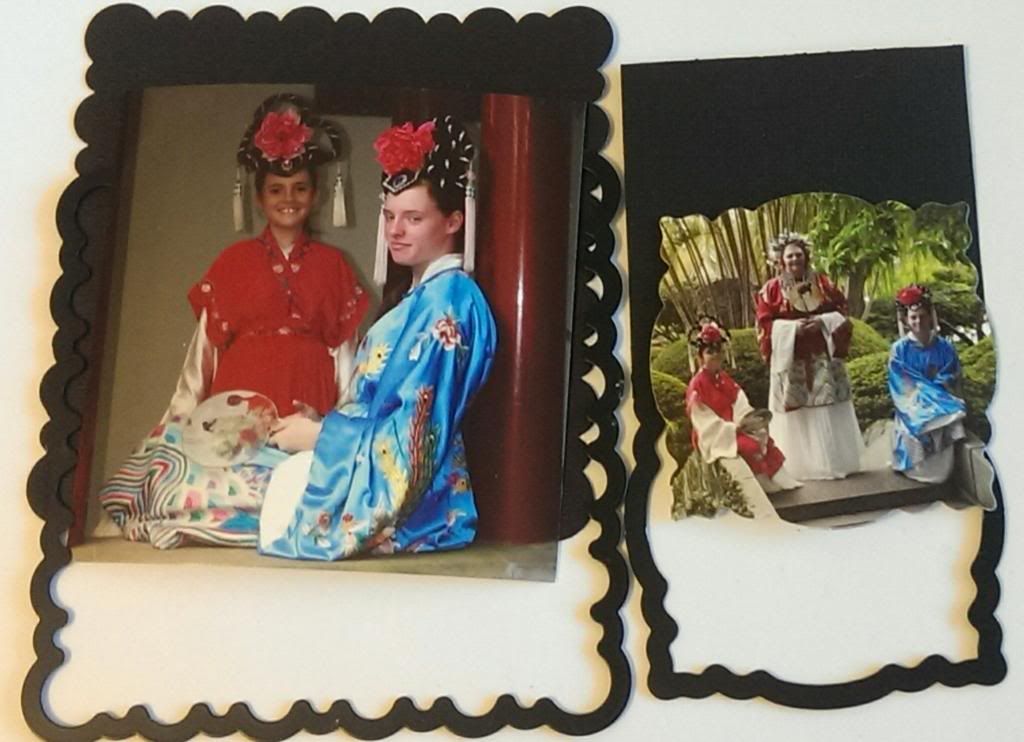
I originally was going with one pic but I just couldn't make it work :( So I grabbed a couple more and cut the black base for the first one with  an Mpress die and the photo in the second one with Xcuts Ornate Frame die.
I then edged all my black cardstock pieces with Stazon Metallic Gold. I cut some more slightly smaller triangles from leftover pp and then used a Making Memories Simply Stated Trademark rub on alphabet for the letters adding foam tape under both layers of triangles. I used double sided tape at the top of the bottom triangle to adhere it to my stretchy gold cord (dunno what the correct term is but that'll do lol).
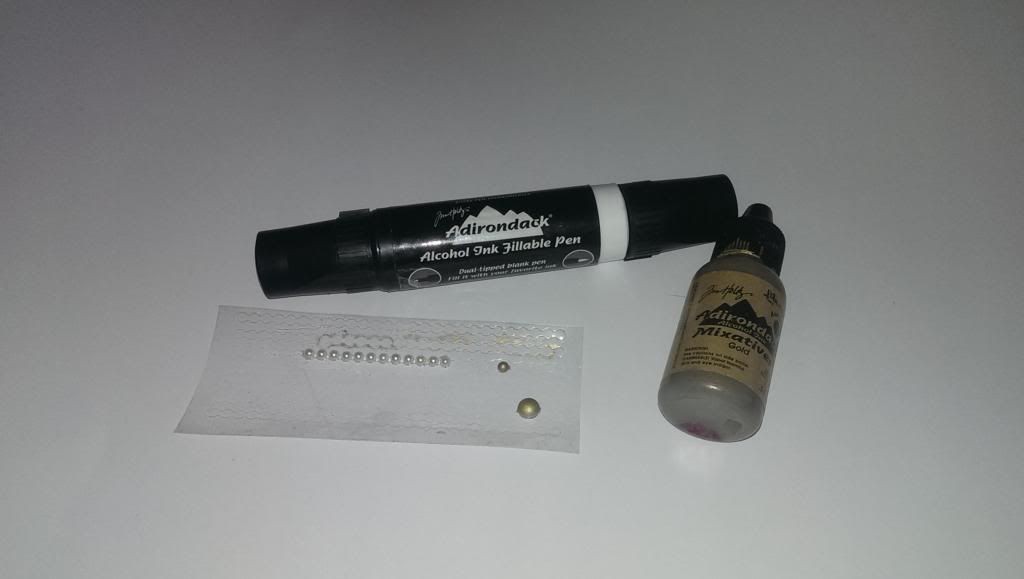
For my final touches I chopped a Black Bella Jumbo Flower in quarters and added it to two corners as well as under the smaller pics. The flower centres were too plain so I used alcohol ink to colour some pearls to add an accent. To do this I added a couple of drops of gold alcohol ink to my nonstick craft sheet and used alcohol ink fillable pen filled with blending solution to pick it up once dry and colour the pearls.
I then scattered black bling and my hand coloured pearls around the photos and layout and called it done. Sounds simple huh, took me 3 or 4 days of walking away and coming back but it's done now. Thanks for stopping by.
Happy Scrappin'
Purple

Monday, 3 February 2014

Baby Shower Decorations Made with SVG's from SVG Cuts and My Grafico using an Ecraft


Well I posted a couple of the boxes I made the other week for the baby shower and now I am going to share with you some pics of the table and banner :) All coloured plain cs id from Canson and the white is HP printer cs.
Full Banner
Banner Up Close
 I used MyGraficos SVG Favors Gift Box by Sherry K for the Treat Boxes and Baby Boy for the onesie and cake topper backgrounds. I cut everything but the butterflies with my ecraft and the butterflies were cut on my Ebosser using lifestyle crafts dies. The Cheesecakes and Butterfly cakes also have a cupcake wrapper from Lifestyle Crafts around them. I had to re-size them by snipping quite a few bits off the end because they are bigger than our standard muffins lol . . .
Mini Cheesecakes with Butterfly Toppers
It's a Girl! Butterfly Cakes


Gift Boxes all Stacked Up
I used the Bundle of Joy SVG kit from SVG Cuts for the prams and the rocking horses and various papers such as DCWV and K & Co.
SVGCuts Pram
SVGCuts Rocking Horse
I made two of each of the rocking horse and pram, my mum liked them so much she too a pram home with her :) Here is a pic of the whole table.
So that was the baby decorations I made for My cousins Baby Shower. Happy To announce the baby arrived safe and sound in January! Now I know its been a long time between blogs lol, sorry *ducks head and blushes.* Truth is with School holidays and Christmas, a family holiday and a baby being born blogging got left by the way side. DT duties start again next week and I also have a few other projects to post that I've been working on so I am going to at least 1 scheduled post a week lol. That's my goal anyhow!
Happy Scrappin'
Purple

Sunday, 10 November 2013

Baby Shower Gift/Favour Boxes and Polish Snowflake Decorations


A good friend of mine is having a baby shower . . . So I offered as my present to make decorations and Gift Boxes. This works out well because the Purple's challenge this week at Eclectic Ellapu is "Anything But A Card." I grabbed Favors Gift Box Collection 3  by Sherry K from My Grafico and made 20 baby carriage boxes using my ecraft. The ribbon on top was a free downloadable svg (if it wasn't an svg I used inkscape to turn it into one) file from DCWV a few months ago. I used canson cs for the boxes.
I then set about making some hanging ornaments. I thought the Polish snowflakes were lovely but they looked hard to make. I set about finding a tutorial on Youtube and found a very easy to follow one by BrookWrite14.So far I have blue and purple. I have made two sizes so far and I need to make a couple of white ones as well.

In the next few days I am making some table decorations, cupcake decorations and banners/bunting. As well as working on two scrap layouts :O Hopefully I have some more goodness to share soon!
Happy Scrappin'
Purple

Friday, 29 March 2013

Fiskars Asian Inspired Lantern Cards

These cards were made using the Chinese lantern from the Fiskars Asian Inspired stamp set. I stamped the lantern onto watercolour paper with Jet Black Stazon and then water coloured them with distress markers. I fussy cut around each lantern.

I then grabbed some DCWV white core cs in a nice yellow colour trimmed to card size and ran it through my bug with the Cuttlebug Lanterns embossing folder. I then used my Tim Holtz sanding block to sand the raised images and show the white core of the cs. I adhered the lanterns with foam squares and they were finished . . .

Well they should have been finished hahaha. One card I stuck the embossed base on the card upside down so I had to fix that. That's bad enough, however the next card I not only stuck the base upside down, I stuck the lanterns on the base upside down as well . . . I took my heat tool and heated everything up so the tape would release easier and fixed it all up lol . . .
Happy Scrappin
Purple

Monday, 4 March 2013

12 Tags of 2013 March


I have been a bit slack lately in doing the 12 tags, but this month I decided to give it a go even though I don't have most of the supplies Tim used lol. All good improvisation is my thing ;) First up I don't have the rabbit so I used my movers and shapers butterflies in the ornamental die from some DCWV paper. Then I edged it in some Frayed Burlap distress ink. Next instead of the sheet of tape I just laid strips of regular tape across my cs. I didn't have tinsel so I used wool for that soft fluffy feel. I learnt after covering the first butterfly to only take one strip of tape backing off at a time to keep it nice and sticky!


I don't have the tapered fringe die, but I do have the Martha Stewart Fringe Scissors so I grabbed some green Craft Core and got chopping. Then I sanded with my sanding block and added some frayed burlap. I made two layers this way.


From the same DCWV stack I grabbed a piece of paper to use as y background, as I had used a busy one around the butterflies I opted for one with a minimal pattern. The paper was no where near the colour I wanted so I added loads of ink around the edges. I started with Tumbled Glass followed by Broken China, Chipped Sapphire and finally Frayed Burlap for the grungy look.


Next I added some crinkle ribbon my sister got me as a present. It was pre-coloured so I just added some frayed burlap over the blue to tone it down a little. I tied the ribbon on and added that layer to the base with foam tape anywhere I could fit it around the woolly pieces and then added my "grass."


I don't have the metal foliage pieces so as I was doing a larger format than a tag I thought I would use a drink can (soda can) and cut it with the movers and shapers florals. I wasn't happy  with the size of one of the flowers so I cut some smallest ones from the tattered florals die. I used my fingers to shape each petal. For the smaller one I cut a small slit in between each petal first.


I don't have the new paints yet but they are so on my want list, right at the top! I used the Adirondack Dabbers instead. For the largest flower I used a combination of Pool, Aqua and Clover, the middle is Sunset Orange with white and the brad is Sunshine Yellow (I am in the middle of an argument with the yellow as it was almost solid!). 


For this flower I used a combination of Pink Sherbet and Aqua. and then the middle is the same as before. To turn the flowers into pins I added 2" pins to the back with glossy accents. I laid the pointy ends on a foam blending pad as a pillow to keep the pins in the right spot while they dried.


I cut the banner free hand as again I don't have the die. I stamped a flourish from Stampers Anonymous on the banner with tumbled glass. I then took my blending tool and used colours over the banner in the same order I did the outside piece. I stamped a sentiment from Mpress and then added some foam tape behind the middle part and double sided tape at the ends and stuck it at the top of my panel.


I then mounted the whole lot on a white card base the same size as the panel. I didn't want the card base to show so when I cut my panel I made it card front size (saves having to decide what colour card will be showing around the edges lol). Anyway that's my take on this months challenge, I hope you liked it :)
Happy Scrappin'
Purple

I am entering this at the following challenges;
Simon Says Stamp - Anything Goes
Joyful Stamper - Anything Goes
Tim Holtz - 12 Tags of 2013
Eclectic Ellapu - Child 
613 Avenue - Bingo - Brads/Free/Ribbon
Challenges 4 Everybody - Anything Goes
Make It Monday - Anything Goes

Sunday, 24 February 2013

Getting Into This Challenge Thing!


I have a few challenges I am interested in doing at the moment so I am actively going to combine a few. One is two squares, a circle, a sentiment and ribbon, another is ribbon and buttons (lets see of I can pull that off) and another is embossing on embossing type of thing.

First up I have coloured a chipboard frame in Magenta Hue Archival and its inner piece in French Ultramarine Archival. I then covered them in Perfect Medium and UTEE. I heated them up and while still hot tossed more utee on top to give three layers in total and a nice smooth surface.Then I took Versamark and inked up some stamps from Stampendous called Butterfly Beauties and with the inner piece replaced in the frame I stamped across both pieces. I used Hampton Arts embossing powder from the pastel pack in plain pink and blue.


I chose three co-ordinating papers from the DCWV French Country stack. With my Ecraft I cut a doily svg that I got for free from somewhere. Unfortunately I have lost the link back to the website :( With my bug and a Lifestyle Craft Nesting Rounded Squares I cut the 2nd biggest one from a different paper.


With the third paper I cut small pieces to go behind some tearing I did on the square piece. I ripped two small lines on opposite sides of the paper and used a water brush to soften the paper in that area to make it easier to bend back. I then used another co-ordinating paper behind the tears.


Buttons buttons . . . I have  a couple hundred but do you think I can find some to match what I have lol. Maybe I should have started with buttons lol. Anyway I found one and here it is in situ lol.


I made a flower by gluing the dcwv papers to grungepaper and cutting the second biggest flower from Tim Holtz' Tattered Florals Sizzix die. In hindsight I should have just used the papers as they are quit thick on their own. I then used one whole flower, one with one petal removed and one with two removed. I used the two petals off the last flower to make the centre. I was going to use a button but it just wouldn't work lol. I edged the flower petals with tumbled glass and warn lipstick using the ink blending tool to get a softer look.


Now I am on the hunt for ribbon and a cute tag as well as a sentiment. Getting close to the wire now lol. Challenge ends in 3.5hrs. Gettin sleepy but I will win!!! I found a tag I got from SVG Cuts and used some scraps from the card to cut the two layers in my ecraft and then inked their edges. I used some ribbon from Martha Stewart in the top layers hole. I am going to adhere them together with foam tape so the base sits under my chipboard frame.


Next the fun bit, working out where everything goes lol. I used triple foam tape behind the centre square of my frame and glossy on the ribbons, button and flower. Double sided tape for everything else.
Happy Scrappin'
Purple

I am entering this at:
Make My Monday - Ribbons and Buttons
Technique Time Tuesday - Embedded Image
Trimmies Craft Challenge Blog - Two squares, a circle, a sentiment and ribbon
Inspire Me Fridays - Anything Goes
Crafting By Design - Anything Goes
Simply Create Too -  Mothers Day/Female

Tuesday, 13 December 2011

12 Cards of Christmas T!m Holtz Style Card 7


Well here I am on the home stretch. Tag 7 is done and dusted :). Tag 8 is giving me a headache already but I am determined to get it knocked out tonight lol. Here is my Inspiration from T!m.


Card 7

I started by pilfering an old book off my eldest daughter. It has nice thick pages, almost like mulberry paper but thinner than that.

I used my ecraft to cut leaves in a few different sizes. The leaves are from Fundamentals 1. I didn't end up using the rounder ones. I'll use them for something else.


 I started with the 3" leaves and coloured them using my distress inks and tool. I used a combination of Evergreen Bough, Pine Needles, Iced Spruce and Gathered twigs.


I took my water mister and sprayed them so they were very wet. I carefully lifyed them off the craft mat and scrunched them into teeny balls. I opened them  very carefully, then dry them with your heat gun. As I was working I decided I didn't want to use the big leaves so I also made some 2.5" leaves.

If one happens to break or tear one slightly overlap the break or tear and hold that spot with your tweezers while you dry it with your heat tool. I used glossy accents to stick the two pieces together.


Once dry I used some more distress ink with my distress tool to add some extra colour and dimension to the wrinkles. I then used some Pearl-ex in the colours of Spring Green, Interference Green and Mink over the leaves for some extra colour and sparkle.


Using another free svg I have in my svg stash I cut a lamp post using DCWV White Core cardstock in black from the Jewel stack. I learnt while doing this intricate cut a couple of things. First turn the side of cardstock you want to use to the bottom when cutting as the top ends up a bit raggedy. Second is to use the T!m Holtz method of sanding which is to leave the cut in the cardstock while you sand. Pop it out when your done.


I inked the lamp post with Walnut Stain, probably should have left it in the cardstock to do that as well as there are some very fine details. I used Perfect Pearls in Perfect Gold on the lamp post to make it a little more interesting.


Back to the big leaves before I decided I wasn't using them ;). I pinched the bottom of the leaves and used some glossy to stick the folds together. This gives them a little shape. I didn't do this step with the smaller leaves.


To make my background I took Tumbled Glass and Pumice Stone Distress Stains and layered them on white cardstock. I started with Tumbled Glass, then went over it with Pumice Stone then another layer of Tumbled Glass. I then spritzed a little water in spots and flung big drops in others.


I grabbed the large flourish die from the Boundless Flight Stampers Anonymous set and  inked it up with Frayed Burlap Distress Ink. I stamped the flourish over the whole background.


I grabbed three 8mm red pearl beads and two different size head pins and my beading tools.


I added 1 bead to the shorter head pin and two to the longer one and used my tools to loop the ends around. I am not the best at doing this but it works lol.


I bought an old lace curtain from a second hand shop and cut a random ribbon like strip. I used Pumice Stone and Tumbled Glass Distress Stains to colour the lace. if you dry lace with a heat gun don't get too close!


I grabbed a copper jump ring and looped the beads onto it. I then threaded the coloured lace thought and tied it in a bow.


I thought it was still a little bland and decided to add some gold ribbon. The ribbon was too bright so I went over it with some Pumice Stone Distress Stain. I looped it through the jump ring and tied it in a knot.


First I grabbed a piece of cream cardstock and used Pumice Stone Distress Stain over it and sprayed with water. . I stamped with Perfect Medium and used black embossing powder. I then used some Perfect Gold Perfect Pearls in a few spots and reheat set. Unfortunately I swiped my finger over it before it had cooled completely and wrecked it lol. So I had to start again.


I cut around my sentiment out and then distressed the edges with Iced Spruce and Evergreen Bough.


Now is the point I played with the different sizes of leaves I made for ages trying to decide what to do lol. How many to use, where to put them, what sizes etc. In the end i took the three 3" leaves and two 2.5" leaves and layered them together and glued with glossy. I placed the ribbon and bead bow in the middle and used a good blob of glossy to glue it on.

I stuck my lamp post down on the left, then the leaves and berries over the top. I used dimensional tape to pop my sentiment off the background. I then added some glossy to the little windows in the lamp post to make them look more glass like. card Done :)


Woohoo seven down five to go!
Happy Scrappin'
Purple