blinkie

CraftyCrafter

Showing posts with label alcohol ink. Show all posts

Sunday, 18 May 2014

A Little Sketchy With Magnolia Way

Ok so last week I told you about my computer woes. Well they didn't end with getting a new adapter because that one went bang and tripped my fuses to boot lol. So I have ordered a new one and it should be here next week. Meanwhile I am working around the fact I have no lappy and using a combination of my phone and tablet with photobucket to be able to blog lol!

This week at Eclectic Ellapu the challenge is a sketch. I have to say it really kicked my butt, but I got there in the end . . . Here is the sketch from  Andria.
As you can see from above I decided to do a layout. Not something I have done for a while sadly. I need to get back in the swing of this and decided to pull elements of this sketch into my layout :)
I started by grabbing some gorgeous coordinating papers from DCWV's Magnolia Way stack and trimming them to the shapes required for the sketch. Then with my black base I lightly sketched where my pieces would be placed on the back and leaving a generous border to adhere my pp panels cut out the centre areas.
Luckily I had a scrap piece of the same cardstock to cut a mat for my largest pictures, but for the smaller picture and the banners I used the panels I had cut out. I did a couple of test triangles on scrap paper to try and get some measurements I was happy with then made some from the black card stock.
I originally was going with one pic but I just couldn't make it work :( So I grabbed a couple more and cut the black base for the first one with  an Mpress die and the photo in the second one with Xcuts Ornate Frame die.
I then edged all my black cardstock pieces with Stazon Metallic Gold. I cut some more slightly smaller triangles from leftover pp and then used a Making Memories Simply Stated Trademark rub on alphabet for the letters adding foam tape under both layers of triangles. I used double sided tape at the top of the bottom triangle to adhere it to my stretchy gold cord (dunno what the correct term is but that'll do lol).
For my final touches I chopped a Black Bella Jumbo Flower in quarters and added it to two corners as well as under the smaller pics. The flower centres were too plain so I used alcohol ink to colour some pearls to add an accent. To do this I added a couple of drops of gold alcohol ink to my nonstick craft sheet and used alcohol ink fillable pen filled with blending solution to pick it up once dry and colour the pearls.
I then scattered black bling and my hand coloured pearls around the photos and layout and called it done. Sounds simple huh, took me 3 or 4 days of walking away and coming back but it's done now. Thanks for stopping by.
Happy Scrappin'
Purple

Saturday, 26 October 2013

Mayzyarts Digi Jareth With a Little Creative Chemistry

Well it was my sisters birthday last week and so I had this digi from MayzyArts for a while now and I knew I wanted to use it when I made her card. If you click the link it takes you right to the digi :). I should have made it bigger than I did to make it a little easier to colour lol. I am a newbie with my copics so small bits are a real challenge. Also learning to colour a bit slower lol. I added some Atyou Spica to the blue in the cape for some sparkle and to make it look a bit mottled. On the upside this fit right in with my DT's theme this week!  Inspired by a movie  at Eclectic Ellapu.
Anyway I coloured Jareth with a combination of Copics and Promarkers (mostly copics except or the greys don't ow a lot of darker copic greys yet!). Funnily enough I didn't really have the colours I wanted to use in either so made do with what I had lol.
Then I went through two full sheets of glossy cardstock trying to get the background just right lol. I used a technique from Creative Chemistry 102. I then stamped some stars in platinum stazon from various stamp sets.
I used the regular pouncing technique with the same colours for the second piece to give it a bit of contrast and cut a piece of star dream paper to add a little shimmer and sparkle.
I used another CC102 technique to colour the various Idea-ology pieces. I really learnt a lot from these classes. Way more than I learnt in CC101 lol.
I stamped my sentiment onto one of my rejected background pieces using stazon, and then used a lifestyle crafts labels die to cut around it. I had to try to be very precise as there was only a little corner of the piece that had the colours I wanted on it lol. I then cut a piece of plain cs as a mat and went around it with B00 and then chipped sapphire distress ink.
To assemble the card I adhered everything with doublesided tape except the sentiment, that has foam tape, and the idea-ology pieces are adhered with Matte Accents (I added ribbon to the key). I added some pearls that I coloured with B18 to match the card. I added a layer of glossy accents to the crystal ball and when that dried I added another layer for dimension :)

I have to say this card was a huge challenge for me to make. I especially didn't want to delve into the darker greys and blacks too much as I thought this might make everything rather manish and as the card was for my sister I didn't want that lol. It took me three or four days of serious work to get this one done! I will add the colours I used when I find the list haha!
Happy Scrappin'
Purple

Saturday, 12 October 2013

Creative Chemistry 102 Patina + Monoprint

Not only does this have patina but the background was made using leftovers from a monoprint attempt lol. Waste not want not.
Ok so this is my final finished project of the night! The glue is still drying lol. Hope you have enjoyed the creative journey and have learnt new things, I sure have!
Happy Scrappin'
Purple

Creative Chemistry Marbling + Crackle + Altered

Woohoo Managed to cram three day one elements into one project! Also manage to sneak in some more patina (ok so I like this technique), I know it's not in patina colours but Tim did say you could try any lol... I like to try!
Pretty in Pink! lol. I had another to post but it's not girlified enough! hahahaha I shall be back!
Happy Scrappin'
Purple

Creative Chemistry Day 4 Girly Grunge Style

Man oh man I love alcohol inks :) So versatile and in all the colours of the rainbow and then some lol. Anyway lets get some pics up in here!
Faux Patina
No tinsel for me cry! So skip that and lets get some Ombre happening lol. I am not sure how these turned out to be honest lol. I also did one in blues but I didn't take a good pic lol. They are all blurry . . .
Ombre Take 1
Ombre Take 2


I really like this next one. I did this three times too. You know what they say . . . Third times a charm! Well it's my fave and two was an epic fail lol. 
Monoprint Take 1
Monoprint Take 2

Monoprint Take 3


And last but not least. I struggled a bit with this one. I need some more stencils! The first one was too thin but I still god a cool design! So I went back to my trusty punchinella for the second one.
Faded Layers Take 2

Faded Layers Take 1


Ok that's another day over and done!
Happy Scrappin'
Purple

Thursday, 14 February 2013

Willow Holding Baby Card


I was given a paper stack for christmas with quite a few papers I am going to find challenging to use. Some are quite bright lol.  It's by Kaisercraft and is called Antique Rose. I had taken a particularly bright orange piece and attacked it with some Picket Fence Distress Stain and quite liked the results so decided to use it to make a card.


I was looking around for some ideas and  my eyes set upon a stamp I got when I was at a craft show in 2012. The stamp is from Whiff of Joy called Willow Holding Baby. I had never heard of the stamp company before but I fell in love with the stamp :). Good thing it was 50% off haha.


I stamped her onto watercolour paper and outlined her with distress markers, main colours used are Dried Marigold and Spiced Marmalade for her dress, Broken China for the baby blanket and a mix of Frayed Burlap and Tattered Rose for the skin with a hint of watered down Barn Door for the cheeks.  Using my Tim Holtz waterbrush I wet the outlines and moved the colours about. I dried the image and reapplied colours as needed. I scribbled a random mix of greens around her feet and mixed them with the waterbrush for grass. I then outlined around the rest of the image with tumbled glass and pulled the colour outwards. I cut the image with a Lifestyle Crafts Nesting Oval and then used my ink blending tool with Bundled Sage and Tumbled Glass around the edges.


To mount this on I cut the largest Nesting Oval Doily from Lifestyle Crafts out of the paper I had previously used Picket Fence Distress Stain on. I then used a Franchville Glue Pen around the holes of the oval doily and sprinkled Rock Candy Distress Stickles Dry Glitter over this.


I adhered the coloured image to this and then selected another sheet of paper from the Antique Rose stack to mount this on. I cut the sheet the same side as my card and then used the Tonic edge distresser to distress the edges. I found some matching ribbon for one side of the card and used double sided tape to adhere it. Then the fun began haha.

I got a bunch of I am Roses from my stash and coloured them with some home made glimmer glaze (recipe for this one was Reeves Iridescent Medium, Multi Medium Glossy, a spritz of water and Dried Marigold Reinker til desired colour is reached). I had fun working out how to do this cluster as I haven't had much practice so whenever I try it it takes me hours or in this case days lol. I coloured some pearl spray with an equal mix of Salmon and Peach Bellini in a snap lock bag and made some twizzles with the stems of the flowers. I glued them all on with Glossy Accents.


And there you have it. I had most of it done quick and easy. It was just the flowers that almost beat me but I won in the end lol. One thing I did learn was to colour a small section at a time to add water too as it's harder to blend once it dries. So in love with this stamp. I could colour her over and over! lol


Happy Scrappin'
Purple
Moving Along With The Times - Only Girls Aloud
Make It Monday - Anything Goes
Eclectic Ellapu - Girly
The Joyful Stamper - Inspire Me Fridays

Thursday, 29 December 2011

12 Cards of Christmas T!m Holtz Style Card 12


So here I am at card 12. Yay I made it :) I made a huge mistake though and that makes me sad. I just didn't have the time or enough Star Dust Stickles left to fix it. Moving on lol. I used what I had again to create this card, keeping the techniques I liked and going with the flow :) Hope you like it. Wow never had so much creative focused energy in one month lol... This last card was inspired by T!m's 12t tag and as you can see mine is very very different lol.


Card 12


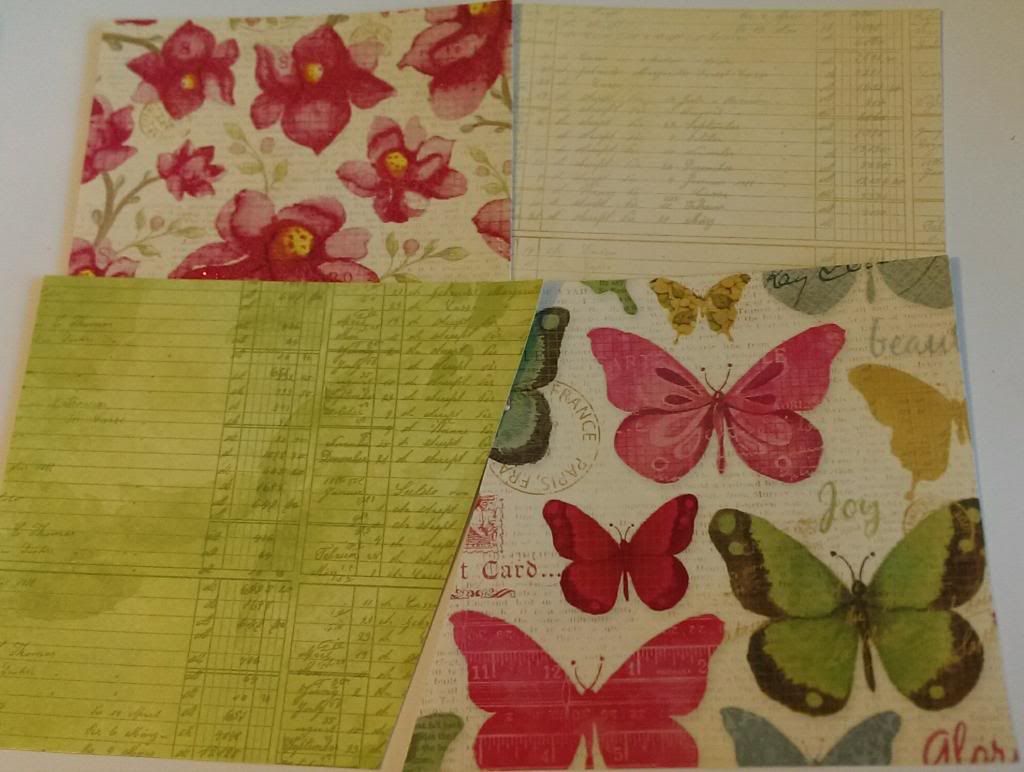
I started by using an old book my eldest daughter gave me to canabalise. I took one page and slathered Multi-Medium Matte all over it. I adhered it to a piece of cardstock and moved and scrunched it about as T!m did with his tissue paper. I was going to stamp some tissue paper my sister had given me but it was Missing in action from all the Christmas bruhaha lol.


I then painted book page with home made glimmer glaze. This mix is iridescent medium, glossy accents and fired brick (I have just started using Multi- Medium Gloss for this and love it!). I waited fro it to dry, which doesn't take long, then dripped more glaze over the light spots to give the splotchy effect.

I used the snowflake images found on SCAL 3 again. I cut these in several sizes with printer paper til I was happy with the size. Especially the one I was going to add a facet to.


I then used my eCraft to cut some plastic packaging (from lifestyle craft dies) into snow flakes. The packaging is a good bit thicker than acetate. I adhered the plastic to a stabiliser with removable tape so it wouldn't slide around. If you don't it slides all over and you end up with a big mess!!! I used pressure setting 7. Cuts  like a dream :)


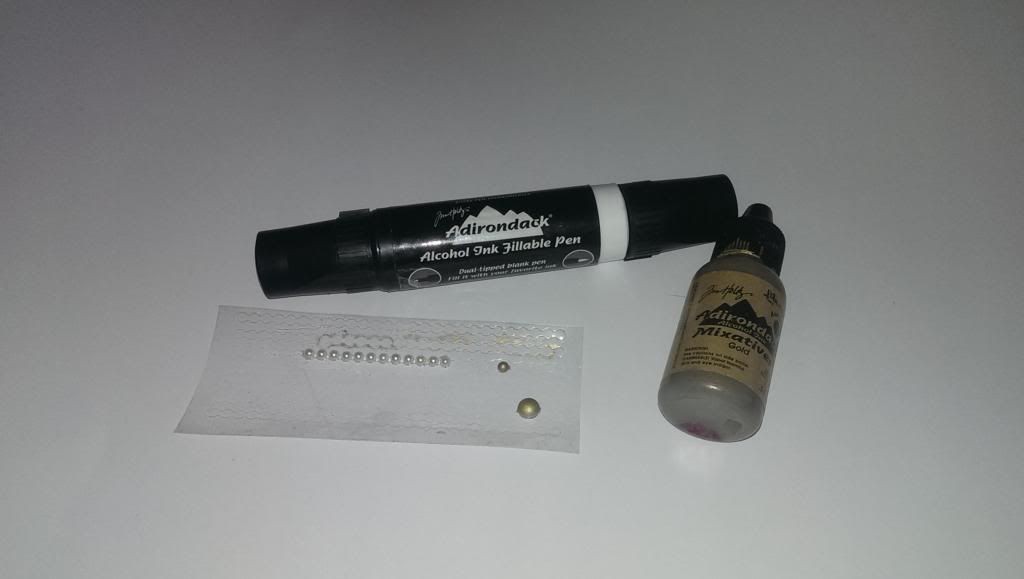
I grabbed some different colours of alcohol inks and my pearl mixative and did a few testers on some scrap packaging from around the snow flakes. I chose to use Aqua/Pearl Mixative to colour them. I coloured and coloured with my Tim Holtz tool and my inks til I achieved a colour I liked. Some spots were too light so I went over them til I got it right!


I decided they were still too plain so I added some Star Dust Stickles to the snowflakes. I covered the two smaller ones and only did around the outside of the larger one.


I grabbed my Cotton White Stazon and some snow flake stamps. The large one is from Inkadinkado and the small from Stampin' Up. I reinked one end of my stamp pad then used the large stamp on my book page a couple of times. I then took the smaller stamp and filled in some spots.


On some scrap card I stamped my small sentiment. I made sure it was small enough to see through the facet before I stamped it. It's a fiskars stamp. I used black stazon ink.


I then went over this with my fired brick glaze, after it dried I used some glossy accents to adhere my large circle Facet down. I pressed down hard gave it a bit of a swirl then made sure it was positioned just so. I used some paper towel to wipe away the excess glossy. My only issue with this is that even though my glaze was made with glossy accents adding glossy as a glue seemed to leech colour from my glaze :(


I cut around the facet and then used more glossy to stick it to my snow flake.


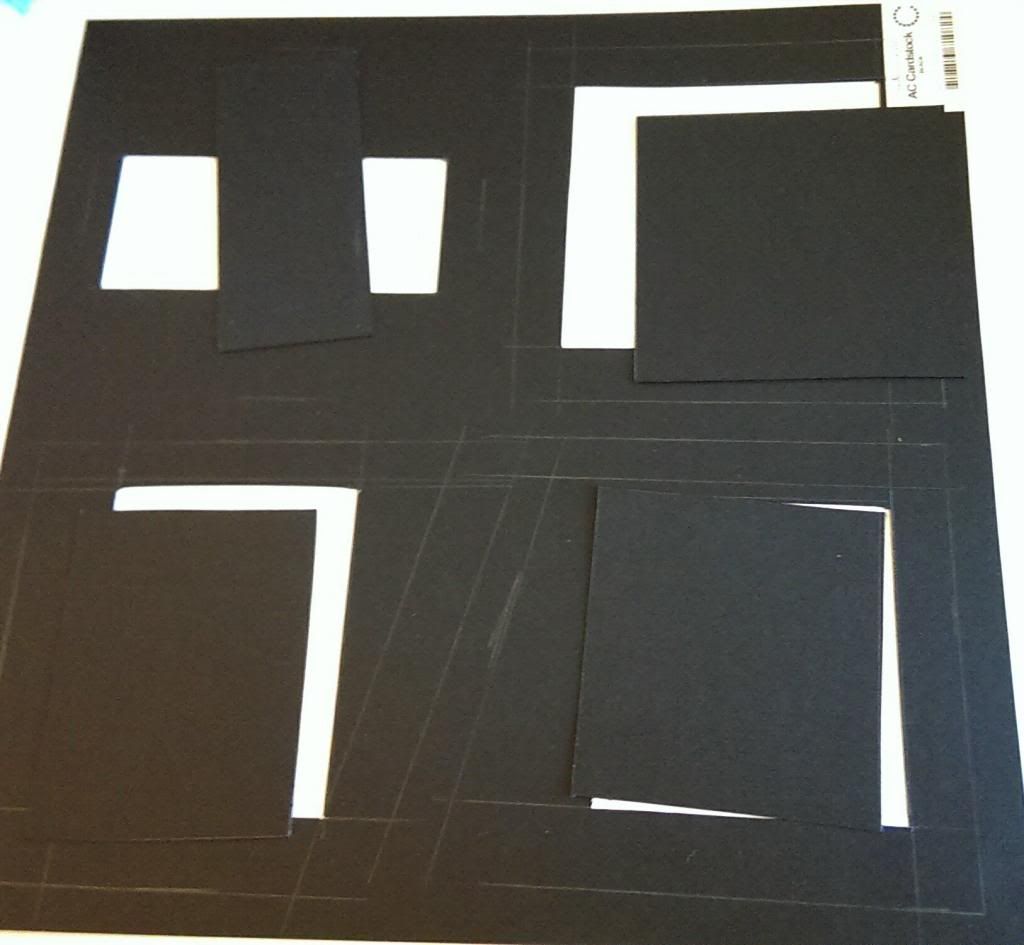
I grabbed some white and blue cardstocks and palyed around with them to see what combo I liked better. My eldest daughter decided the blue was the matte and the white was the card. I used my Fired Brick Distress pad to add a teeny border around the white card. I used the pad direct to card, no tool.


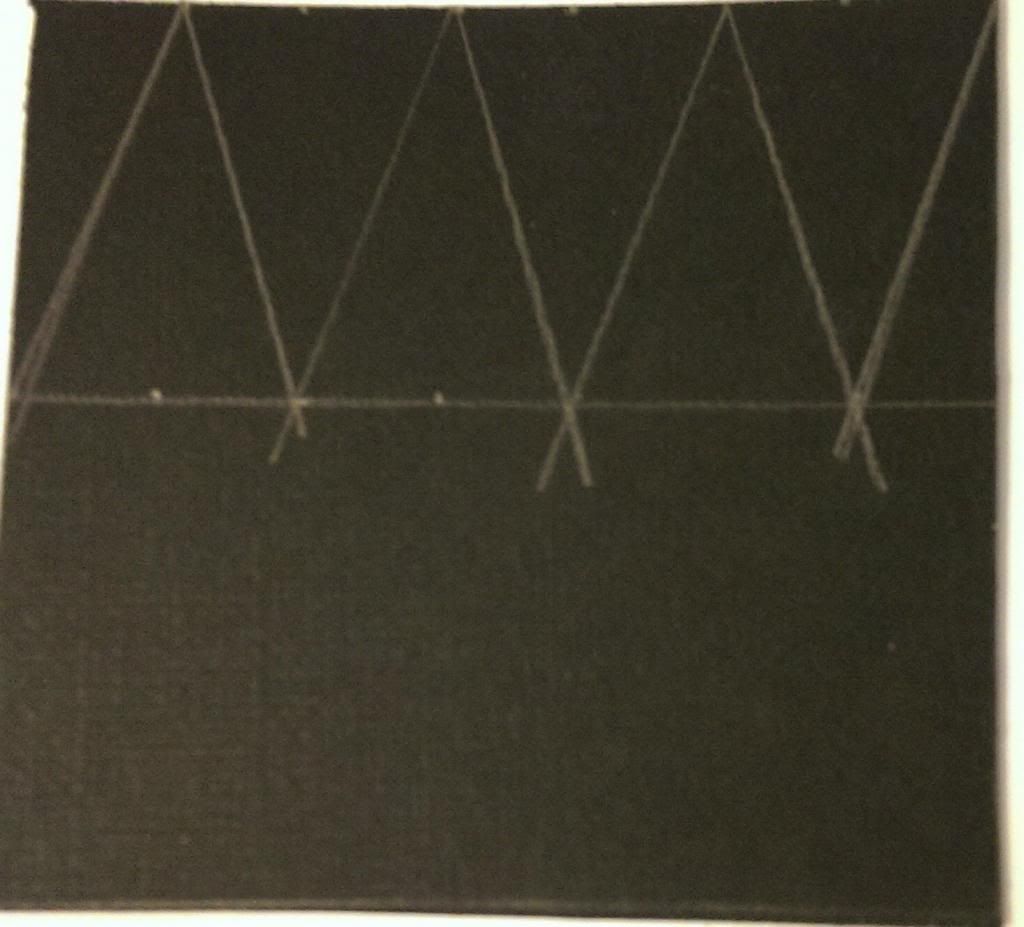
I used double sided tape to adhere my book page layer to the blue cardstock. I piled everything on top to see how it looked and felt it was missing some magic. I went to clker.com to get an icicle svg and made a template out of plastic and cut it with my eCraft. I then used stickles in star dust to add icicles to my card base. This is where I made my big mistake :( Shhhh I won't tell if you won't lol. I also added a border of sorts. The template was larger than in the pic but i flipped it and cut it to do the last part.


I used foam tape on all off the snow flakes. The larger and smaller have thicker tape and the middle size flower has thinner tape on them to give dimension. I then stuck them to my card and Job done. 12 cards is finito. Cannot believe I got it done in my first year at having a go but there you have it :)


Ta Daaaaaa, All done. Happy dance :). Upload the last card to T!m's Blog and then I can put this baby to bed. Wow I am relieved it's over. For someone who has barely crafted much in the last year that was pretty full on for me. A great way to get back in the swing of things and be inspired to try out a whole heap of my new products!

Thanks for stopping by.
Happy Scrappin'
Purple

Monday, 12 December 2011

12 Cards of Christmas T!m Holtz Style Card 6


Ok so here we are at the finish of the first half of the 12 cards for me. I will say right now I am not a fan of the ornament on this card so will be changing it at some point! lol. But firstly I want to finish the next 6 cards. cannot believe I am half way or that tonight is the last tag! Anyways, here is the inspiration behind this card, T!ms tag 6.


I had a few different ideas on how to do the background but nothing was working so with a lot of playing i think I ended up with something pretty cool :).

Card 6


I cut a coke can to give me a sheet of metal as I don't have any sticky back metal sheets or anything like that. If you are going to use a drink can be very careful as the edges are very sharp!


I grabbed my Ornaments Sizzix texture plate. I made my sandwich with a couple of extra shims for a deep emboss. To get a deeper emboss I have found it best to layer in this way. Texture plate, Silicon Shim, cardstock shim/s then top plate from sizzix start kit.


I grabbed paint dabbers in a vast array of colours. I started by adding a different colour on and slightly around each ornament. I was going to try and use cotton tips to remove the excess paint from around the ornaments. This was an epic fail because of how the die was designed. So I ended up covering the whole thing in colour. just blobs of the different colours from the ornaments til there was no silver showing through. Basically I made the colours of the ornaments reach out and touch.


After letting the paint dry I grabbed alcohol inks in Snow Cap, Cranberry and Bottle and covered the entire thing. I didn't use the gold... Not sure why I put it in the picture lol.


I grabbed my heidi swapp sand paper and got to work! I sanded over the ornaments to bring them to life and show the lovely colours underneath. I also sanded the paint and ink away to show the metal around the edges. Don't add too much pressure when sanding when you only want to take the top layer off, took me a few mins to get a nice pressure but better to start too soft than rip all the paint off on your first swipe!


I grabbed some dark purple cardstock and trimmed it to card matting size. I distress the edges with my distress tool.


Now if you are like me you rush ahead wwithout thinking what elements you are going to add to your card. So I used glossy accents to stick my metal sheet to my card matt then double sided tape to stick to my white card base, which I coloured the edges of with Purple Twilight paint dabber.


Now i decided to add a dangling ornament... Haha I already stuck everything down. I had to carefully peel up a little of the top edge of the metal and pierce it with my piercing tool.

I used my ecraft to cut another ornament out and my Sizzix Teturz Candy Cane plate and ran the ornament through the cuttlebug.

I grabbed a zig glue pen and followed the lines to fill every second line with purple glitter, I did the same again (rather impatiently oops!) and used blue glitter. If you are going to do this don't be like me! Wait til the first lot of glitter dries first lol.


I used two silver jump rings and some chain to add the ornament to the front of the card.


Another finished card. As I said though not happy with the finish of this one so I will make a new ornament in the dark purple of the matt and just add glitter to one set of stripes or maybe even Stickles to make life a little less messy. In less that 24 hours I spilt water, dropped a pot of Multi-Medium Matte and knocked over a tall tube of blue glitter! Stickles seem the way to go! lol Will update this blog when I re-finish the card :).

Hope you like the background technique as that's the star of the show!
Happy Scrappin'
Purple