blinkie

CraftyCrafter

Showing posts with label oval. Show all posts

Sunday, 24 February 2013

Gel Medium + Glitter + Distress Stains = A Lot Of Fun!


Warning: Very Messy!


 I have a few techniques I want to try with Gel Medium. So I bought some Liquitex Gel Medium (my local spotlight just started carrying Liquitex!) and my first technique was with glitter. My friend walked into a thrift shop here and found a bunch of glossy photo paper someone had gotten rid of. I don't know why but I decided it would be perfect to try this on lol.


I taped the photo paper to my craft sheet with repositional tape and then taped the stencil in place with florist tape. I used a 12" Crafter's Workshop Daisy Cluster stencil used a blob of the gel medium. You can spread it with a craft trowel, an old credit card or any other scraper type thing you have. Make sure you get in all the small spaces and then remove stencil carefully and clean immediately with water., otherwise the gel stays there forever, then I sprinkled glitter all over the gel and set it aside to dry.


For the sentiment I used a KaiserCraft stencil I had gotten a long time ago called party time. This time I used regular card stock and repeated the steps above after die cutting a Lifestyle Crafts Nesting Oval to fit over the words.


 On another piece of photo paper I grabbed a bunch of colours of distress stains (from the new 12) and splattered them on the paper. I then used the movers and shapers butterflies as well as an ittty bitty Lifestyle Crafts Nesting Butterfly to die cut the splatter paper (I tried using normal paper but it was too washed out compared to the vibrant photo paper).


When the gel medium is dry I used a paintbrush to remove the excess glitter (if you don't do this your stains end up caked with glitter! (you will still have some but not as much as if you use the brush). At this point you have to work quickly because the photo paper absorbs the colour really fast so if you want the colours to blend a bit I recommend starting in one spot and doing adjacent gaps. I used distress stains to add the colour by gently dabbing over the area I wanted a particular colour.  Once I had coloured it all I began to dry it. It looks like a mess but once dry you can dampen some paper towel and remove the excess stain from the glitter.


I used a plain white cs base to best show off the colours and adhered the flowered photo paper with double sided tape. The butterflies are glued down with glossy accents and the oval with a combo of foam tape and glossy to help it adhere to the glitter. I  have to say the colours are even more vibrant in real life lol. Hard to get accurate pictures of it with all the sparkling! What little girl wouldn't love this :)
Happy Scrappin'
Purple

I am entering this at:
Crafting By Designs - Anything Goes
Love to Create Challenge - All That Glitters
One Stop Craft Challenge - For The Kids
Inspire Me Fridays - Anything Goes
Make It Monday - Anything Goes

Thursday, 14 February 2013

Willow Holding Baby Card


I was given a paper stack for christmas with quite a few papers I am going to find challenging to use. Some are quite bright lol.  It's by Kaisercraft and is called Antique Rose. I had taken a particularly bright orange piece and attacked it with some Picket Fence Distress Stain and quite liked the results so decided to use it to make a card.


I was looking around for some ideas and  my eyes set upon a stamp I got when I was at a craft show in 2012. The stamp is from Whiff of Joy called Willow Holding Baby. I had never heard of the stamp company before but I fell in love with the stamp :). Good thing it was 50% off haha.


I stamped her onto watercolour paper and outlined her with distress markers, main colours used are Dried Marigold and Spiced Marmalade for her dress, Broken China for the baby blanket and a mix of Frayed Burlap and Tattered Rose for the skin with a hint of watered down Barn Door for the cheeks.  Using my Tim Holtz waterbrush I wet the outlines and moved the colours about. I dried the image and reapplied colours as needed. I scribbled a random mix of greens around her feet and mixed them with the waterbrush for grass. I then outlined around the rest of the image with tumbled glass and pulled the colour outwards. I cut the image with a Lifestyle Crafts Nesting Oval and then used my ink blending tool with Bundled Sage and Tumbled Glass around the edges.


To mount this on I cut the largest Nesting Oval Doily from Lifestyle Crafts out of the paper I had previously used Picket Fence Distress Stain on. I then used a Franchville Glue Pen around the holes of the oval doily and sprinkled Rock Candy Distress Stickles Dry Glitter over this.


I adhered the coloured image to this and then selected another sheet of paper from the Antique Rose stack to mount this on. I cut the sheet the same side as my card and then used the Tonic edge distresser to distress the edges. I found some matching ribbon for one side of the card and used double sided tape to adhere it. Then the fun began haha.

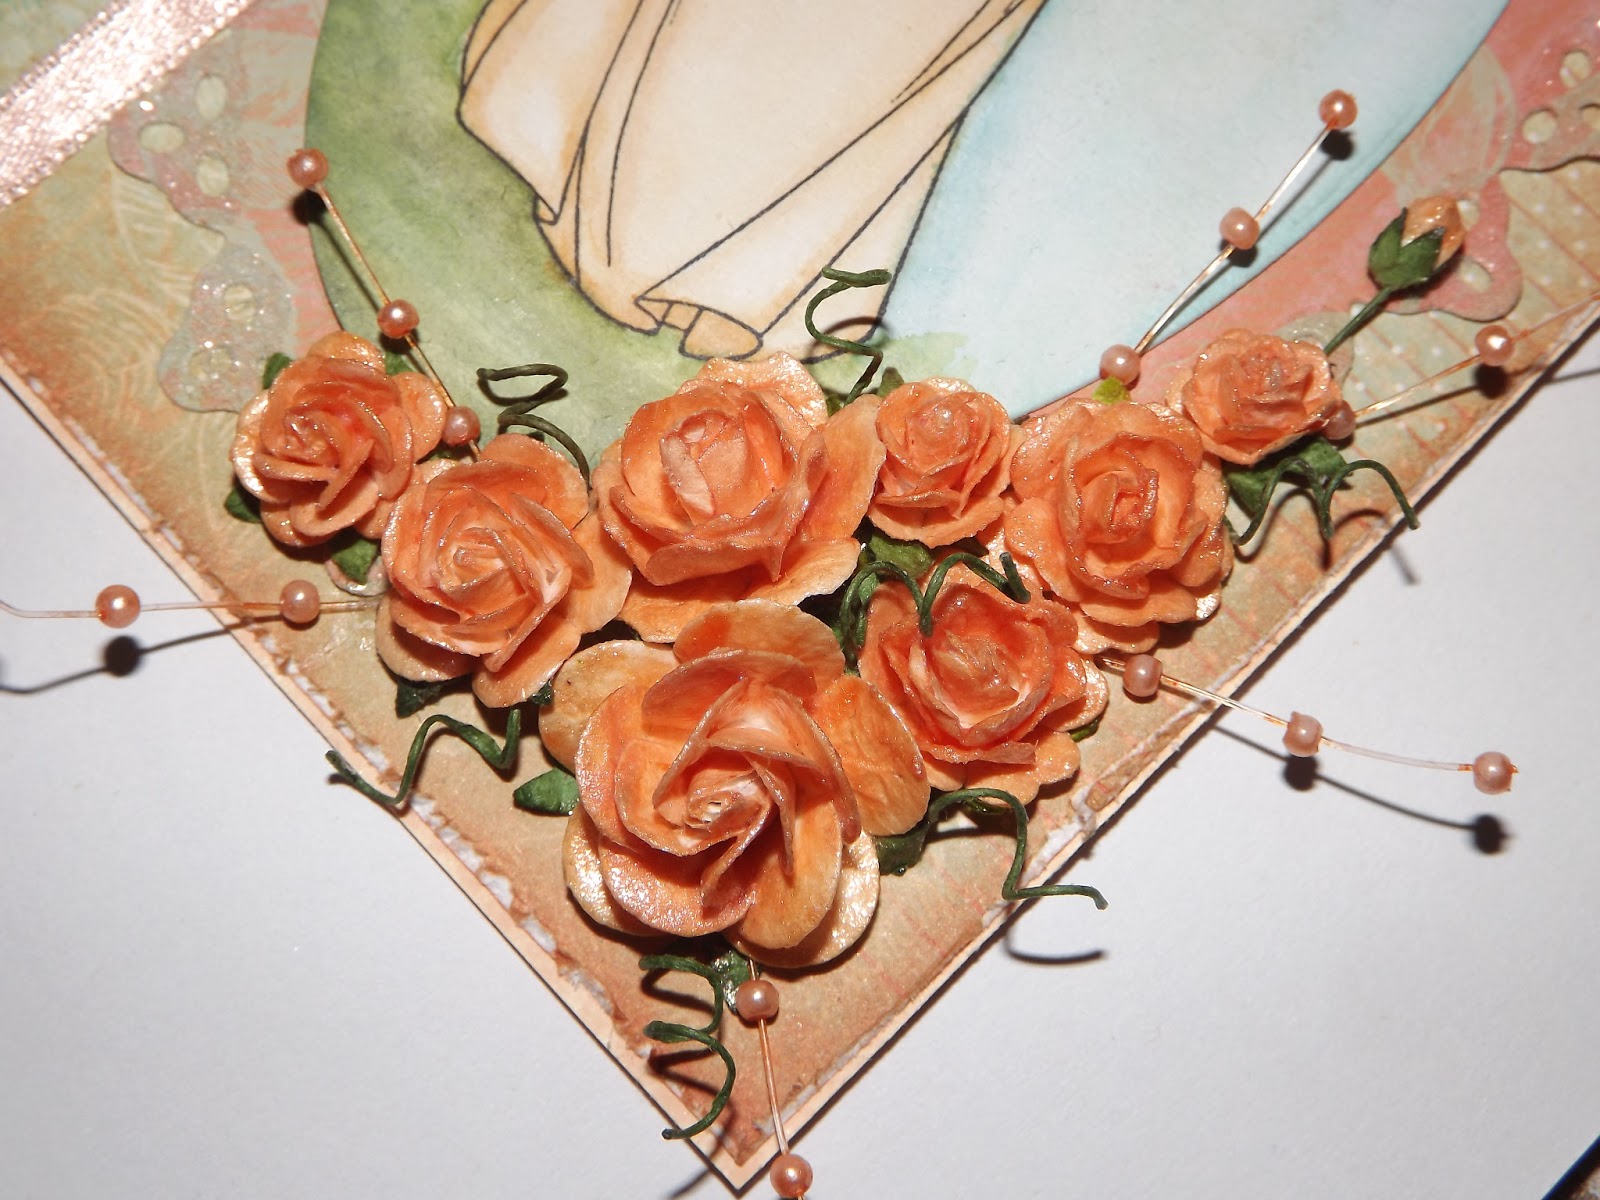
I got a bunch of I am Roses from my stash and coloured them with some home made glimmer glaze (recipe for this one was Reeves Iridescent Medium, Multi Medium Glossy, a spritz of water and Dried Marigold Reinker til desired colour is reached). I had fun working out how to do this cluster as I haven't had much practice so whenever I try it it takes me hours or in this case days lol. I coloured some pearl spray with an equal mix of Salmon and Peach Bellini in a snap lock bag and made some twizzles with the stems of the flowers. I glued them all on with Glossy Accents.


And there you have it. I had most of it done quick and easy. It was just the flowers that almost beat me but I won in the end lol. One thing I did learn was to colour a small section at a time to add water too as it's harder to blend once it dries. So in love with this stamp. I could colour her over and over! lol


Happy Scrappin'
Purple
Moving Along With The Times - Only Girls Aloud
Make It Monday - Anything Goes
Eclectic Ellapu - Girly
The Joyful Stamper - Inspire Me Fridays