

So here it is my favourite so far and the most labour intensive lol. This one took a good long while but it made it here in the end :). I love steampunk but the challenge for me was to change it up by using a different colour all together and yet still somehow get that christmas feel. I spent a whole hour trying to make a stamped shrink clock that I ended up putting aside as the colour didn't work lol... Definately a challenge! My Inspiration a la T!m.
Card 8
It started with a clock. That's the main element I wanted to add to my card. The challenge was how to make something spectacular with said clock.... lol. I cut my clock from the Sizzix Weathered Clock die and set it aside and got to work on my background.
I cut white card to size and covered it in Tumbled Glass Distress Stain. i dried it with my heat tool and the misted with home made mist. The mist is made from Denim Color Wash and True Blue Pearl-Ex. I added some cling Wrap over the top and scrunched. Ok I need to learn to walk away for a while and leave it alone lol.

This was the result... Sorry about the shadow but it has the best colour lol.

I grabbed the clock and covered it in Snow Cap Paint Dabber then went over it with Tumbled Glass Distress Stain. After that dried I added some more stain to get some more colour on there.

I then grabbed my Pearl Ex in Silver and my Perfect Pearl Brush and added some more colour on to the clock. In the end I also added a smidge of Faded Jeans to the clock as well.

I tend to jump around from one place to the next when I am crafting so I grabbed my background and decided to give it a boost. I used Picket Fence Distress Stain to lighten a portion of it. I wasn't worried about the shape too much as I knew a lot would be covered over. I then took my Perfect Medium and used the pad edge directly on the page to add some lines. I went over that with Silver Pearl-Ex.
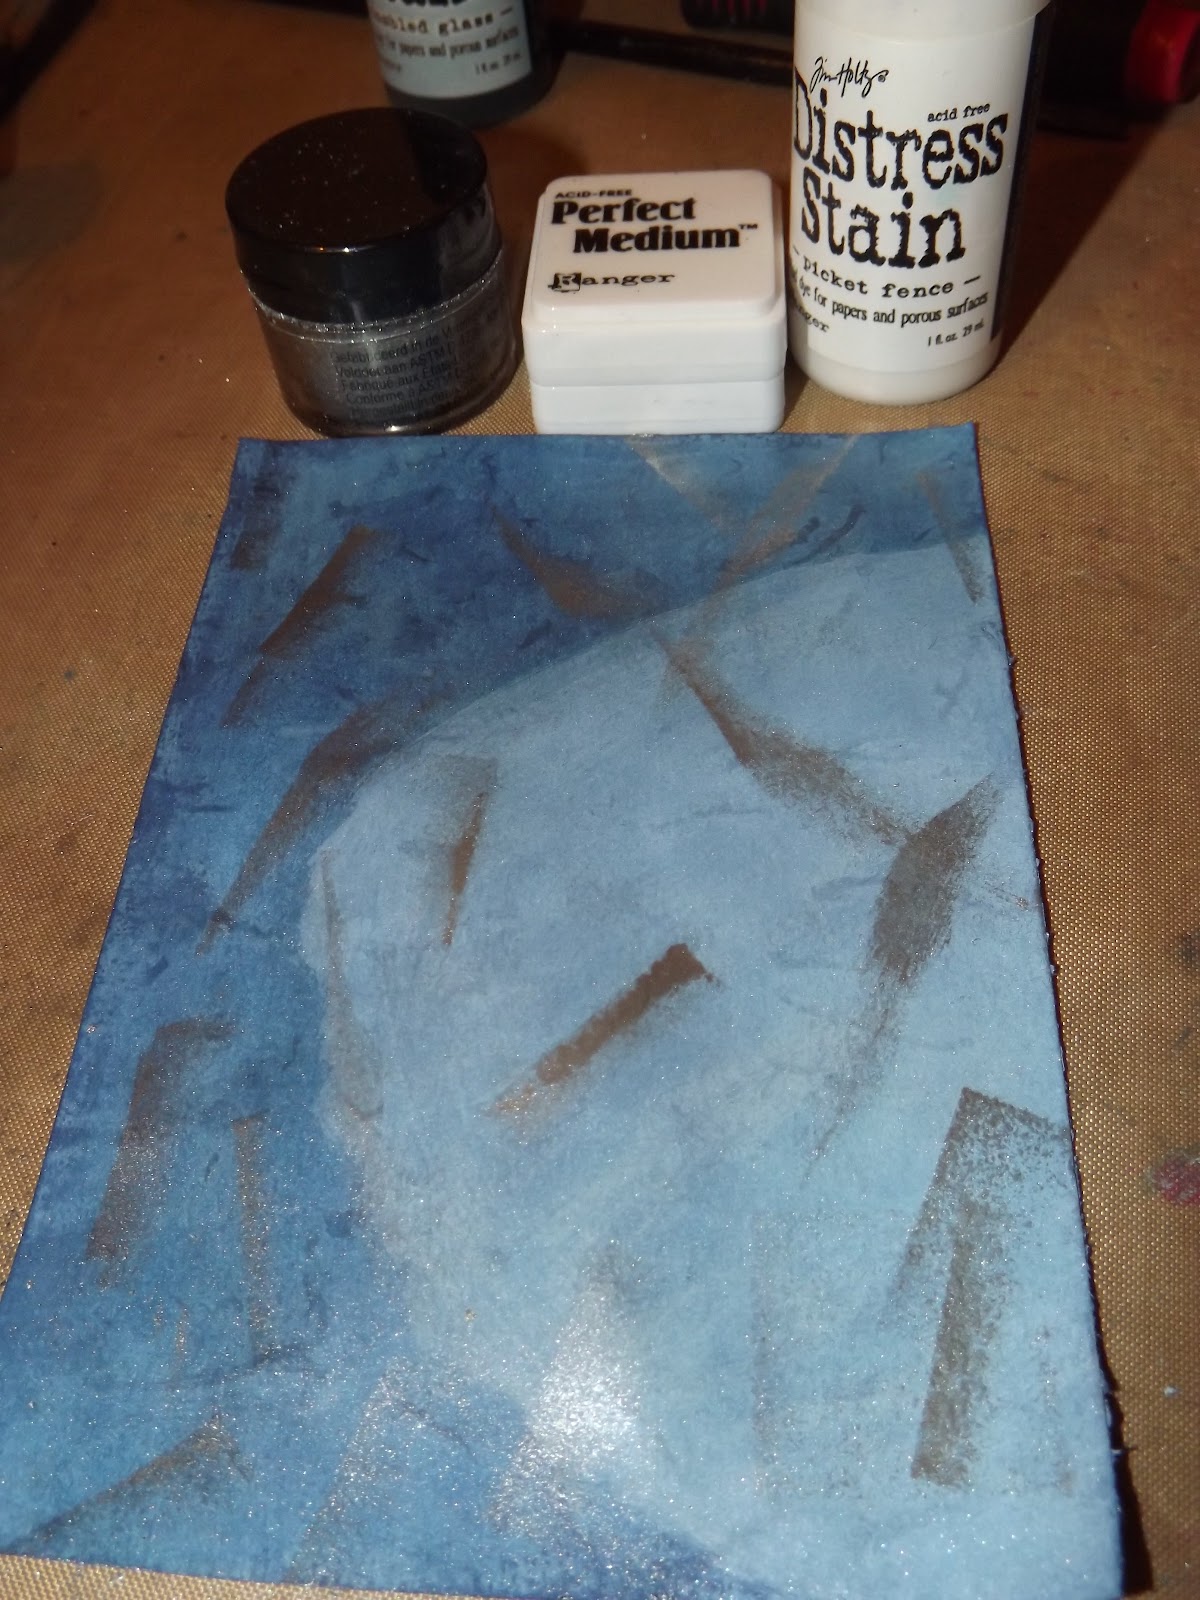
I grabbed a stamp from Flight's of Fancy and used tumbled glass to stamp some watermark type effects onto the background. As you can see it is very feint. I decided it was to feint later and added more :O...

I then grabbed a piece of blue marbled cardstock from my stash and stamped my sentiment with a Stampers Anonymous stamp. I used Faded Jeans Distress ink and quickly tossed some Ranger Ultra Fine Embossing Powder over the top and heat set. I then used a Lifestyle Crafts die and positioned over my stamp to try and make it even on each side. I used some Scotch Vellum Tape to hold the die in position as I ran it through the Cuttlebug.

I ran it through again with the Spellbinders Tan mat to give a little edge to custom die cut.

First up I used tumbled glass with my distress tool to edge my die cut, I then went round again and added faded jeans to the edge. On top of that in selected locations I dabbed on some silver pearl ex.

I cut a cog with my Gadget Gears die and then mixed white and Broken China Crackle paints together. I don't have tumbled glass so was the best I could do lol. Hmmm wonder if you can add reinker to white... lol. Might try that next time I need a colour I don't have....

I liberally painted my cog. I used all that paint :O, lol I thought I had made far too much, and set it aside to dry.

At this point I will say I got some shrinkies and polyshrink the other day and was playing around with them. I made a small cog with one using the medium gadget gears cog. I then used perfect medium all over and sprinkled light blue embossing powder over before heating and shrinking with my heat gun. Once it was cooled a lil I used some silver pearl ex to give some shine. Here is a pic of me trying it out on my card while the other cog was drying.

Here is where I added another layer to the background lol. Taking the same stamp as before I used my Picket Fence Distress stain direct to the stamp to add some lightness.

Once the crackled clock was dry I went over it with some denim distress ink and a make up wedge.

I wanted to use broken china distress pad but I don't have one. So I cut a square of Cut-n-Dry Foam and made my own temporary one til I get the pad lol. Easy peasy, Cut-n-dry and a few drops of reinker. Done! I will say don't add too much reinker a little goes a very long way... oops...

I used my custom ink pad to stamp a bird image and then embossed again with the super fine. I used a bigger lifestyle crafts die to fit around the bird. Again I used the spellbinders tan mat to emboss after I cut the shape. I stamped the diamond pattern using the custom pad. I stamped multiple times with the one inking to give the lighter effects.
I went around the edge with broken china and faded jeans. I then used mink pearl ex on the tree branch and added some blue russet pearl ex to the bird for a wing and to his belly as well for a christmassy look. I used a permanent marker to add a little eye.

I then grabbed that piece and the crackle cog from earlier and added some silver pearl ex around the edge of the die cut and all over the cog to give it some shimmer :)

I then spent aan hour making shrink clocks, til I made a perfect one... That I didn't end up using because it just didn't suit the card! That's ok it will find a home somewhere one day!
So then I cut a large cog out of shrinkies and shrunk it down with my heat tool. I went over it with perfect medium and then silver pearl-ex. I found the pointy tweezers in the pic on ebay in the nail art section. they are brilliant for bling and holding stuff when your heating! lol Love em!

Again I had another element I really wanted to put on this card but it wouldn't go lol...

Clean it off set it aside for another time... I should add that I found on the way to getting my daughter off the bus one day...
So then I grabbed some more of that gorgeous blue marbled cardstock and stamped a Christmas sentiment on there in tubmbled glass, threw some embossing powder over the top and embossed it :). Using the same method as before I positioned in a lifestyle crafts die and taped it down and ran it through the bug to cut and emboss. I then edged it with broken china and faded jeans.

Almost there... Phew this is a long one hey? lol...
Ok next up I decided I wanted to take it to the next level so I grabbed the bird die cut shape and flipped it over. I used a lil' davis journalling stamp on the back, then used my crop-a-dile to cut a hole and add a pale blue eyelet. I added a little bit of irridescent blue ribbon through the eyelet and turned my die cut into a tag :)

So here is where it got tricky. I had to work out how to position everything and stick things so that the tag would slide in and out easily enough. As I was working things out I decided to use the extra piece of the clock for two reasons. The first was as an added accent. the second was to make it easier for the element I was placing there. I glued the clocks on with glossy accents making sure that there was plenty of room for the tag to slide in and out.

I then started playing about with the elements to get them where I wanted them.. I used a combo of glossy accents and foam squares to add the elements depending on where they would be placed. For the large cog I was careful to only place tape on the left side so the tag could slide under.
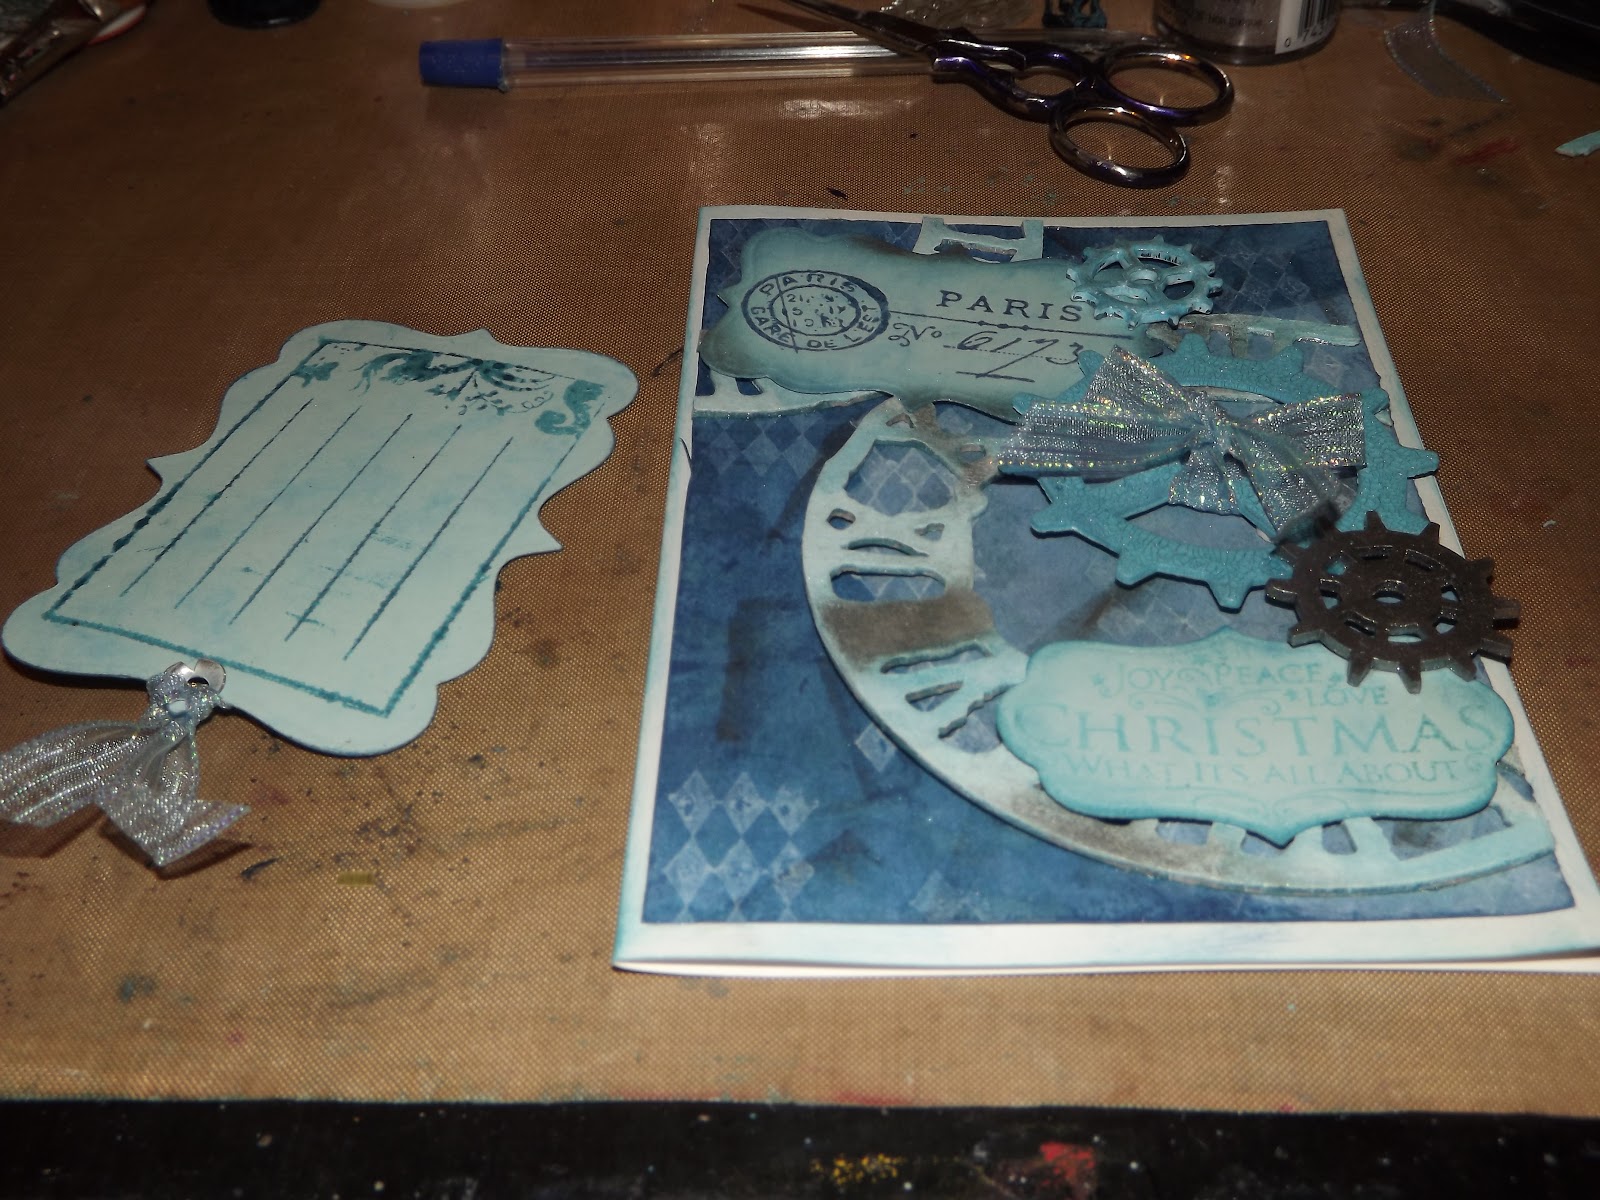
A pic of card and tag together. Card still looks pretty good without it...
And the finished card :) Yay! This one took a lot of thought and effort and trying things til it gelled.

Hope you all like this card as much as I do. I have finished all 12 cards now and it is still my fave!
Thanks for stopping bye.
Happy Scrappin'
Purple
Hi Tabatha! I really like your Tim-ish Christmas card! Your instructions are wonderful! I love all the steps you did to create such a lovely card! Thanks for sharing your tag and instructional steps with us at Simon Says Stamp and Show. <3 Candy
ReplyDeleteThe cling wrap technique is one of my favorites! I use it a lot with watercolors! Great idea to adapt it for color wash!! I love the clock parts with the blue and silver! A really eye-catching piece : D
ReplyDeleteThanks for sharing your creativity at the Simon Says Stamp & Show Challenge!!!
-Sarah
For More Opportunities:
*Follow Simon Says Stamp on Twitter
*Like Simon Says Stamp on Facebook
*Subscribe to Simon Says Stamp on YouTube
Wonderful take on all of the 12 tags of Christmas..love all the techniques you used... thanks for joining us at Simon Says Challenge blog
ReplyDelete