These are the quick and easy flowers Jenifer showed us on the last day of class. I wanted to keep the card pretty clean and simple.
I made two cards very quickly.
I rounded the corners with my WRMK Corner Chomper and mounted the panel on an Xcut die cut. I stamped the sentiment from Hero Arts Birthday Sayings in Archival Jet Black ink.
Thanks for taking the time to look!
Purple
Showing posts with label xcut. Show all posts
Showing posts with label xcut. Show all posts
Friday, 5 February 2016
Friday, 22 August 2014
Stretch Your Stamps 2 DIY Stamped Letter Embelishments.
G'day, this is my second card for day 10 of Stretch Your Stamps 2 at Online Card Classes. As I already had the red cs out I decided to go red again lol. Thank goodness for my Ebosser I can tell you, as I didn't have what was used in class to make the letters I had to do the old cut the cardstock four times trick lol. For this card I used stamps from Paper Xtra, Vermillion Archival ink, Matte Accents for all the letter gluing and Xcuts Slimline Alphabet.
Happy Scrappin'
Purple
Happy Scrappin'
Purple
Friday, 15 August 2014
Stretch Your Stamps 2 Stamped Die Cuts
I had fun making this card for Stretch your Stamps 2 at Online Card Classes. This is the first card for day 3. I am not doing every single technique but I am trying as many as possible. For this card I used Lifestyle Crafts and Xcut dies, Distress ink in Picked Raspberries, Evergreen Bough, Shaded Lilac and Seedless Preserves, I used a fiskars alphabet, mpress birthday stamp and a Heidi Swapp Mini Stencil.
Happy Scrappin'
Purple
Happy Scrappin'
Purple
Labels:
bloom,
butterfly borders,
distress ink,
evergreen bough,
fiskars,
heidi swapp,
lifestyle crafts,
mpress,
nested hearts,
picked raspberries,
seedless preserves,
shaded lilac,
stencil,
xcut
Thursday, 14 August 2014
Stretch Your Stamps 2 Metallic On Black
Another technique from day 2 of Stretch Your Stamps 2 at Online Card Classes. For this technique I again used Stampin' Ups Floral Background stamp. I used Perfect Pearls in Blush, Ranger Superfine Clear Embossing Powder, Spellbinders D'lites sentiment and Xcut Bloom dies as well as my Ebosser, oh and perfect medium.
Sunday, 18 May 2014
A Little Sketchy With Magnolia Way
This week at Eclectic Ellapu the challenge is a sketch. I have to say it really kicked my butt, but I got there in the end . . . Here is the sketch from Andria.
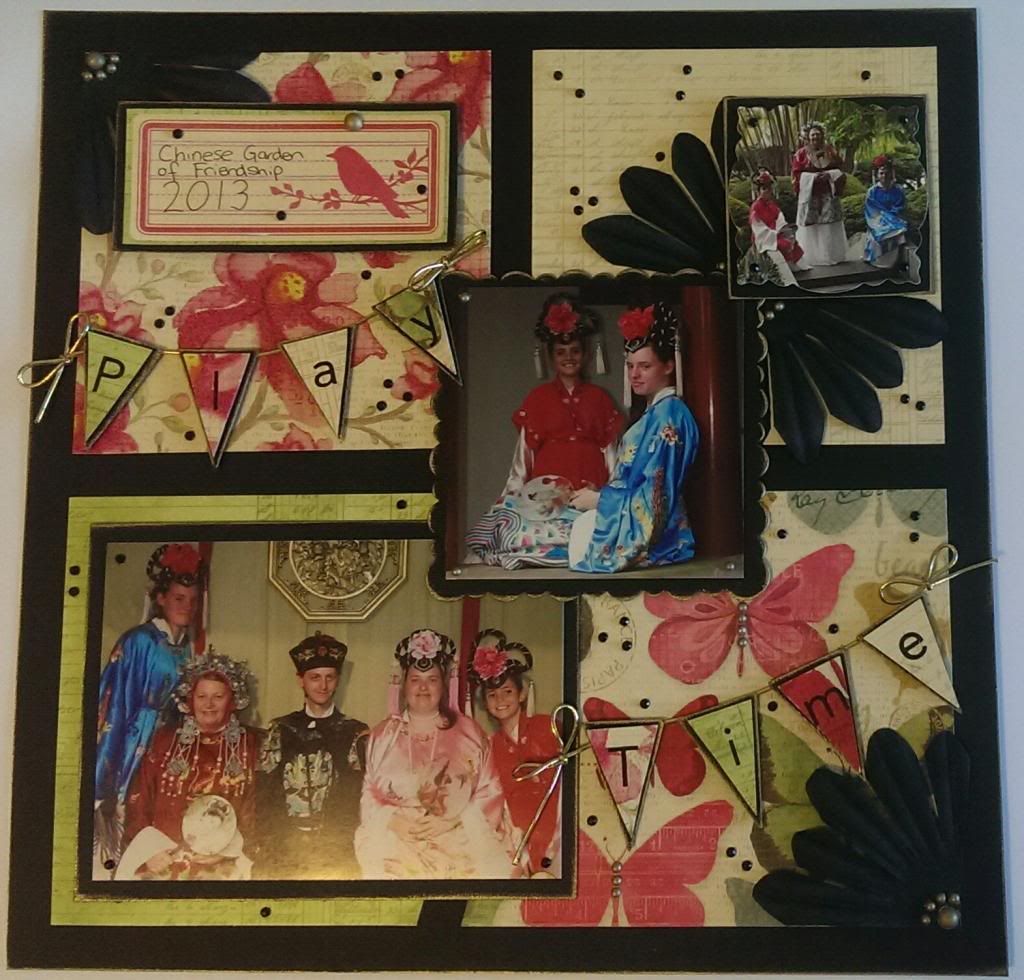
As you can see from above I decided to do a layout. Not something I have done for a while sadly. I need to get back in the swing of this and decided to pull elements of this sketch into my layout :)
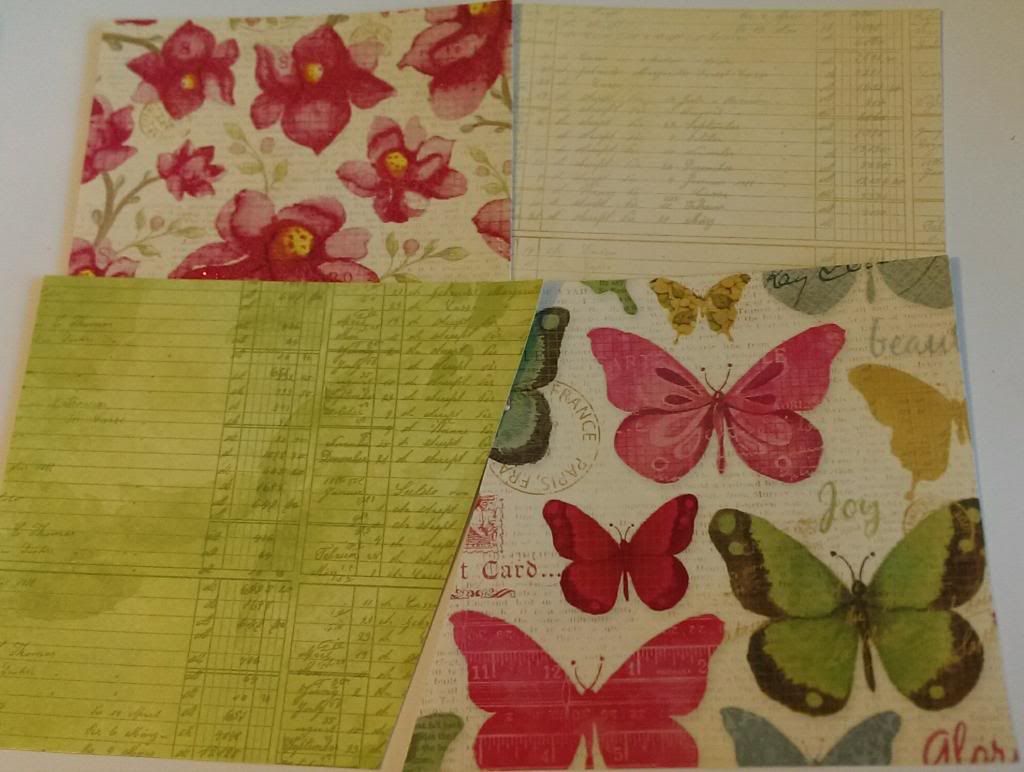
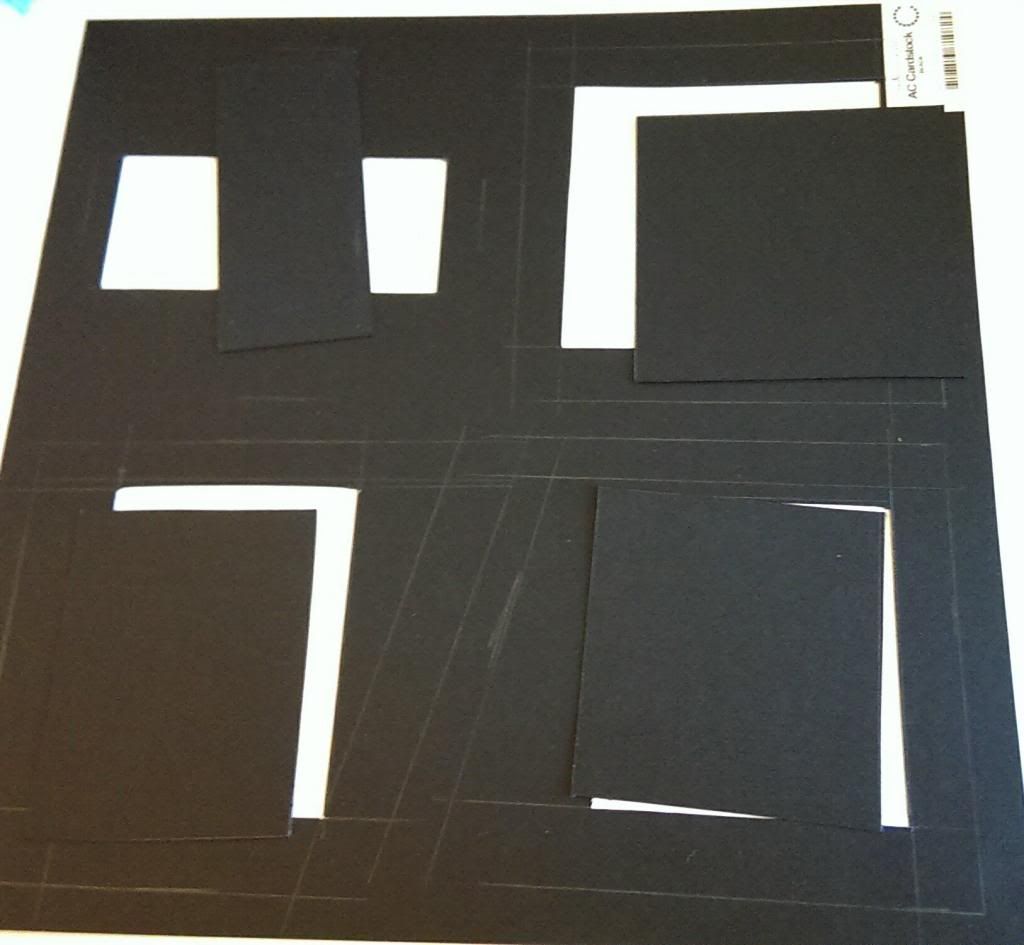
I started by grabbing some gorgeous coordinating papers from DCWV's Magnolia Way stack and trimming them to the shapes required for the sketch. Then with my black base I lightly sketched where my pieces would be placed on the back and leaving a generous border to adhere my pp panels cut out the centre areas.
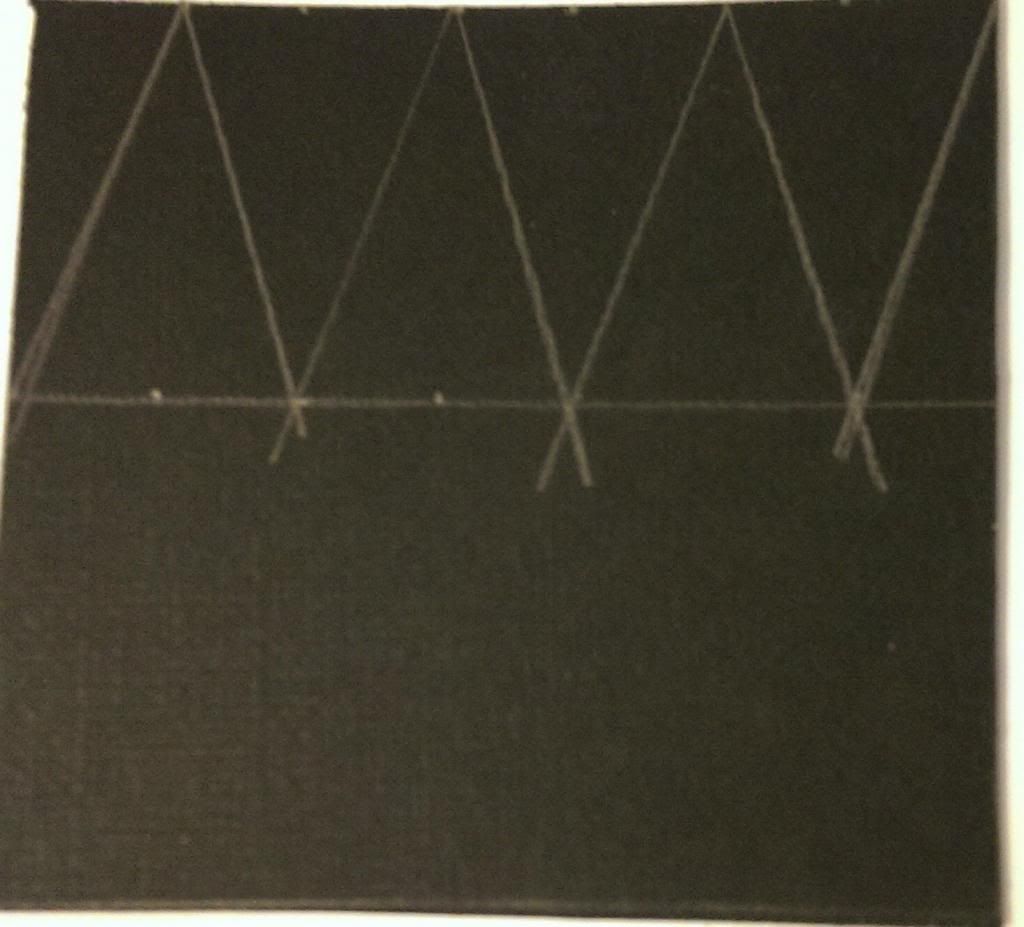
Luckily I had a scrap piece of the same cardstock to cut a mat for my largest pictures, but for the smaller picture and the banners I used the panels I had cut out. I did a couple of test triangles on scrap paper to try and get some measurements I was happy with then made some from the black card stock.
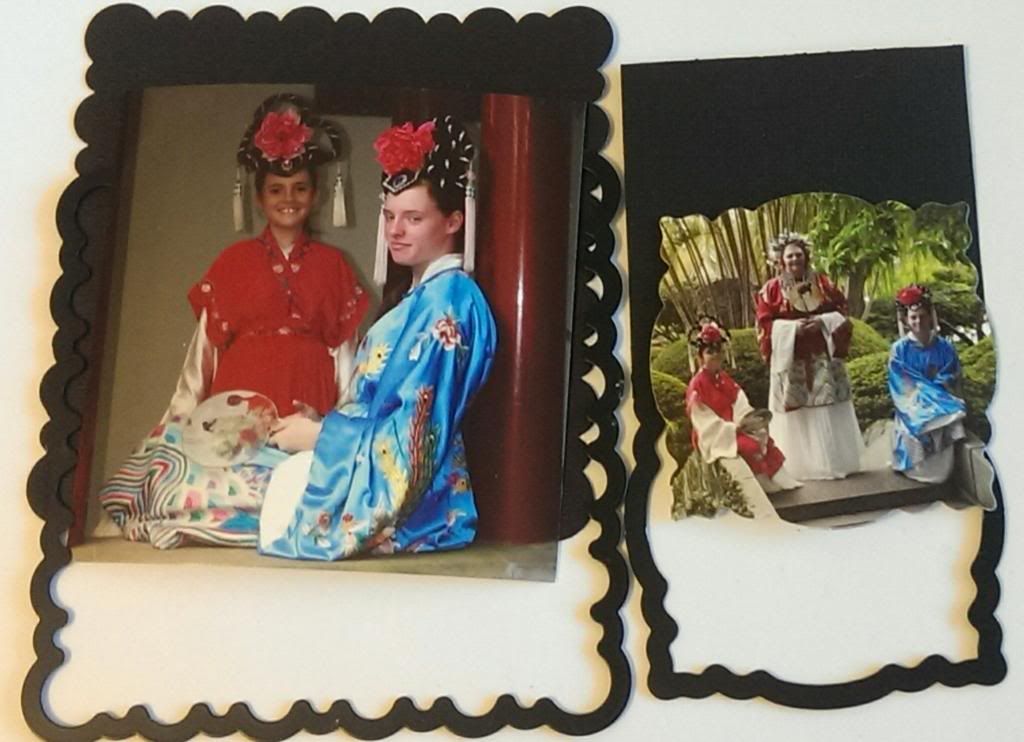
I originally was going with one pic but I just couldn't make it work :( So I grabbed a couple more and cut the black base for the first one with an Mpress die and the photo in the second one with Xcuts Ornate Frame die.
I then edged all my black cardstock pieces with Stazon Metallic Gold. I cut some more slightly smaller triangles from leftover pp and then used a Making Memories Simply Stated Trademark rub on alphabet for the letters adding foam tape under both layers of triangles. I used double sided tape at the top of the bottom triangle to adhere it to my stretchy gold cord (dunno what the correct term is but that'll do lol).
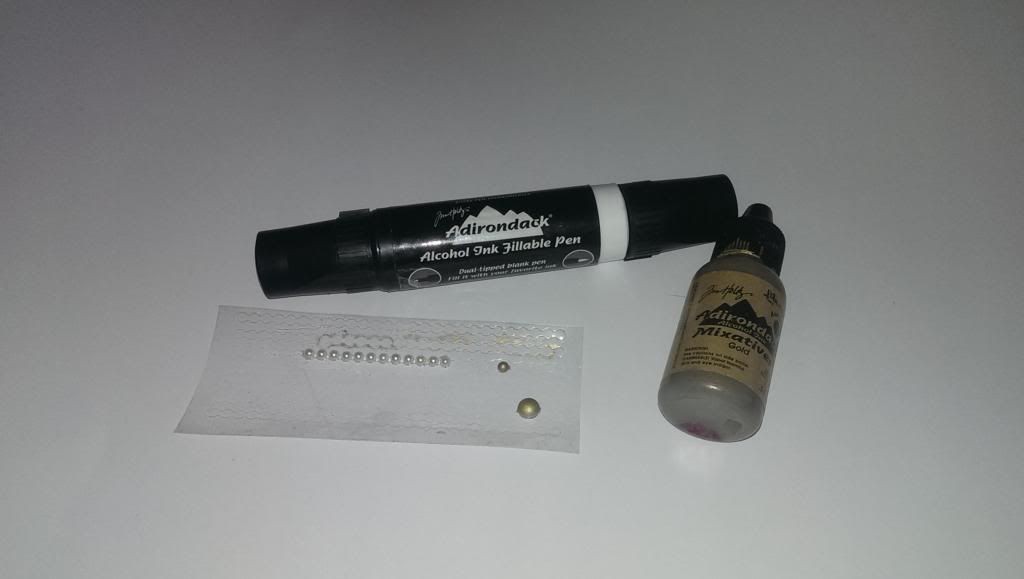
For my final touches I chopped a Black Bella Jumbo Flower in quarters and added it to two corners as well as under the smaller pics. The flower centres were too plain so I used alcohol ink to colour some pearls to add an accent. To do this I added a couple of drops of gold alcohol ink to my nonstick craft sheet and used alcohol ink fillable pen filled with blending solution to pick it up once dry and colour the pearls.
I then scattered black bling and my hand coloured pearls around the photos and layout and called it done. Sounds simple huh, took me 3 or 4 days of walking away and coming back but it's done now. Thanks for stopping by.
Happy Scrappin'
Purple
Saturday, 17 August 2013
Painting The Roses Red with My New Copics!
So I was looking into getting alcohol markers . I bought some Promarkers and I really liked them so I bought another set (vivid and set 1) . The only problem was I didn't have many blendable colours . Then I bought a set of 30 old Trias someone was selling. This gave me a few pastel colours and some skin colours and also 30 fine nibs that also work on the Promarkers . I really love the streakless colouring. I have faber castells and could never get them to not streak so don't know what I was doing wrong! Anyway to cut this long story short I frequent ebay quite a bit and came across a seller in France who was selling a complete set of Ciaos and Wides with a couple of sketches thrown in. They are barely used (they said they did 2 pictures) and still nice and juicy. So with my heart in my chest and waiting til the last minute to bid I nabbed them for less than 1/3 of the rrp :) Bargain lol. Then for my birthday a friend bought me the case for them :) All my copics and promarkers fit in it nicely at this stage although I am not sure if I will keep all the wides. Will see how I feel a bit down the track.
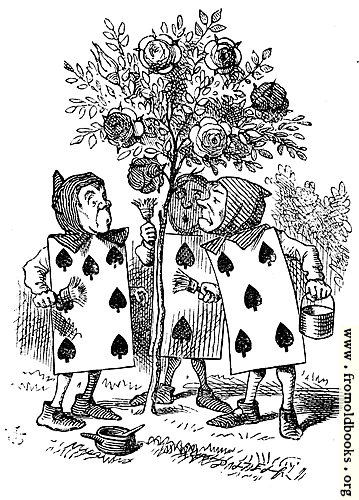
Anyway now that I am finished rambling about that I get to tell you that this weeks project for Eclectic Ellapu needs to contain playing cards :). So I scoured the net for an image I could use. I fell in love with one but thought $4 might be a lil much for a digi when you can get rubber for that price. So I kept looking. Originally I thought maybe I would do the Queen of Hearts from Alice in Wonderland but then I found some Free images at From Old Books. That links takes you directly to the page with the image I used but there are many many more :)
So now I have coloured this with a combination of copics and promarkers and am using an Xcut Ornate Frame die to cut it out in my Ebosser. Here is a list of colours I have used:
Roses, paintbrushes and Card 2; R27, R29, E40, E41
Card 5; R59, RV69
Card 7; Promarkers Olive and Pear Green
Stockings; E35, E33
Faces; E00, E01, E02, E93 (cheeks)
Tree; G99, G95, YG95
Grass and bush; YG63 YG67, Olive Green, G94, G28, YG91
Shadows on all cards; C5, C2, C0
Paint pots; C5, C3, Y21
For my base I used cream cs that I edged with R29 again. I used double sided tape to add my Cosmo Cricket papers and then a single layer of foam tape on my image. I then added the banners. I was in two minds as to whether or not to add flowers or not. But as you can see I have left it for now :)
Below are a couple of images I have coloured with my copics since I got them.
Not very good at hair yet that's why she isn't finished. I attempted hair on the second one as you can see :) also a mouth... Shoulda left it but live n learn hey?
The second picture here shows three different card stocks. Neenah Solar White and two I got from officeworks here in Australia. I have to say the cheaper two cardstocks performed way better than I thought they would. When I pull some more paper for my cupboard I will do a post on it and let you know the names of the brands :).
Thanks for Stopping by.
Happy Scrappin'
Purple
I am entering this at;
Simon Says Stamp - Die Cuts
Anyway now that I am finished rambling about that I get to tell you that this weeks project for Eclectic Ellapu needs to contain playing cards :). So I scoured the net for an image I could use. I fell in love with one but thought $4 might be a lil much for a digi when you can get rubber for that price. So I kept looking. Originally I thought maybe I would do the Queen of Hearts from Alice in Wonderland but then I found some Free images at From Old Books. That links takes you directly to the page with the image I used but there are many many more :)
So now I have coloured this with a combination of copics and promarkers and am using an Xcut Ornate Frame die to cut it out in my Ebosser. Here is a list of colours I have used:
Roses, paintbrushes and Card 2; R27, R29, E40, E41
Card 5; R59, RV69
Card 7; Promarkers Olive and Pear Green
Stockings; E35, E33
Faces; E00, E01, E02, E93 (cheeks)
Grass and bush; YG63 YG67, Olive Green, G94, G28, YG91
Shadows on all cards; C5, C2, C0
Paint pots; C5, C3, Y21
Next I grabbed Cosmo Crickets 6" Odds & Ends stack. I grabbed two co-ordinating pieces. The green stripey piece, the coloured image and the piece for iside the card were all cut using Xcuts Ornate Frames. I edged them with R29.
For the cream floral piece I used a Martha Stewart corner punch and my B000 for the edges. Argh my kitty is trying to help me type lol.
Next up I grabbed my Tim Holtz Tattered Banners Sizzix die to cut two banners the same size. I used white cs which I coloured with R29 to match the rest of the card. The sentiments were printed out at the same time as the images. I cut around them then coloured them with B000, there was still some R29 on my fingers and it came off on the first one I coloured so I decided I best put some on the other one as well so they matched :). I added two layers of foam tape behind the middle of each banner after I taped the sentiments on.For my base I used cream cs that I edged with R29 again. I used double sided tape to add my Cosmo Cricket papers and then a single layer of foam tape on my image. I then added the banners. I was in two minds as to whether or not to add flowers or not. But as you can see I have left it for now :)
Below are a couple of images I have coloured with my copics since I got them.
Not very good at hair yet that's why she isn't finished. I attempted hair on the second one as you can see :) also a mouth... Shoulda left it but live n learn hey?
The second picture here shows three different card stocks. Neenah Solar White and two I got from officeworks here in Australia. I have to say the cheaper two cardstocks performed way better than I thought they would. When I pull some more paper for my cupboard I will do a post on it and let you know the names of the brands :).
Thanks for Stopping by.
Happy Scrappin'
Purple
I am entering this at;
Simon Says Stamp - Die Cuts
Subscribe to:
Posts (Atom)


