blinkie

CraftyCrafter

Showing posts with label mpress. Show all posts

Friday, 5 February 2016

Watercolor For Cardmakers Intermediate Day Three - Lifting Card

This was my first attempt at lifting, it's on a paper that colour would lift from if rewet so I cheated lol. I got some Brushos for christmas and had played around with them . . . a lot lol. Anyway I loved the amount of colours in the leaf green one so just made a panel of that and thought hmm wonder what the KaiserCraft stamp and cuts I got for Christmas would look like on that. As a result the precut leaves were sitting on my desk and I thought why not. I cut the branch up and used them as my leaves for this flower. They are stamped with Archival ink.


I also used Distress Ink in Worn Lipstick on a Mpress Sentiment stamp. I used a Spellbinders die and the circles I added to the front of the card are from die as well.
Thanks for stopping by.
Purple

Friday, 22 August 2014

Stretch Your Stamps 2 Stamped Die Cuts Part 2

So the other day when I was out and about I made another stamped die cut card from day 3 of Stretch Your Stamps 2 at Online Card Classes. I wanted to make a male version so I switched up the colours and the die cuts I used. I used Distress Inks in Fired Brick, Mowed Lawn, Frayed Burlap and Vintage Photo. I used stamps from Fiskars and Mpress as well as dies from Lifestyle Crafts and spellbinders. I also used a mini stencil from Heidi Swapp.
Happy Scrappin'
Purple

Thursday, 21 August 2014

Stetch Your Stamps 2 Watercolour Stamping

My last card for day 8 for Stretch Your Stamps 2 at Online Card Classes and then I best get hopping on projects for the last three days haha . . . I used an itty petal stamp from the See Dee's stamp set and Fired Brick Distress Ink as well as Archival ink for the sentiment from Mpress. This is a super super quick card to make if you're in a hurry and you can cheat and just use a heart stamp if you want lol, I was tempted!
Happy Scrappin'
Purple

Wednesday, 20 August 2014

Stretch Your Stamps 2 Water Painting

Hiya, still on day 6 of Stretch Your Stamps 2 at Online Card Classes and I again chose this lovely Mpress stamp set. I used Hero Arts white embossing powder, Distress Inks in Seedles Preserves, Mustard Seed, Festive Berries and Ripe Persimmon, a waterbrush, sentiment from TPC Studio and a corner rounder to add some interest.
Happy Scrappin'
Purple

Stretch Your Stamps 2 Over The Edge

So I am at the mid point, Day 6 of Stretch Yours Stamps 2 at Online Card Classes. I tried using this Mpress stamp for another technique but there wasn't enough open space for colouring. It looks great for this technique though :) I used Hero Arts white embossing powder, Distress Inks in Seedless Preserves, Festive Berries, Ripe Persimmon, Mustard Seed and a brown which I cannot remember lol. I need to start taking notes as I create! I died some white grosgrain with the distress inks to match and used staples to attach to the tag. The background is stamped with the same colours of ink stamped off so its barely there, using a Cherry Blossom stamp from Fiskars.
Happy Scrappin'
Purple

Tuesday, 19 August 2014

Stretch Your Stamps 2 Easy Watercolour Outline and Debossing


So we are at my second card from day 5 of Stretch Your Stamps 2 at Online Card Classes and I have chosen to use an Mpress stamp set, same flower again I know lol. It looks good what can I say?  I used Distress inks in Pine Needles and Aged Mahogany for the flower and Tumbled Glass for the border. I have used some Hemtique Twine and a Buttuerfly border punch I have for the itty butterflys. Really need to start writing on my dies what brand they are . . . I coloured the butterflys with Aged Mahogany so they tied in with the flower and sentiment from Whimsy Stamps.
Happy Scrappin'
Purple

Friday, 15 August 2014

Stretch Your Stamps 2 Stamped Die Cuts

I had fun making this card for Stretch your Stamps 2 at Online Card Classes. This is the first card for day 3. I am not doing every single technique but I am trying as many as possible. For this card I used Lifestyle Crafts and Xcut dies, Distress ink in Picked Raspberries, Evergreen Bough, Shaded Lilac and Seedless Preserves, I used a fiskars alphabet, mpress birthday stamp and a Heidi Swapp Mini Stencil.
Happy Scrappin'
Purple

Monday, 11 August 2014

Stretch Your Stamps 2 Multi Layer Emboss Resist Part 3 Bonus

I couldn't waste this lovely piece I had left over from Stretch You Stamps 2 over at Online Card Classes so I decided to turn it into a card too. I added some Prima flowers and a bling brad to give the card a lift. The cardstock I chose for the card base fits right in between the orange and yellow mixing :)
Happy Scrappin'
Purple

Stretch Your Stamps 2 Multi Layer Emboss Resist Part 2

Hiya, I am doing Stretch Your Stamps 2 over at Online Card Classes, it's running right now if you want to join in. The beauty of these clsses though is that you can do them whenever you want :) This card uses all the same products as the last one so I won't repost them here. The only difference is the die is from mpress and I've added glossy accents over the top and scattered some sequins about the place lol
Happy Scrappin'
Purple

Sunday, 18 May 2014

A Little Sketchy With Magnolia Way

Ok so last week I told you about my computer woes. Well they didn't end with getting a new adapter because that one went bang and tripped my fuses to boot lol. So I have ordered a new one and it should be here next week. Meanwhile I am working around the fact I have no lappy and using a combination of my phone and tablet with photobucket to be able to blog lol!

This week at Eclectic Ellapu the challenge is a sketch. I have to say it really kicked my butt, but I got there in the end . . . Here is the sketch from  Andria.
As you can see from above I decided to do a layout. Not something I have done for a while sadly. I need to get back in the swing of this and decided to pull elements of this sketch into my layout :)
I started by grabbing some gorgeous coordinating papers from DCWV's Magnolia Way stack and trimming them to the shapes required for the sketch. Then with my black base I lightly sketched where my pieces would be placed on the back and leaving a generous border to adhere my pp panels cut out the centre areas.
Luckily I had a scrap piece of the same cardstock to cut a mat for my largest pictures, but for the smaller picture and the banners I used the panels I had cut out. I did a couple of test triangles on scrap paper to try and get some measurements I was happy with then made some from the black card stock.
I originally was going with one pic but I just couldn't make it work :( So I grabbed a couple more and cut the black base for the first one with  an Mpress die and the photo in the second one with Xcuts Ornate Frame die.
I then edged all my black cardstock pieces with Stazon Metallic Gold. I cut some more slightly smaller triangles from leftover pp and then used a Making Memories Simply Stated Trademark rub on alphabet for the letters adding foam tape under both layers of triangles. I used double sided tape at the top of the bottom triangle to adhere it to my stretchy gold cord (dunno what the correct term is but that'll do lol).
For my final touches I chopped a Black Bella Jumbo Flower in quarters and added it to two corners as well as under the smaller pics. The flower centres were too plain so I used alcohol ink to colour some pearls to add an accent. To do this I added a couple of drops of gold alcohol ink to my nonstick craft sheet and used alcohol ink fillable pen filled with blending solution to pick it up once dry and colour the pearls.
I then scattered black bling and my hand coloured pearls around the photos and layout and called it done. Sounds simple huh, took me 3 or 4 days of walking away and coming back but it's done now. Thanks for stopping by.
Happy Scrappin'
Purple

Monday, 6 May 2013

Ahoy Matey with Mpress Journeys

After an extensive Google search that shows me nothing.... lol I am pretty sure the stamp set I have used for this card is Mpress Journeys. Unfortunately it seems like you can't get it anymore :( I eventually had the  brainwave to go check previous orders on the website where I bought it.
As you can see here the mat for the card was stamped with the map, then crumpled and flattened back out and distress ink added to the ridges and spritzed with water to move the colour around. Then a good amount of distress ink was added around the edges to add a border and the edges distressed with the Tim Holtz Distress Tool.
I stamped and fussy cut around the ship and lighthouse before distress inking around them. A little too much ink ended up on the lighthouse lol . . . I added these to the card with foam tape. I used two Lifetsyle Craft Nesting Labels dies and my Ebosser to create the mount for the sentiment. No I didn't miss stamp. That's how the sentiment is :P
I love this stamp set. Such a shame you can't get it anymore :( All the elements were stamped with Timber Brown Stazon onto white cs then distressed brown. Some elements came out a lil darker than I wanted but as this card is for a boy I figured he would hardly notice lol...
Happy Scrappin'
Purple


PS I have been posting from my stack of drafts as it has been school holidays and crafting has been on the down low. Should have some exciting new projects to share very soon :)

Sunday, 28 April 2013

Gelato Watercolour Stamping.


Both these cards are stamped using Gelatos from Faber Castell. The first card uses a Stampin' Up stamp. I coloured the inside with pink first and then used purple around the edges and green for the leaves and stems. I lightly misted the stamp with water and stamped, repeating this three times. I used distress ink with my ink blending tool around the edges. The background is a leftover from Creative Chemistry 101. On my yellow card base I stamped the Prima Notary stamp I coloured with Big Brush Markers.


My second card is actually a second and third generation stamping. My daughter wanted to try my Gelatos and she picked an Mpress stamp set. There was so much gelato left on the stamp I didn't  want to waste it so I grabbed some water colour paper, misted the stamp and stamped, re-misted and stamped again. I then scribbled some of the purple and pink gelatos on my Ranger Craft Sheet and spritzed them with water. I picked them up with a paintbrush and flicked them all over the image. With the leftover gelato on my craft sheet I created a border of the two colours.

I am not the best at stamping with gelatos. I need to do some more work at it lol. But so many techniques, so little time!
Happy Scrappin'
Purple

Sunday, 7 April 2013

A little Sketchy With Cosmo Cricket

I started with this image that I stamped in Archival and coloured with a mix of Inktense and Staedler watercolour pencils. I then chose three patterned papers from the Crate Papers Clementine stack to follow this sketch with. I bought this stack to challenge myself to use papers I wouldn't normally.
For the background layer I chose chevrons, my strip is stripes and instead of a wavy border I chose a piece of paper from the stack that had skinny border like images on it and cut out the one with the flowers and adhered it to the stripy paper. I added a teeny dot of red Liquid Pearls to the middle of each of those flowers.
 Next I chose a red and a green Prima flower and glued them together and onto the card. I added  some perfect pearls to the middle of them too. Then I had a teeny accident and had to add the green flower which made the card unbalanced so I added the red one as well and added liquid pearls to the middle of these too lol. I hand cut the banner and used my Martha Stewart score board to score where wanted the folds to be. I used a triple layer of foam tape in the middle to pop it off the card. The sentiment is from Mpress stamped with Vermillion archival.
Happy Scrappin' 
Purple

I am entering this here:
613 Avenue Create - Anything Goes/With Flowers
Simon Says Stamp And Show - Anything Goes
Make It Monday - Anything Goes 
Challenges 4 Everybody - Anything Goes

Tuesday, 2 April 2013

Ecraft Angry Birds Card Using FREE Svg's

 A young relative of mine had a birthday a couple of days ago and he is really into angry birds. I searched the net and found a bunch of angry bird svg's free by The Lady Wolf. As his cake was going to be the red and yellow birds I decided I would make those two as well. I opened them in SCAL 3 and resized them all as one before cutting and pasting each different colour section into  new window. In hindsight I wish I had made them a little bigger lol. Also cutting two birds at once was fun because then I had to sort out their respective pieces lol.
Having played the game before I wanted the background to look a bit like the game as well rather than using patterned papers. So I used a free grass svg from Pigtails and Paper Trails and another free svg from Bird. I'd seriously recommend checking out what else these lovely ladies have! I just saw the grass under the clouds Bird has. I hadn't grabbed it yet :O lol. To assemble the back gound I cut a piece of blue cs to the same size as my card and taped it down. I used tape on the straight edge of he grass only so I could slide a cloud down there. I taped the clouds down and then used foam tape on the birds and banner to pop them off the card a bit :)
Happy Scrappin'
Purple

I am entering this here:
Simon Says Stamp Challenge - Anything Goes
Make It Monday - Anything Goes
Simon Says Stamp And Show - Anything Goes
Challenges 4 Everybody - Anything Goes

Monday, 4 March 2013

12 Tags of 2013 March


I have been a bit slack lately in doing the 12 tags, but this month I decided to give it a go even though I don't have most of the supplies Tim used lol. All good improvisation is my thing ;) First up I don't have the rabbit so I used my movers and shapers butterflies in the ornamental die from some DCWV paper. Then I edged it in some Frayed Burlap distress ink. Next instead of the sheet of tape I just laid strips of regular tape across my cs. I didn't have tinsel so I used wool for that soft fluffy feel. I learnt after covering the first butterfly to only take one strip of tape backing off at a time to keep it nice and sticky!


I don't have the tapered fringe die, but I do have the Martha Stewart Fringe Scissors so I grabbed some green Craft Core and got chopping. Then I sanded with my sanding block and added some frayed burlap. I made two layers this way.


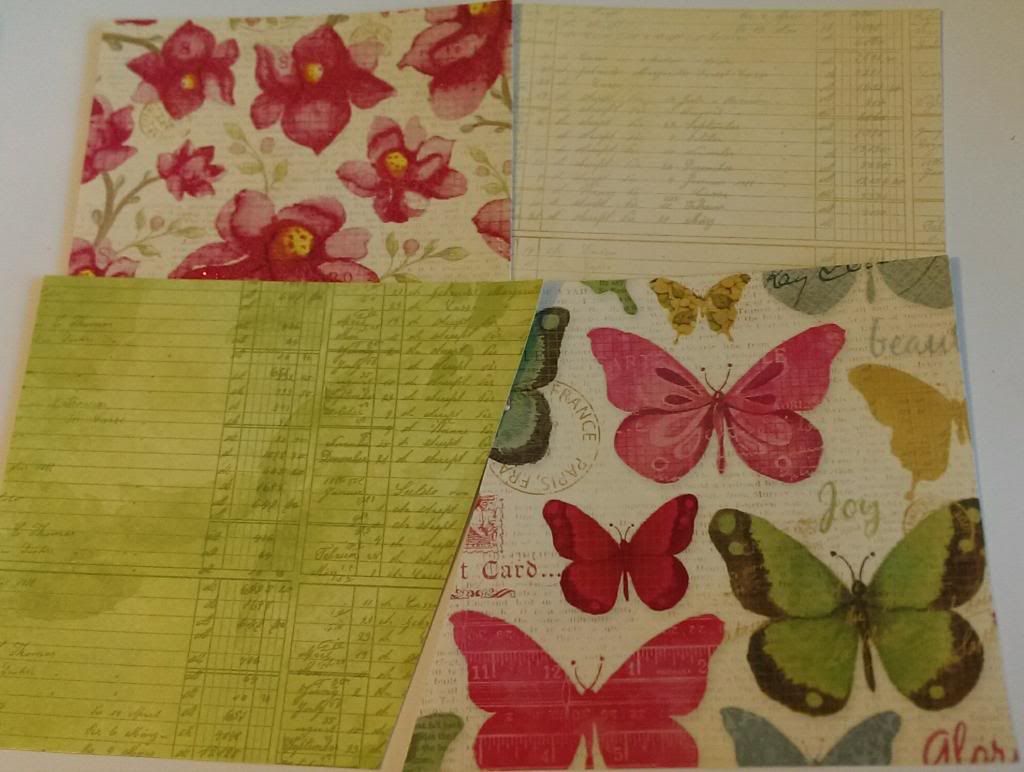
From the same DCWV stack I grabbed a piece of paper to use as y background, as I had used a busy one around the butterflies I opted for one with a minimal pattern. The paper was no where near the colour I wanted so I added loads of ink around the edges. I started with Tumbled Glass followed by Broken China, Chipped Sapphire and finally Frayed Burlap for the grungy look.


Next I added some crinkle ribbon my sister got me as a present. It was pre-coloured so I just added some frayed burlap over the blue to tone it down a little. I tied the ribbon on and added that layer to the base with foam tape anywhere I could fit it around the woolly pieces and then added my "grass."


I don't have the metal foliage pieces so as I was doing a larger format than a tag I thought I would use a drink can (soda can) and cut it with the movers and shapers florals. I wasn't happy  with the size of one of the flowers so I cut some smallest ones from the tattered florals die. I used my fingers to shape each petal. For the smaller one I cut a small slit in between each petal first.


I don't have the new paints yet but they are so on my want list, right at the top! I used the Adirondack Dabbers instead. For the largest flower I used a combination of Pool, Aqua and Clover, the middle is Sunset Orange with white and the brad is Sunshine Yellow (I am in the middle of an argument with the yellow as it was almost solid!). 


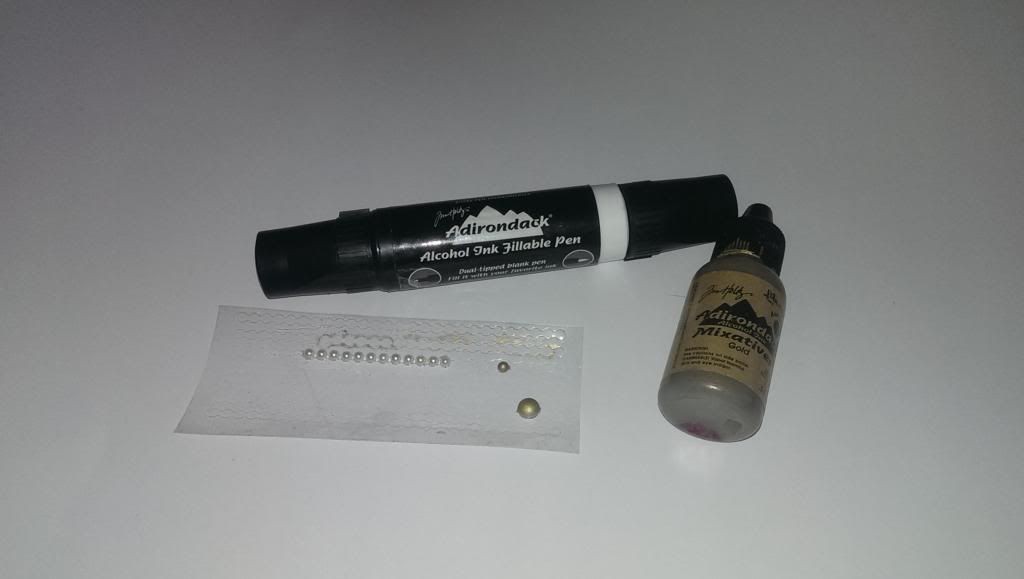
For this flower I used a combination of Pink Sherbet and Aqua. and then the middle is the same as before. To turn the flowers into pins I added 2" pins to the back with glossy accents. I laid the pointy ends on a foam blending pad as a pillow to keep the pins in the right spot while they dried.


I cut the banner free hand as again I don't have the die. I stamped a flourish from Stampers Anonymous on the banner with tumbled glass. I then took my blending tool and used colours over the banner in the same order I did the outside piece. I stamped a sentiment from Mpress and then added some foam tape behind the middle part and double sided tape at the ends and stuck it at the top of my panel.


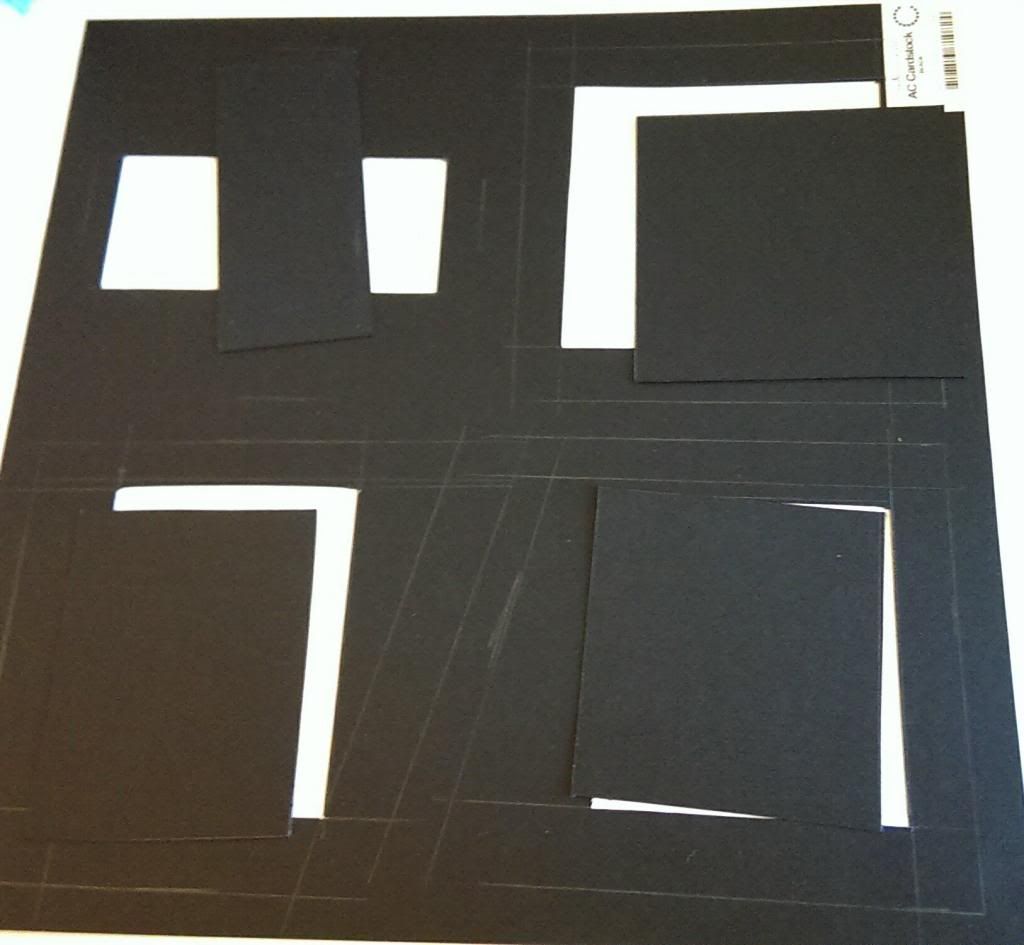
I then mounted the whole lot on a white card base the same size as the panel. I didn't want the card base to show so when I cut my panel I made it card front size (saves having to decide what colour card will be showing around the edges lol). Anyway that's my take on this months challenge, I hope you liked it :)
Happy Scrappin'
Purple

I am entering this at the following challenges;
Simon Says Stamp - Anything Goes
Joyful Stamper - Anything Goes
Tim Holtz - 12 Tags of 2013
Eclectic Ellapu - Child 
613 Avenue - Bingo - Brads/Free/Ribbon
Challenges 4 Everybody - Anything Goes
Make It Monday - Anything Goes